Getting started
Creating a new wallet
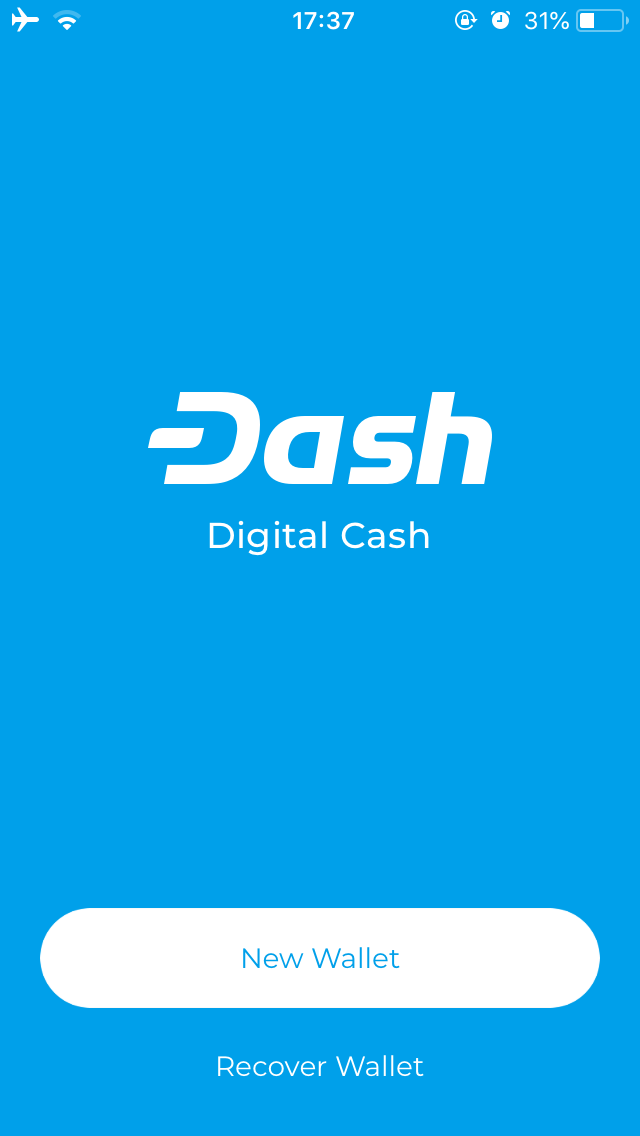
When you first start your Dash Wallet, you will be prompted to choose between creating a new wallet or recovering an existing wallet. Choose New Wallet to create a new wallet unless you have existing funds stored in another wallet using a recovery phrase. Your new wallet will be generated, and a recovery phrase will appear so you can recover the funds later if you lose or damage your phone or need to transfer the account to another device. Write the phrase down and store it in a safe place - if you lose this, you will also lose access to your funds forever.

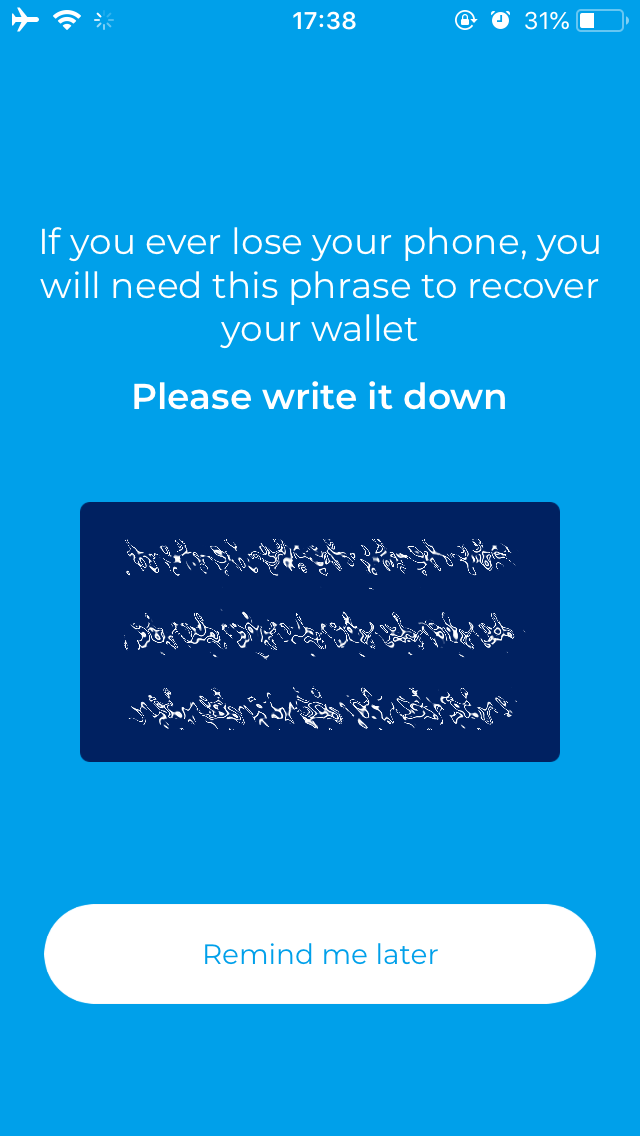
Creating a new wallet and generating the recovery phrase in iOS Dash Wallet
You may also be asked to specify a PIN or link the app with your TouchID. You can tap the Dash logo at the top of the app to view your balance. You will need to unlock your wallet for this, as well as to view your transaction history or send Dash.
Receiving
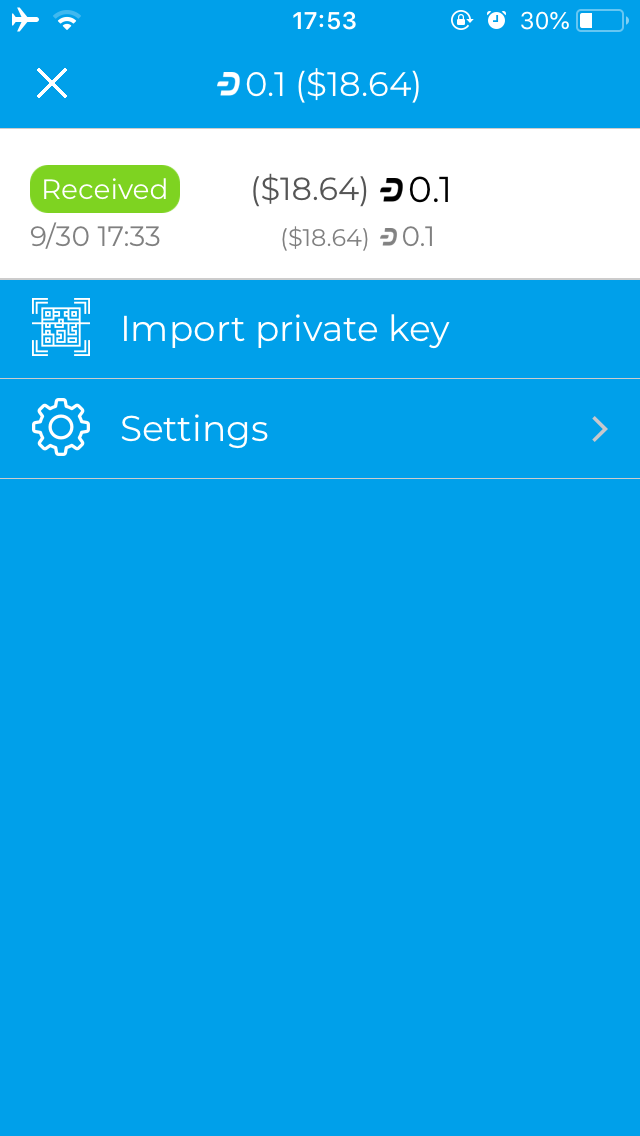
Once you have set up your wallet, you will have two screens available to send and receive Dash. You can swipe left and right between the screens. To receive Dash, the app will generate an address which appears at the bottom of the screen. You can tap this to copy and share, or scan the QR code directly. Once the transfer is complete, you can view your balance, transaction history and the status of any pending transactions by clicking the menu button at the top left.
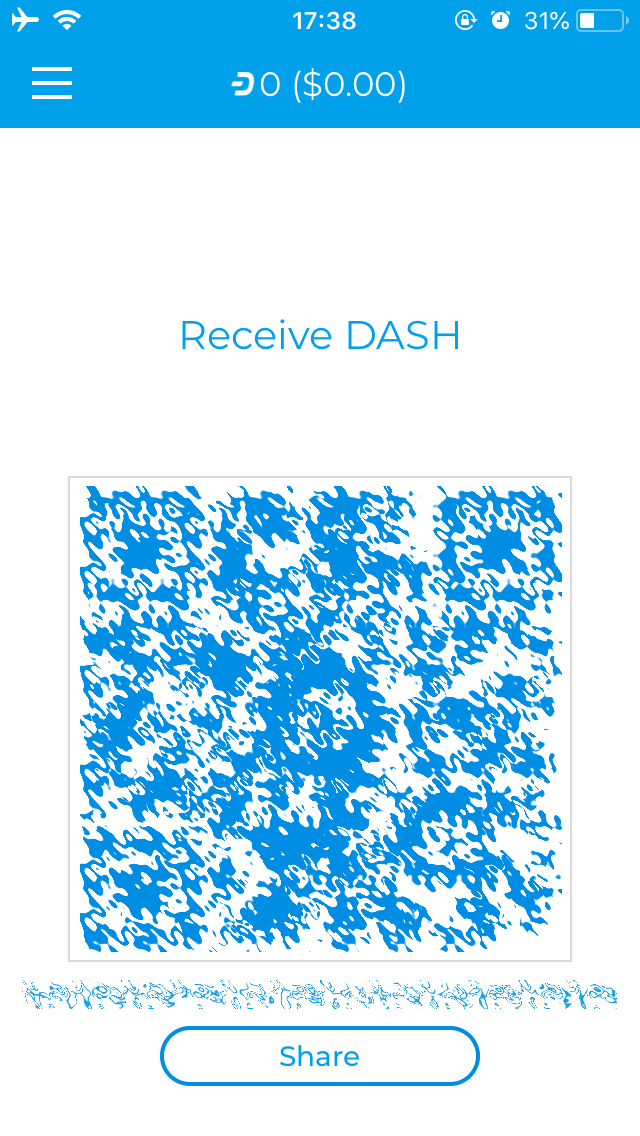
Receiving Dash and viewing your balance in iOS Dash Wallet
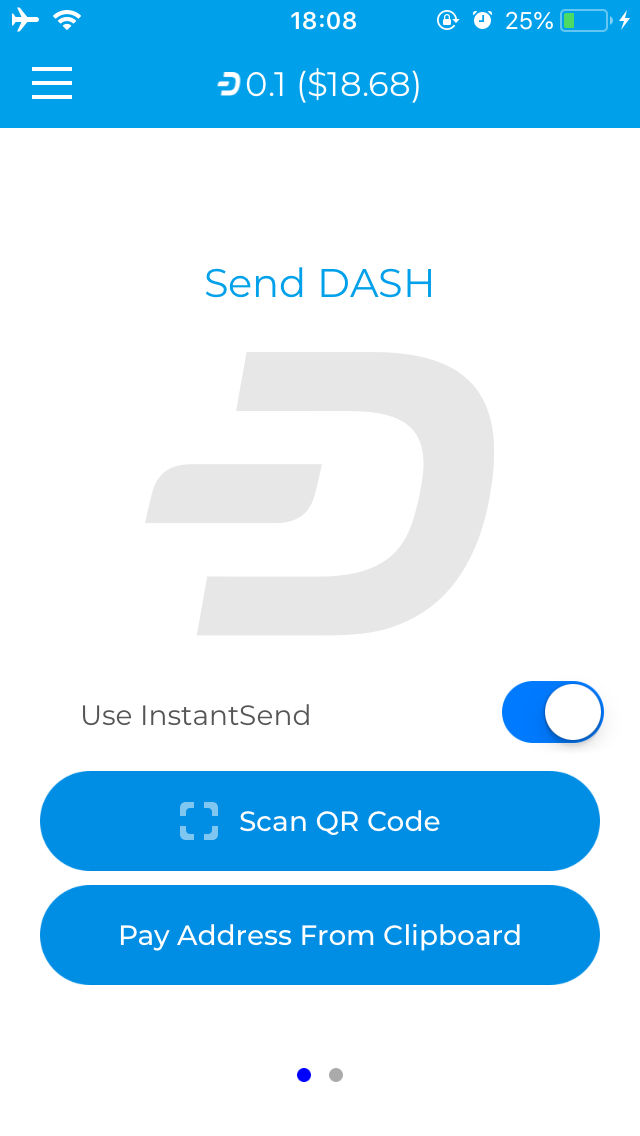
Sending
The Send DASH screen gives you two options to enter the payment address: Scan QR Code or Pay Address From Clipboard. You can choose to use InstandSend for instant confirmation, or disable this to send a normal transaction which will require more time for confirmation. Depending on the code you are scanning, the amount of Dash requested may be included, or you can enter it yourself. A confirmation screen will appear to explain the fee structure and request your unlock code (PIN or TouchID). The transaction will then be sent.
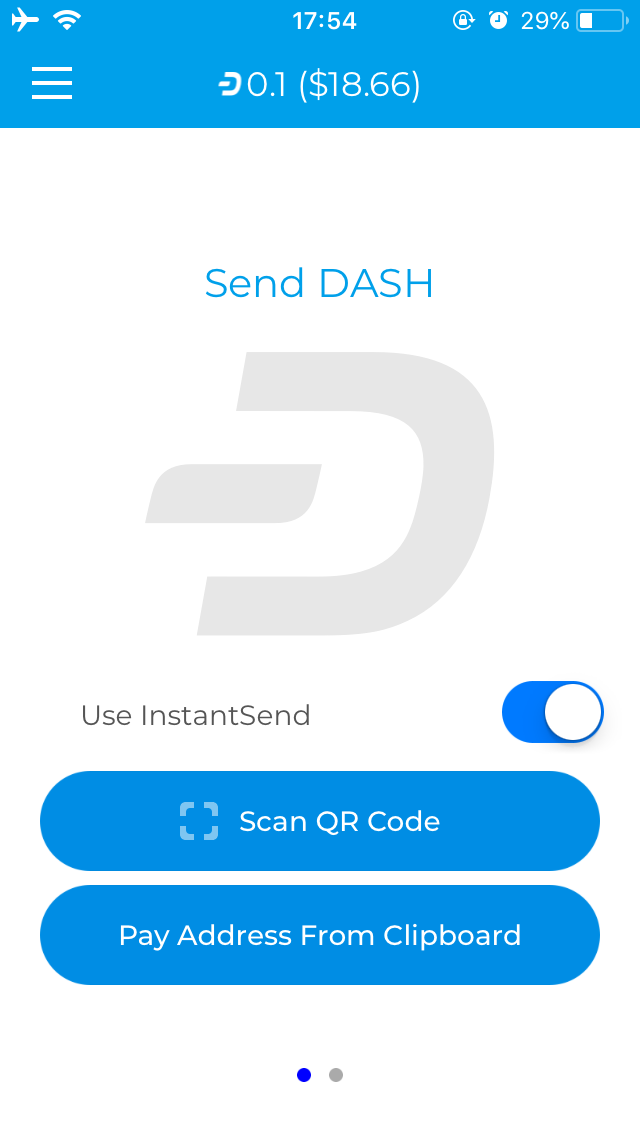
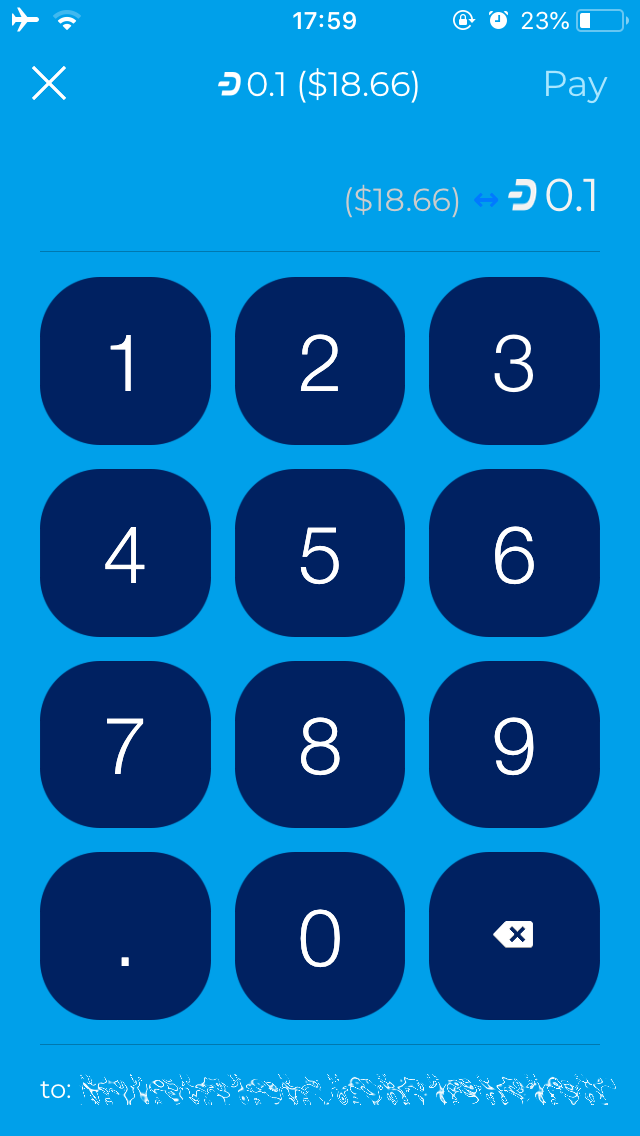
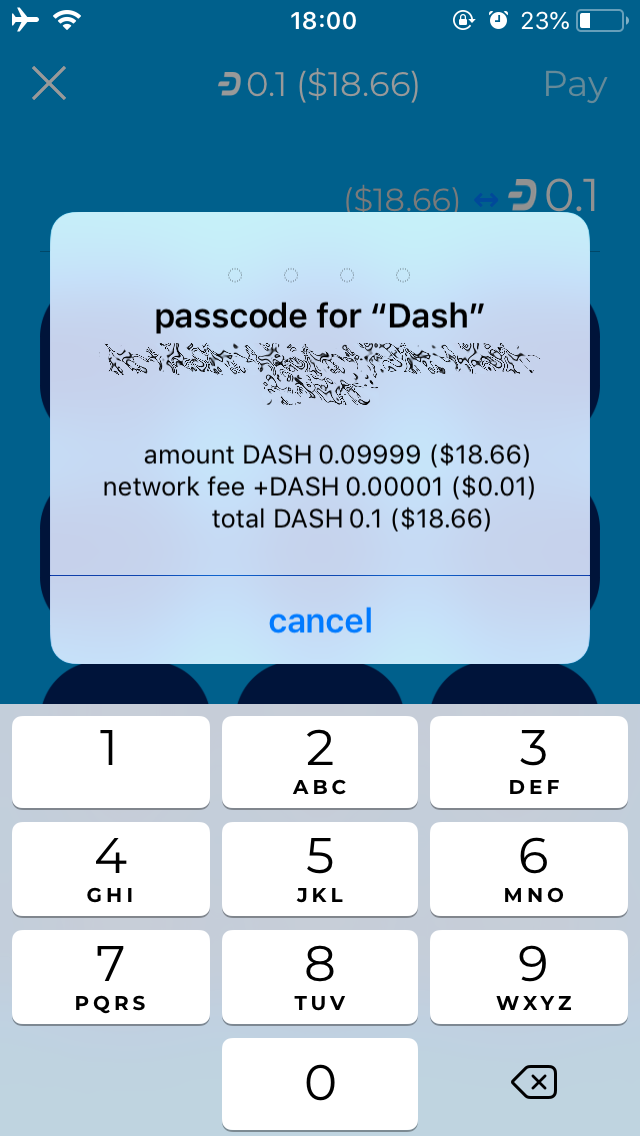
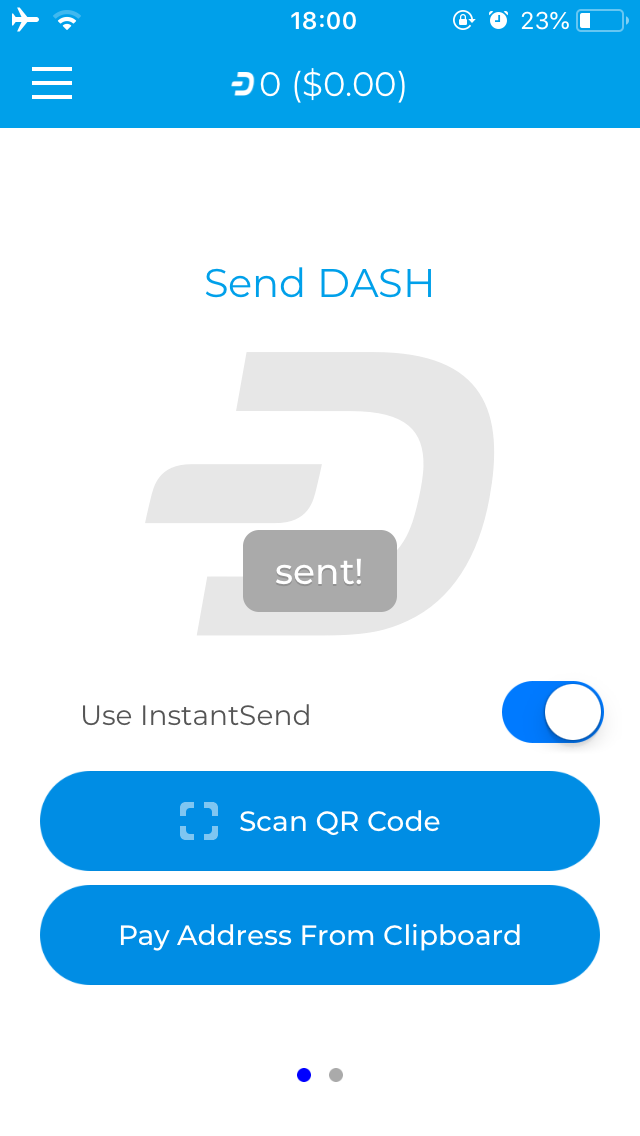
Sending Dash from iOS Dash Wallet
Sending to a Bitcoin address
You can also send from your Dash Wallet directly to a Bitcoin address using services provided by ShapeShift that are integrated directly in the wallet. If you scan or enter a Bitcoin address, you will be asked to enter the amount to be send in Bitcoin instead of Dash. Once you have entered the amount, click the Shapeshift! button shown an additional confirmation screen to confirm the ShapeShift fees before the transaction is processed. Make sure your destination Bitcoin address on this screen is correct. (If you see an error message about the value being too low, tap the greyed out Dash amount at the top to specify the amount to be transferred in Dash instead of Bitcoin.) Once your transaction is accepted, the Dash Wallet for iOS will display Shapeshift in progress until the transaction is complete.
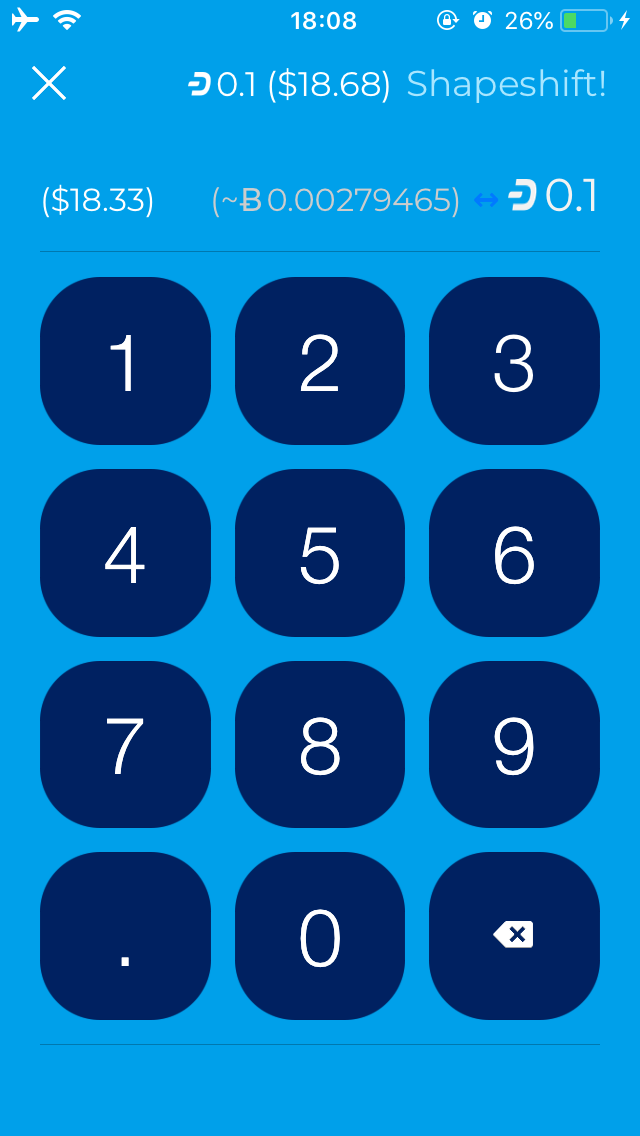
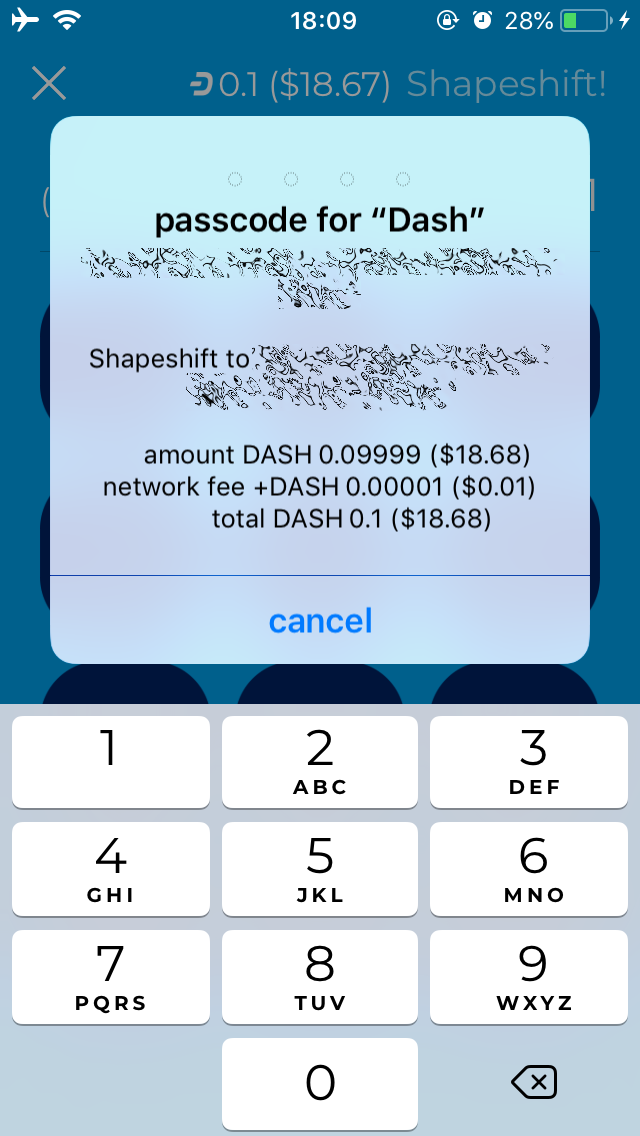
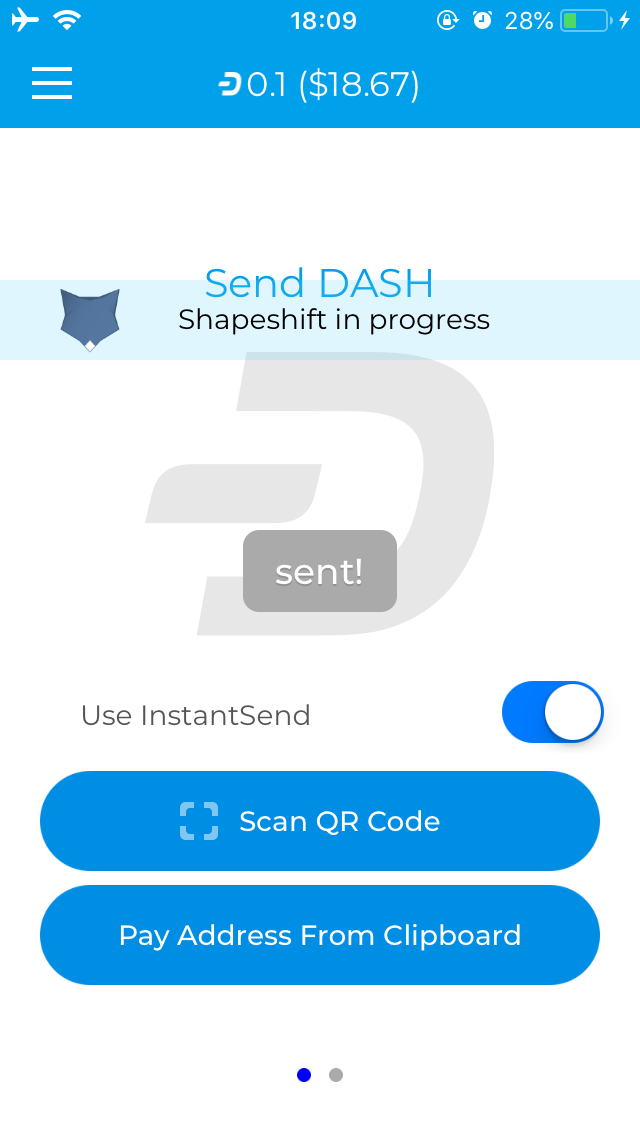
Sending Dash to a Bitcoin address via ShapeShift from iOS Dash Wallet