Implementierung beginnen
This documentation describes how to use the most common features of the Dash Copay wallet. Since the functionality is similar across all supported platforms (Android, iOS, Windows, macOS, Linux), the instructions and screenshots will reference the Android software, highlighting differences between the platforms where necessary.
The easiest way to install the Dash Copay for Android is from the Google Play Store.
Dash Copay for iOS is available through Apple TestFlight. To join the list of testers, send an email to elizabeth.robuck@dash.org with your Apple Account ID. For other platforms, or to view and compile the source code yourself, please see the instructions on GitHub.
Installation
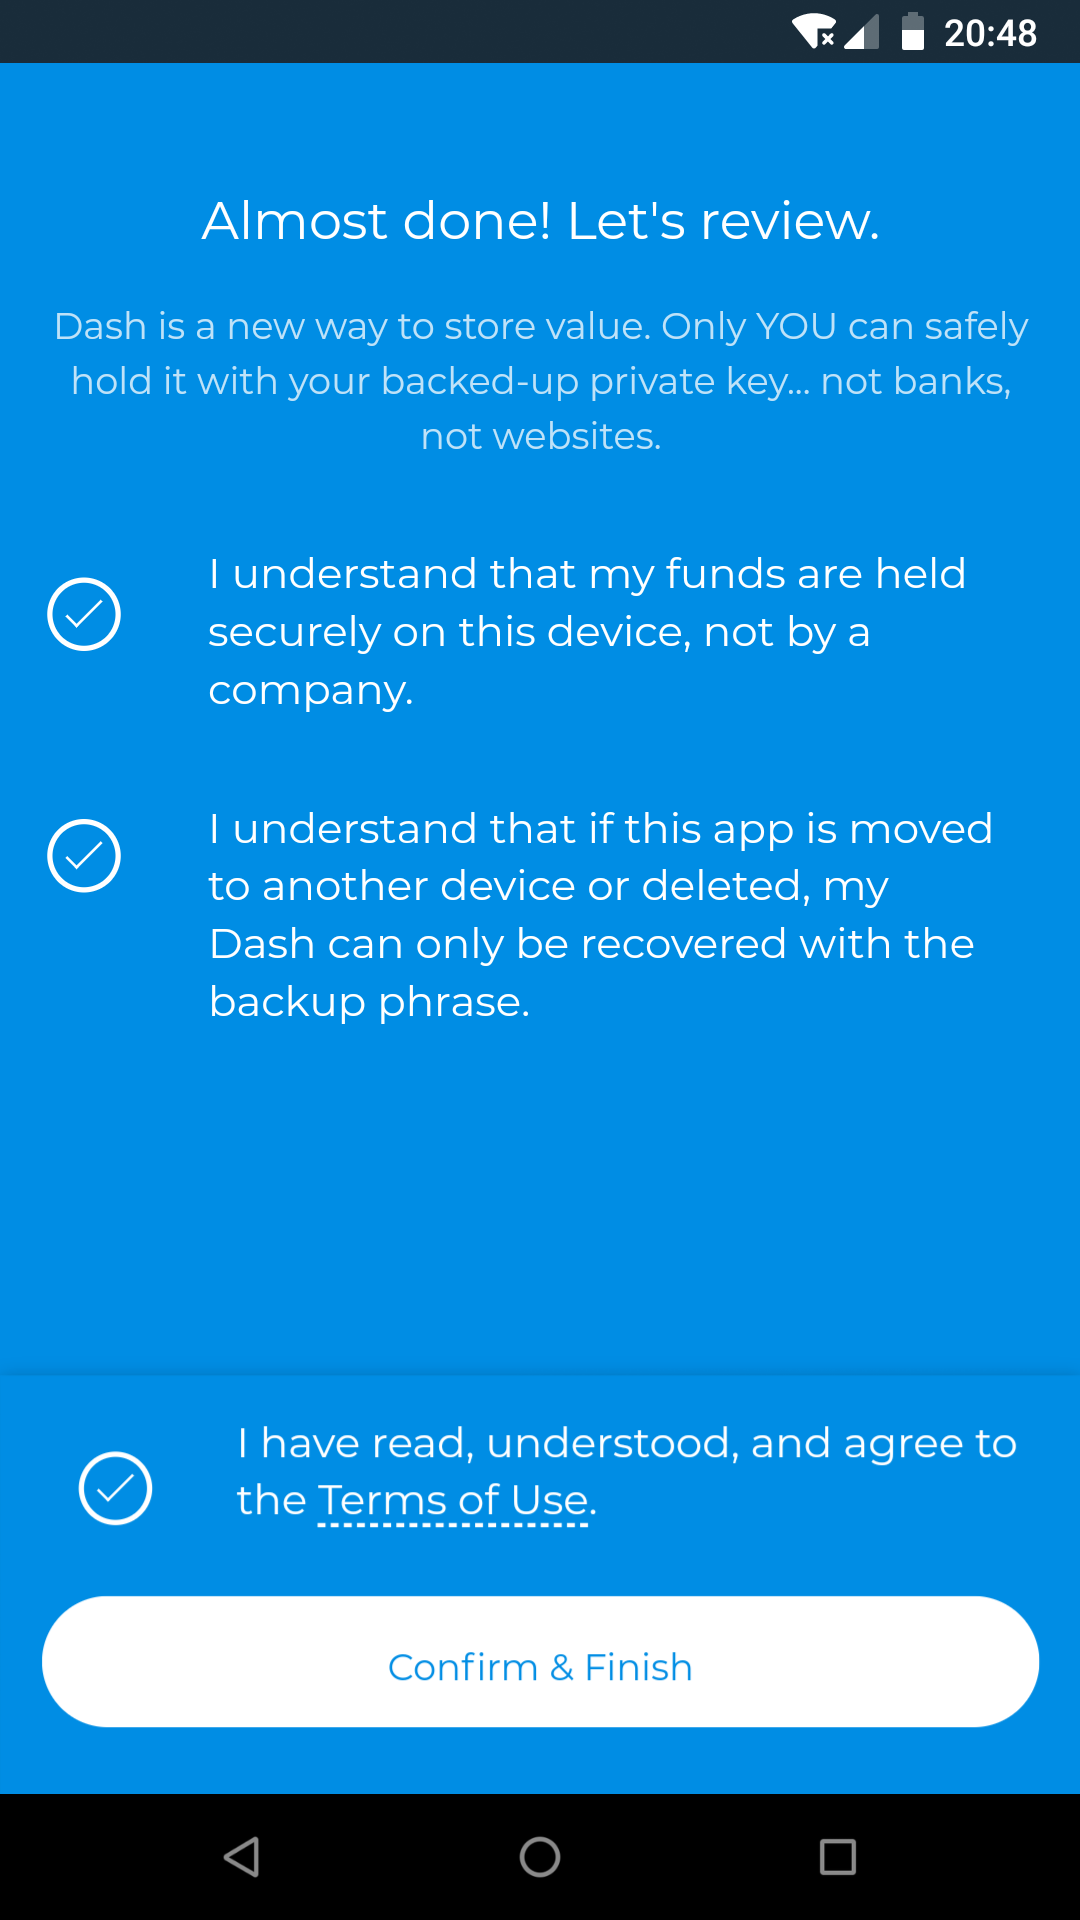
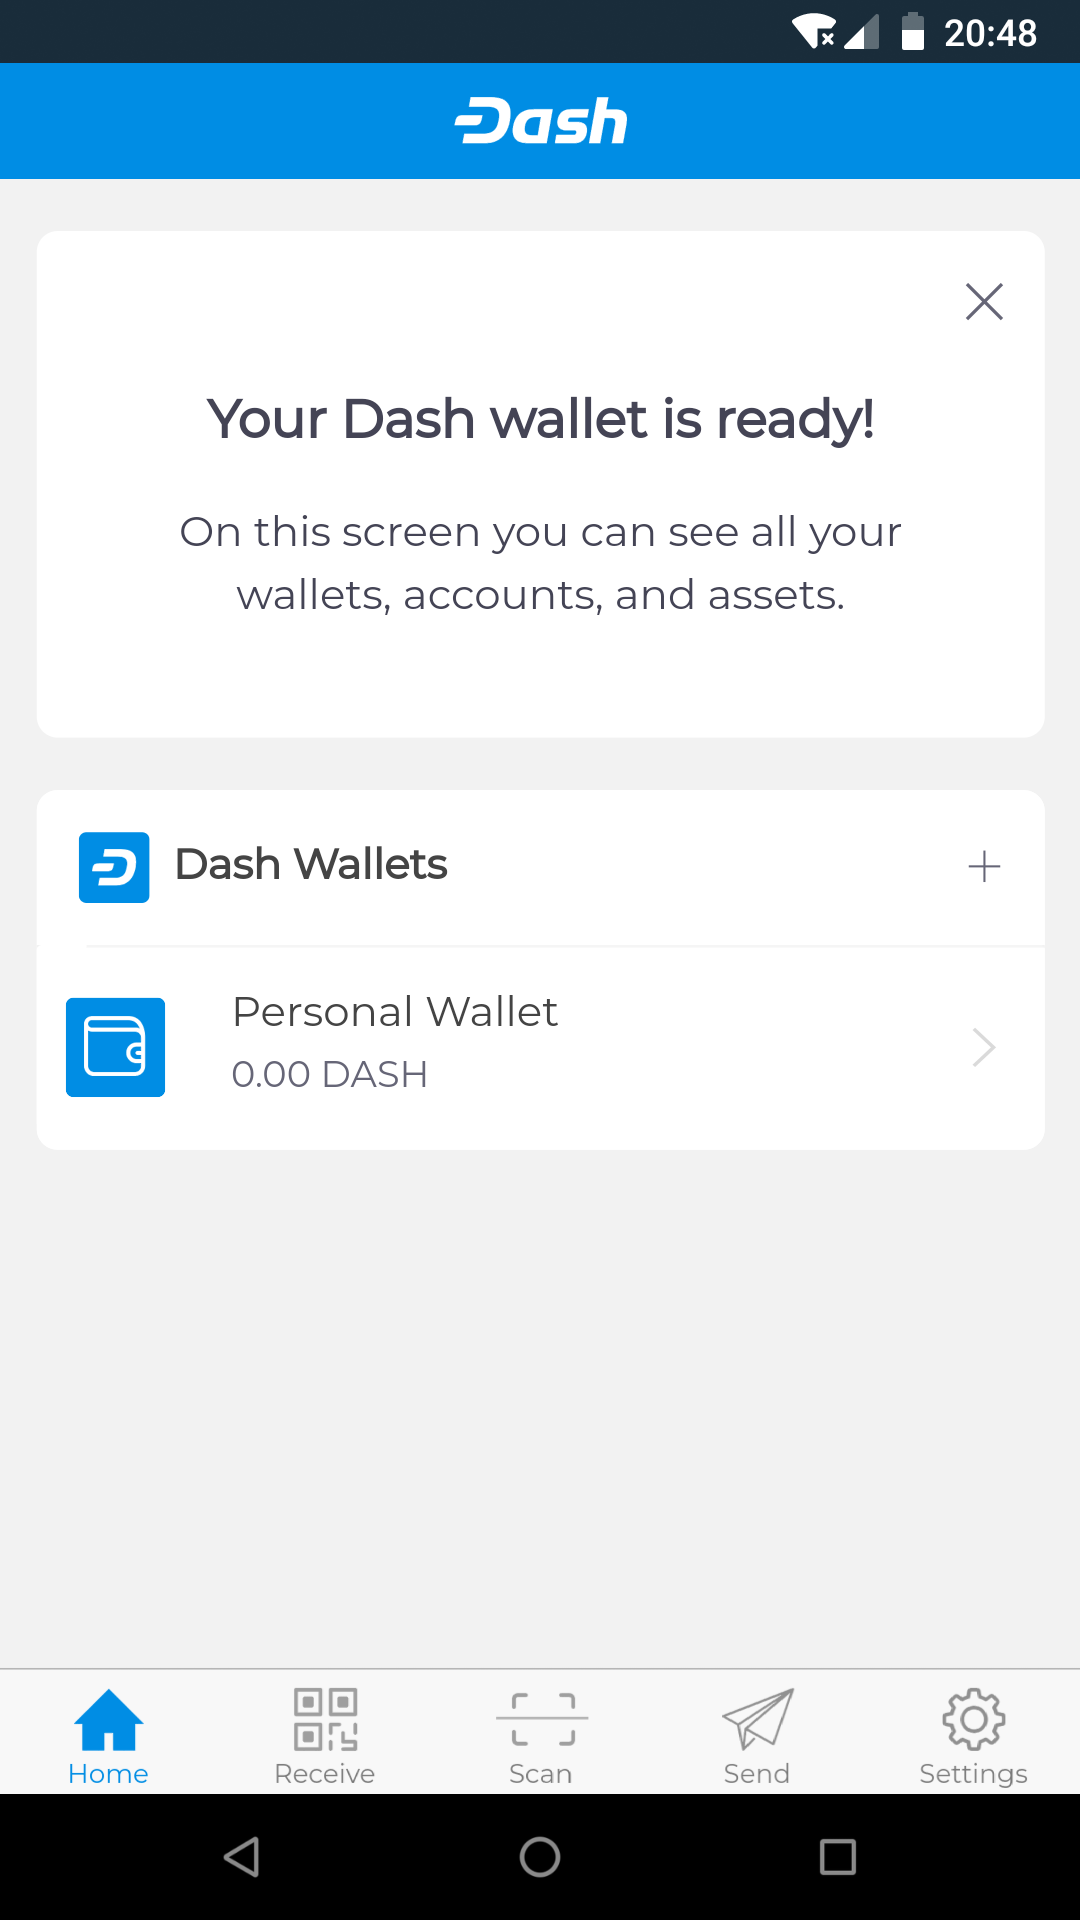
When you first start your Dash Copay Wallet, you will be prompted to choose between creating a new wallet or restoring an existing wallet from backup. Choose Get Started to create a new wallet, unless you have existing funds stored in another wallet using a recovery phrase. When prompted, enter and confirm a spending password to encrypt your wallet keys. You will need this password every time you want to send Dash from your wallet. At this point, you will be offered a chance to back up your wallet using a recovery phrase. It is highly recommended to do this immediately by tapping the Backup wallet button. Acknowledge the warnings, enter your password and write down the displayed recovery phrase on paper. Do not take a screenshot, since your device will likely make a copy on cloud storage, which is not necessarily under your personal control. Confirm the recovery phrase and terms of use. Your Dash Copay wallet is now ready to go!
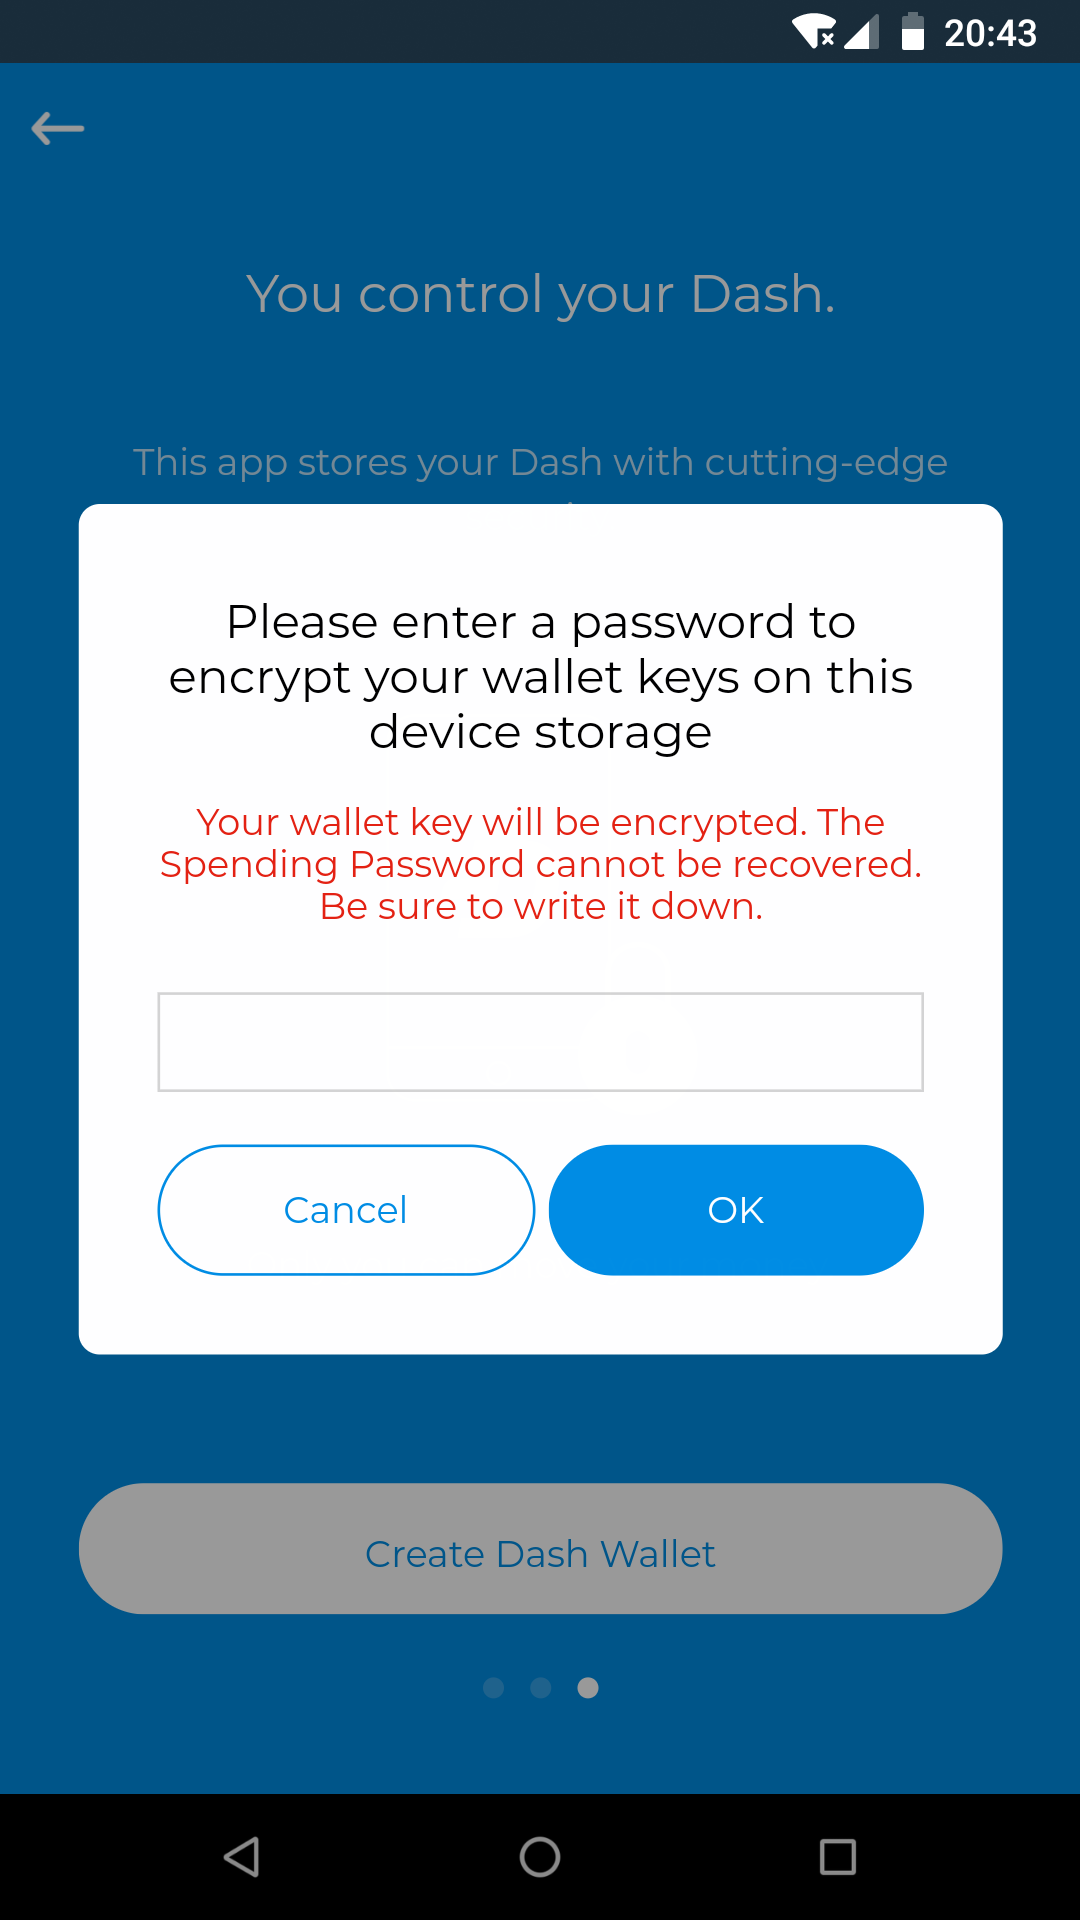
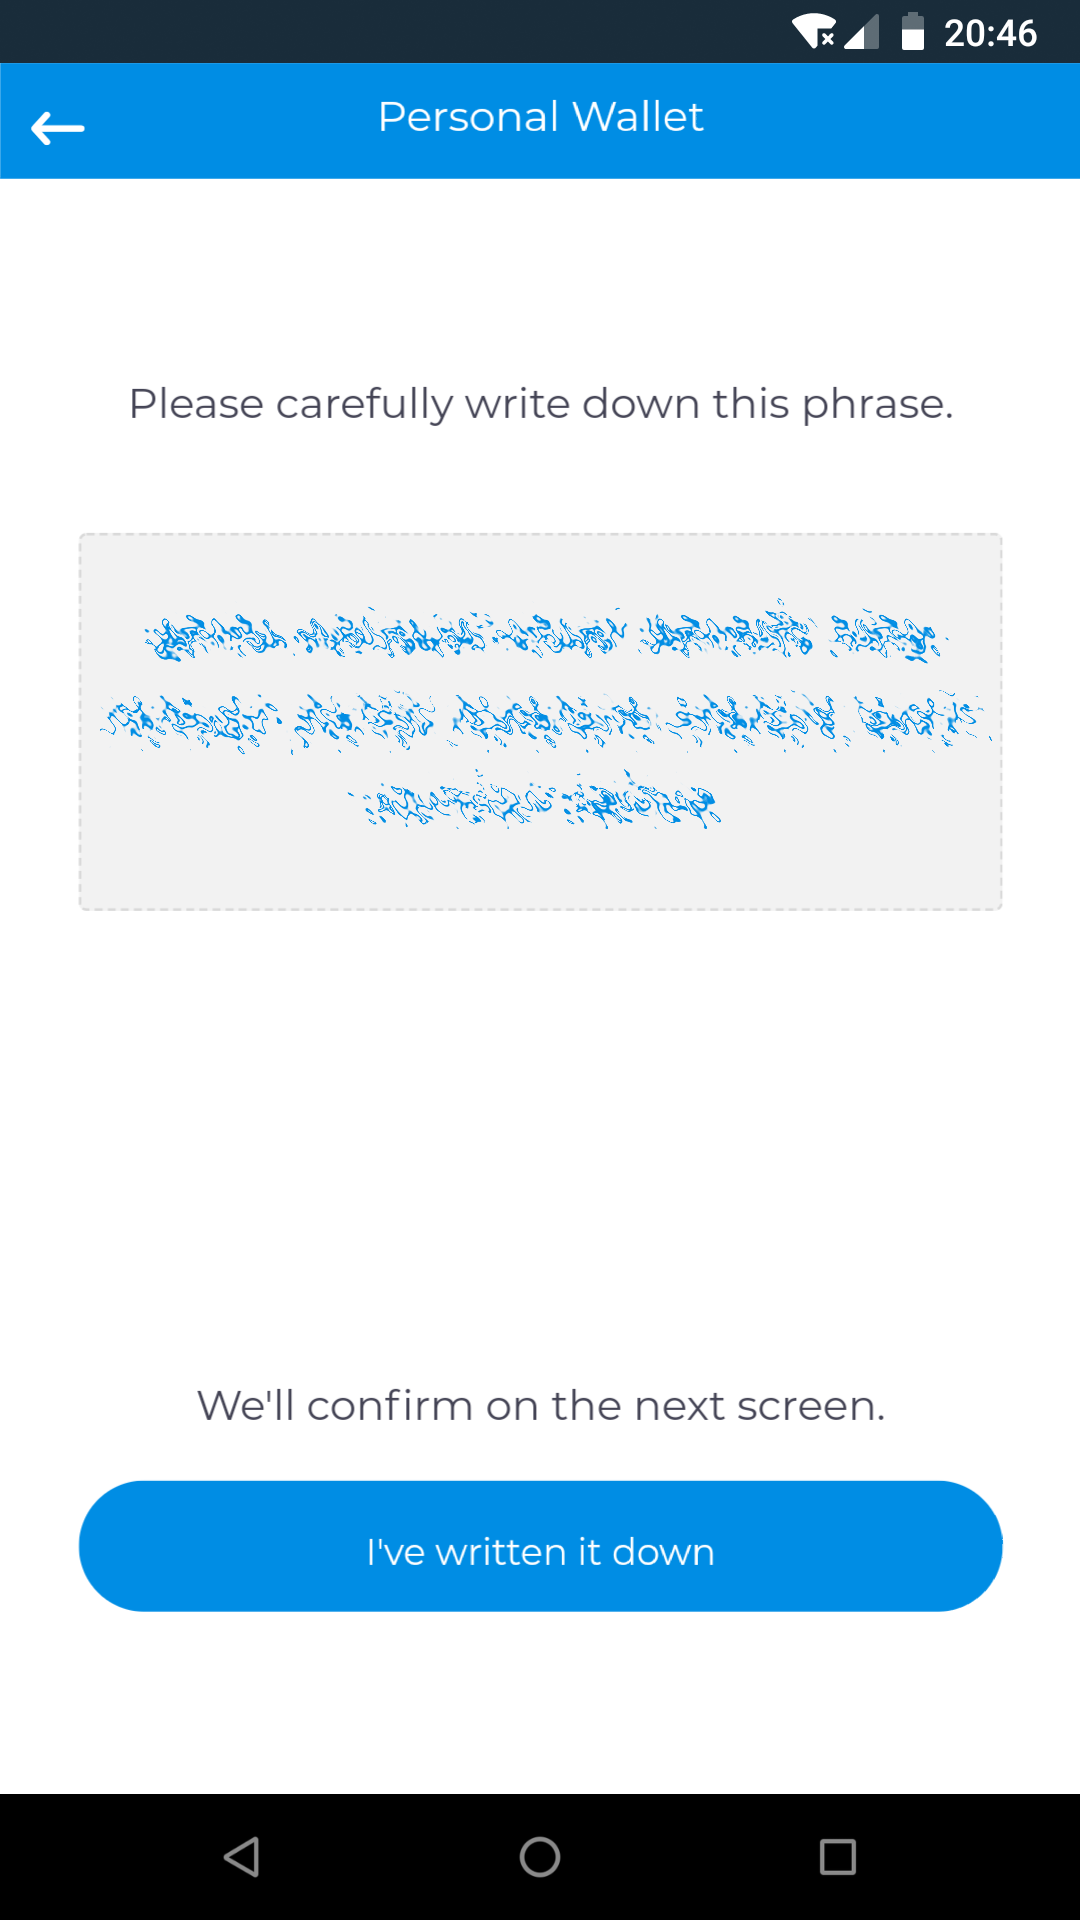
Creating a new wallet and generating the recovery phrase in Dash Copay wallet
If you want to restore an existing Dash Copay wallet, simply tap Restore from backup and enter the 12 word recovery phrase. File/text backups are also supported.
Empfangen
Simply tap the Receive icon at the bottom of the screen to receive Dash. The wallet will generate and display a QR code for the other device to scan, or you can tap the displayed address to copy it to the clipboard so you can paste it in another app. If you have multiple wallets, you can see the name of the wallet at the bottom of the screen, and tap it to switch between wallets. The receiving address will change and you will receive a notification when you receive the transfer.
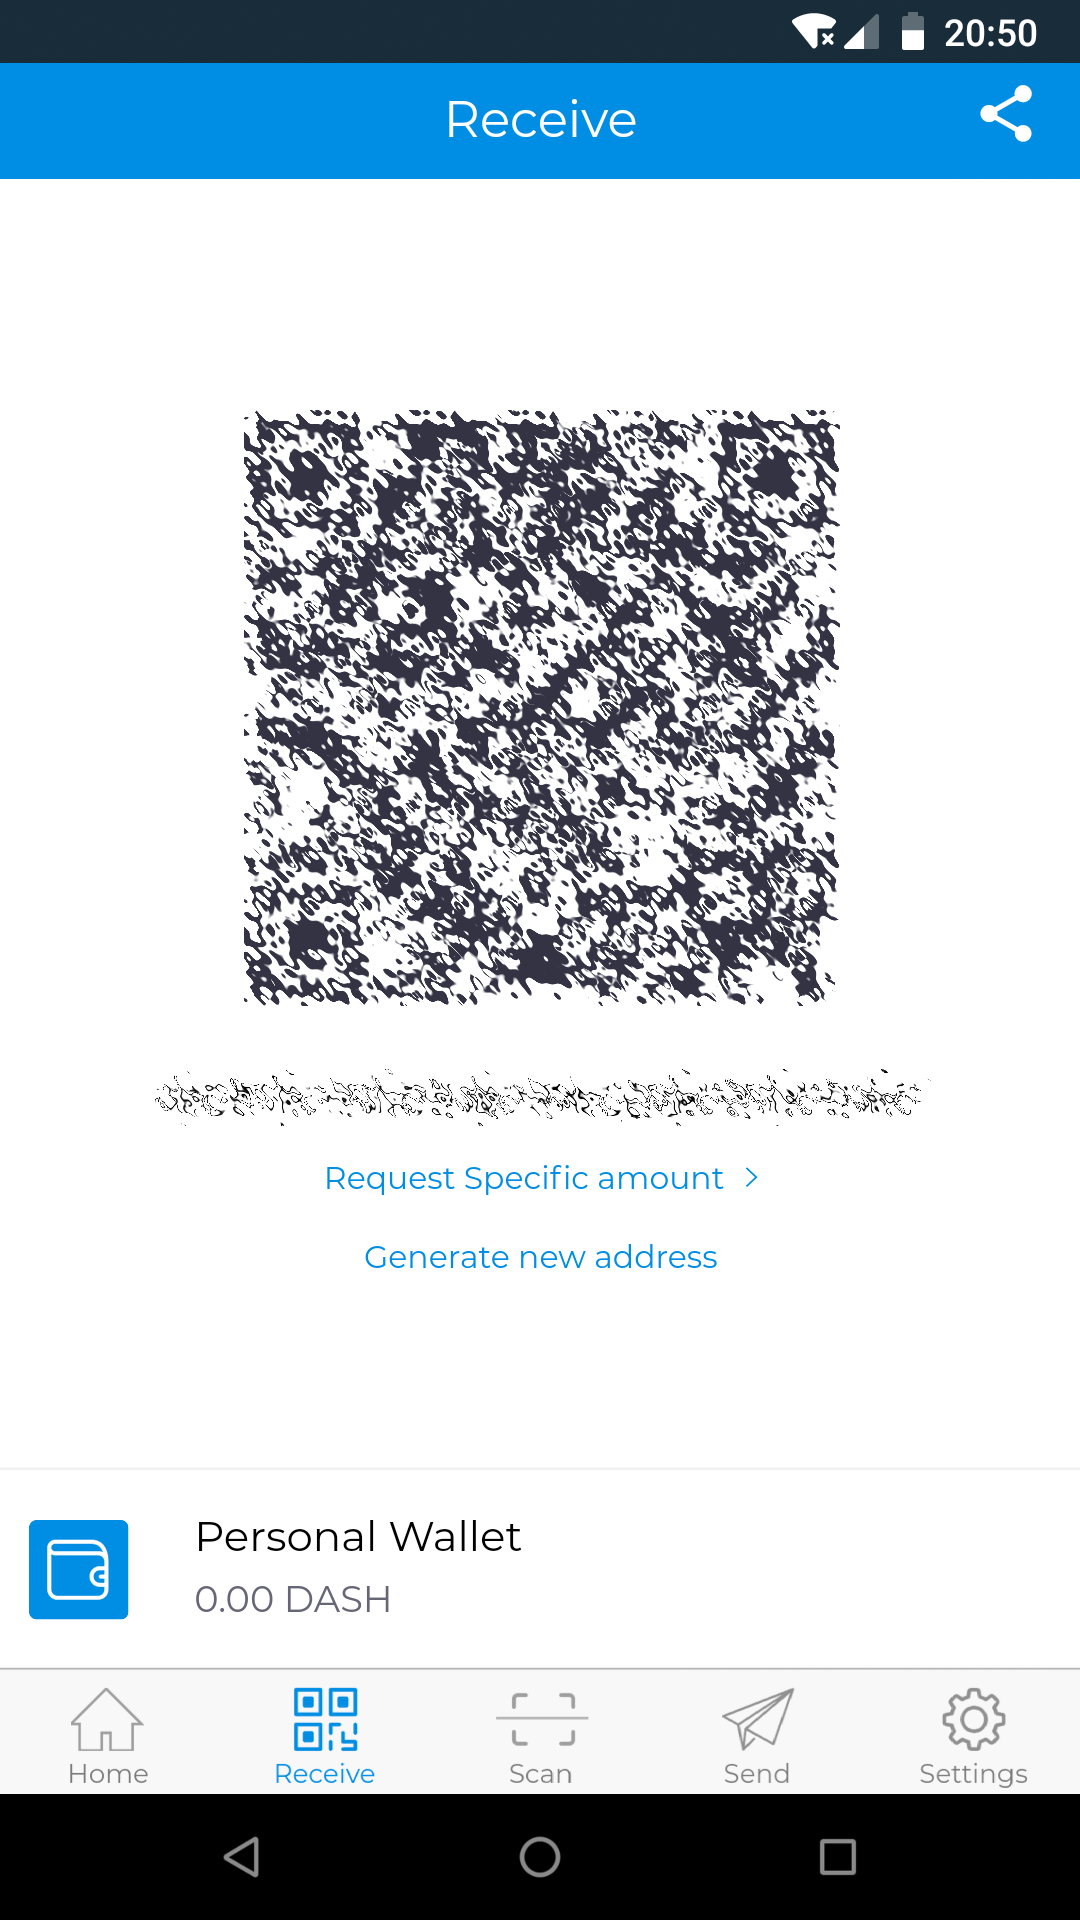
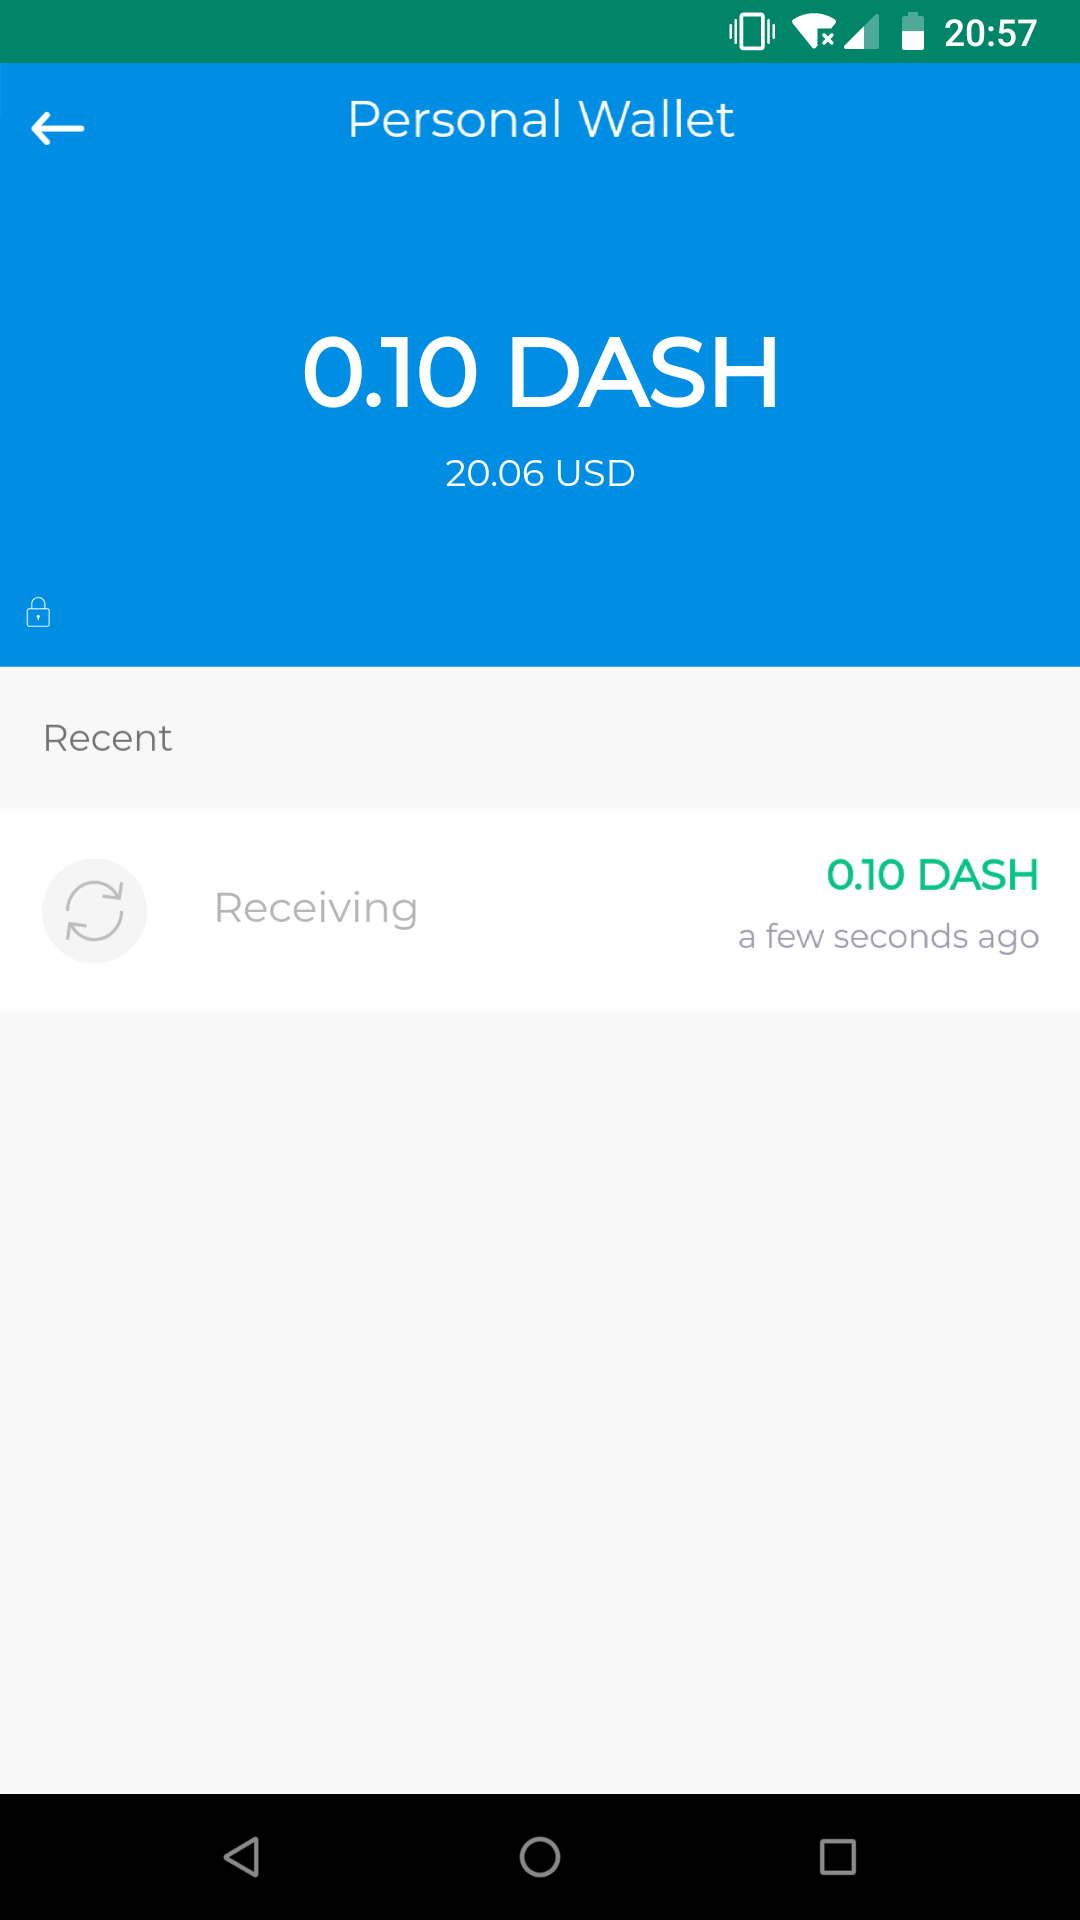
Receiving dash and viewing your balance in Dash Copay wallet
Senden
Depending on how your payee has provided their receiving address to you, you can send Dash by tapping either the Scan icon to use the device camera to scan a QR code, or the Send icon to paste a copied address or select an address from your Dash Copay address book. Once you have entered the address, it may be possible or necessary to enter the amount of Dash to be sent or an optional label for the recipient, and to decide if you want to send with InstantSend on or off (off by default). If you have multiple wallets, you must also choose which wallet you will use to send the funds. Once the transaction is complete, you will see a payment confirmation screen.
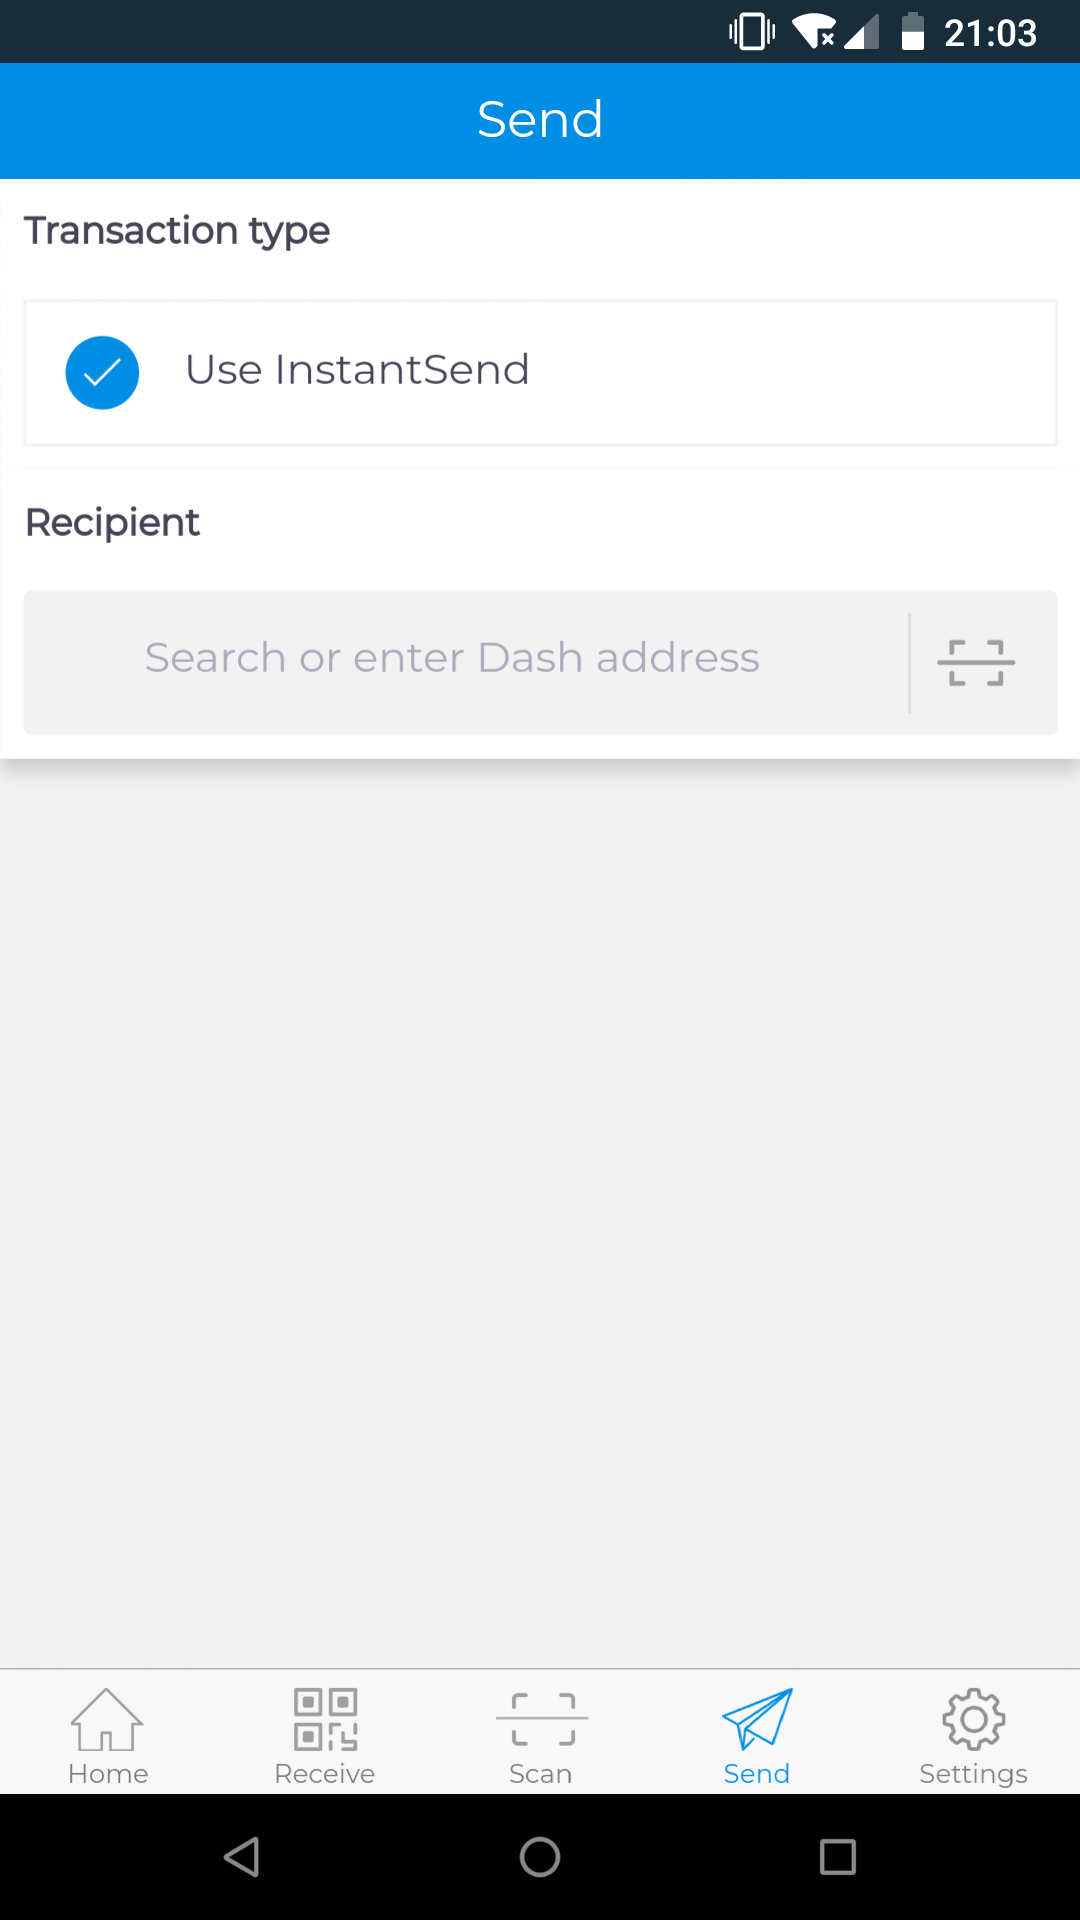
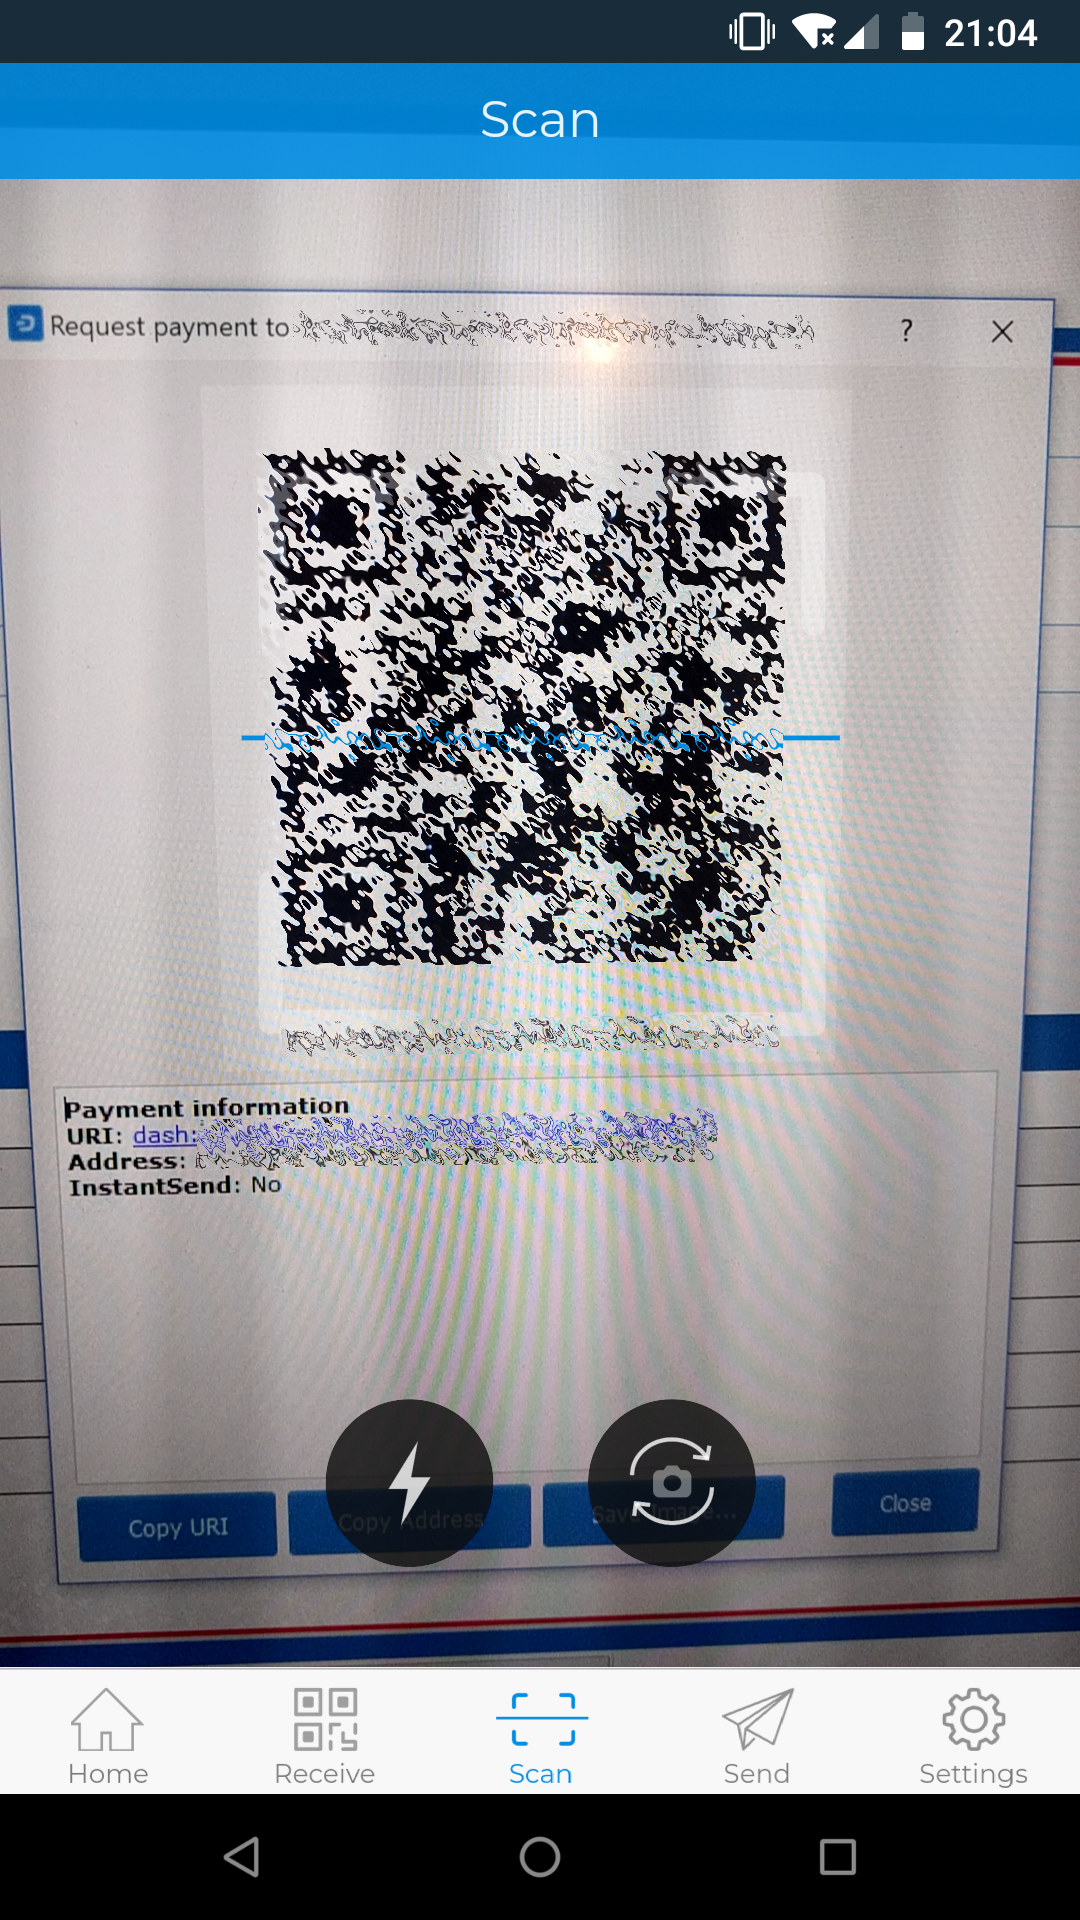
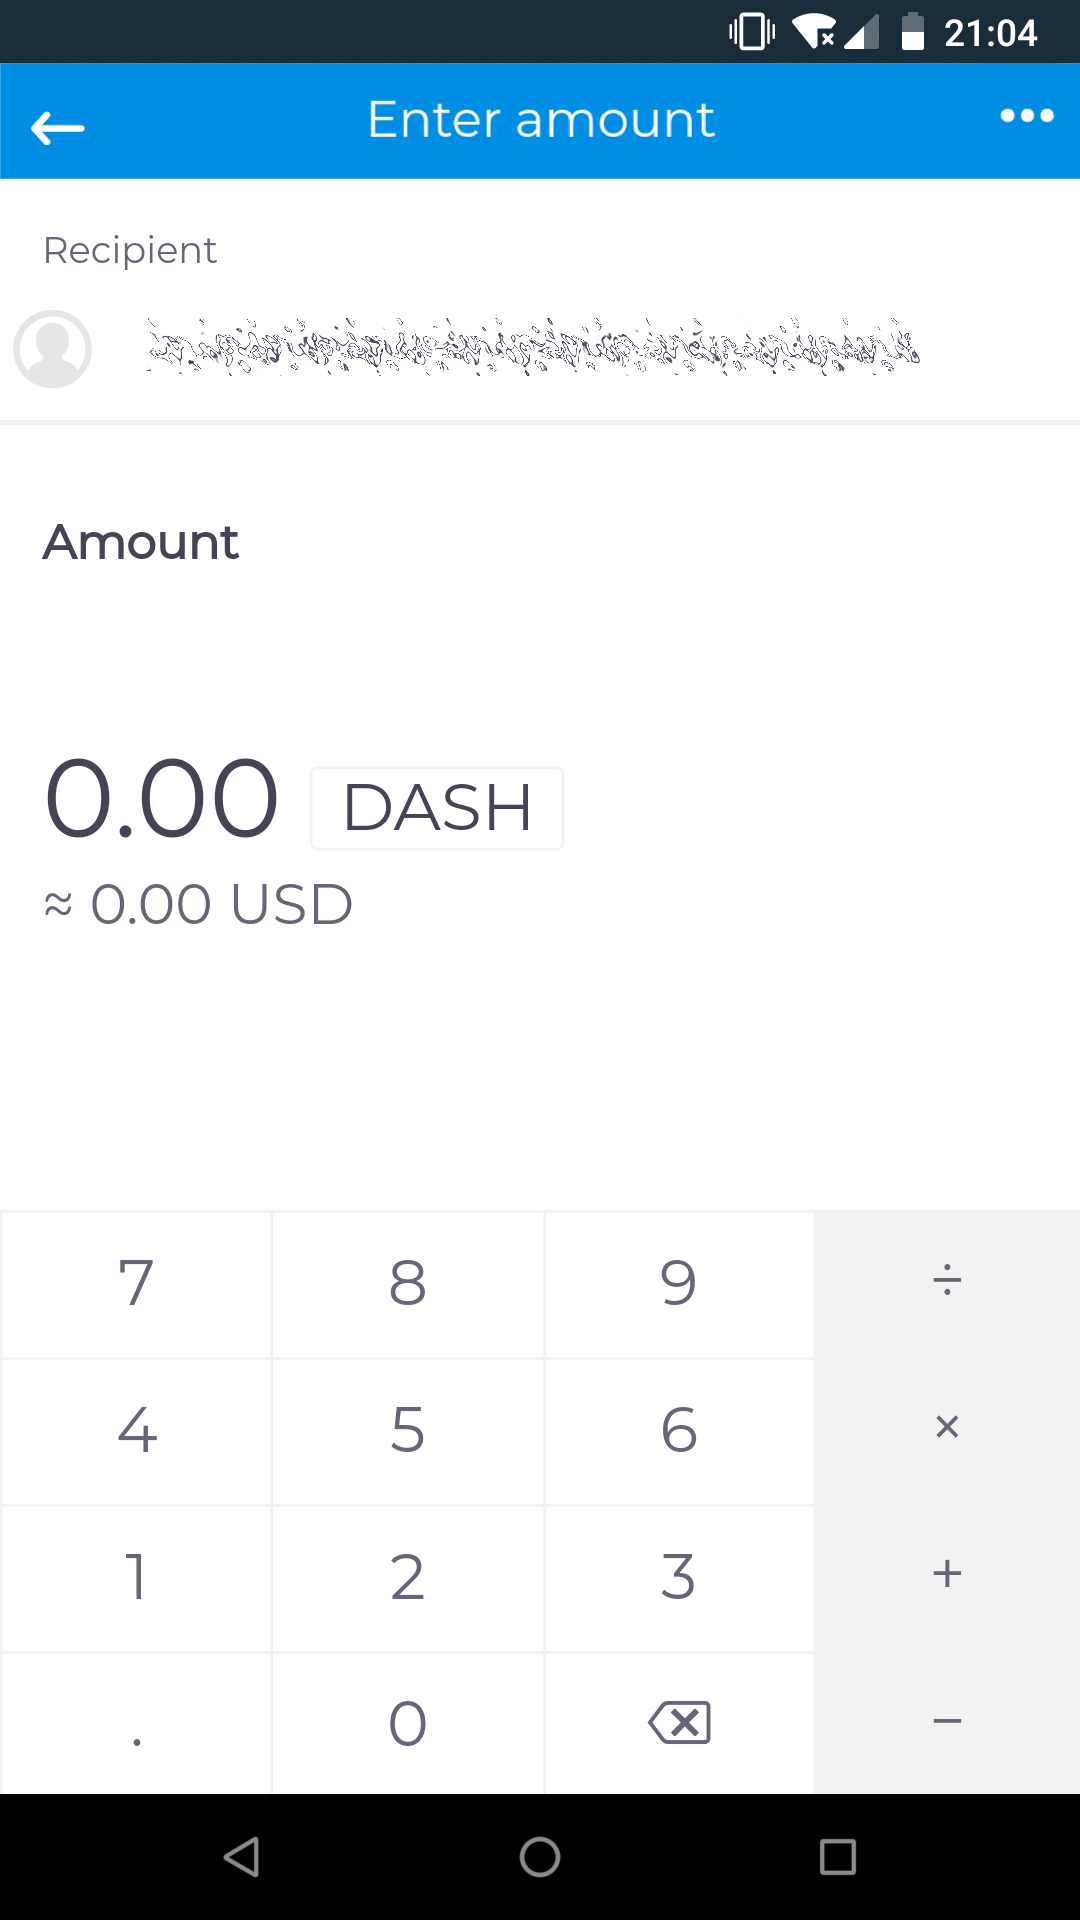
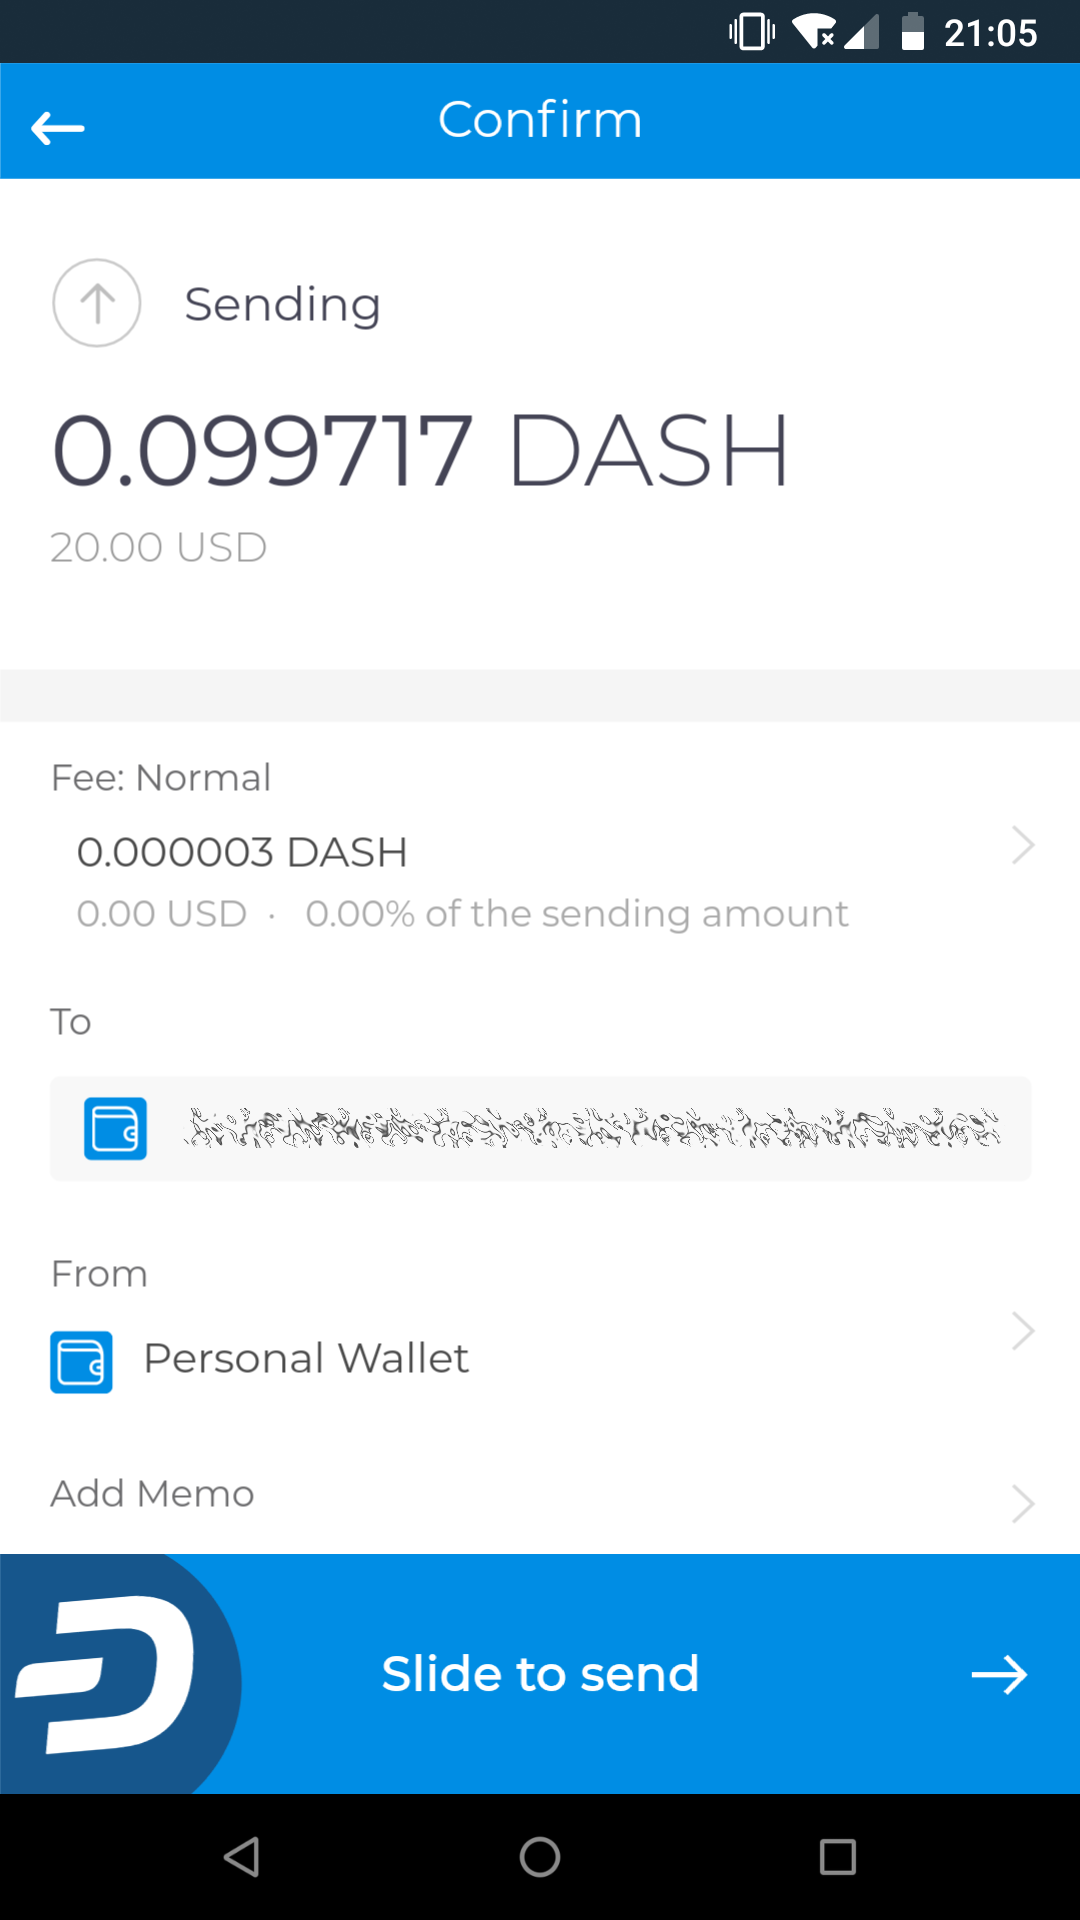
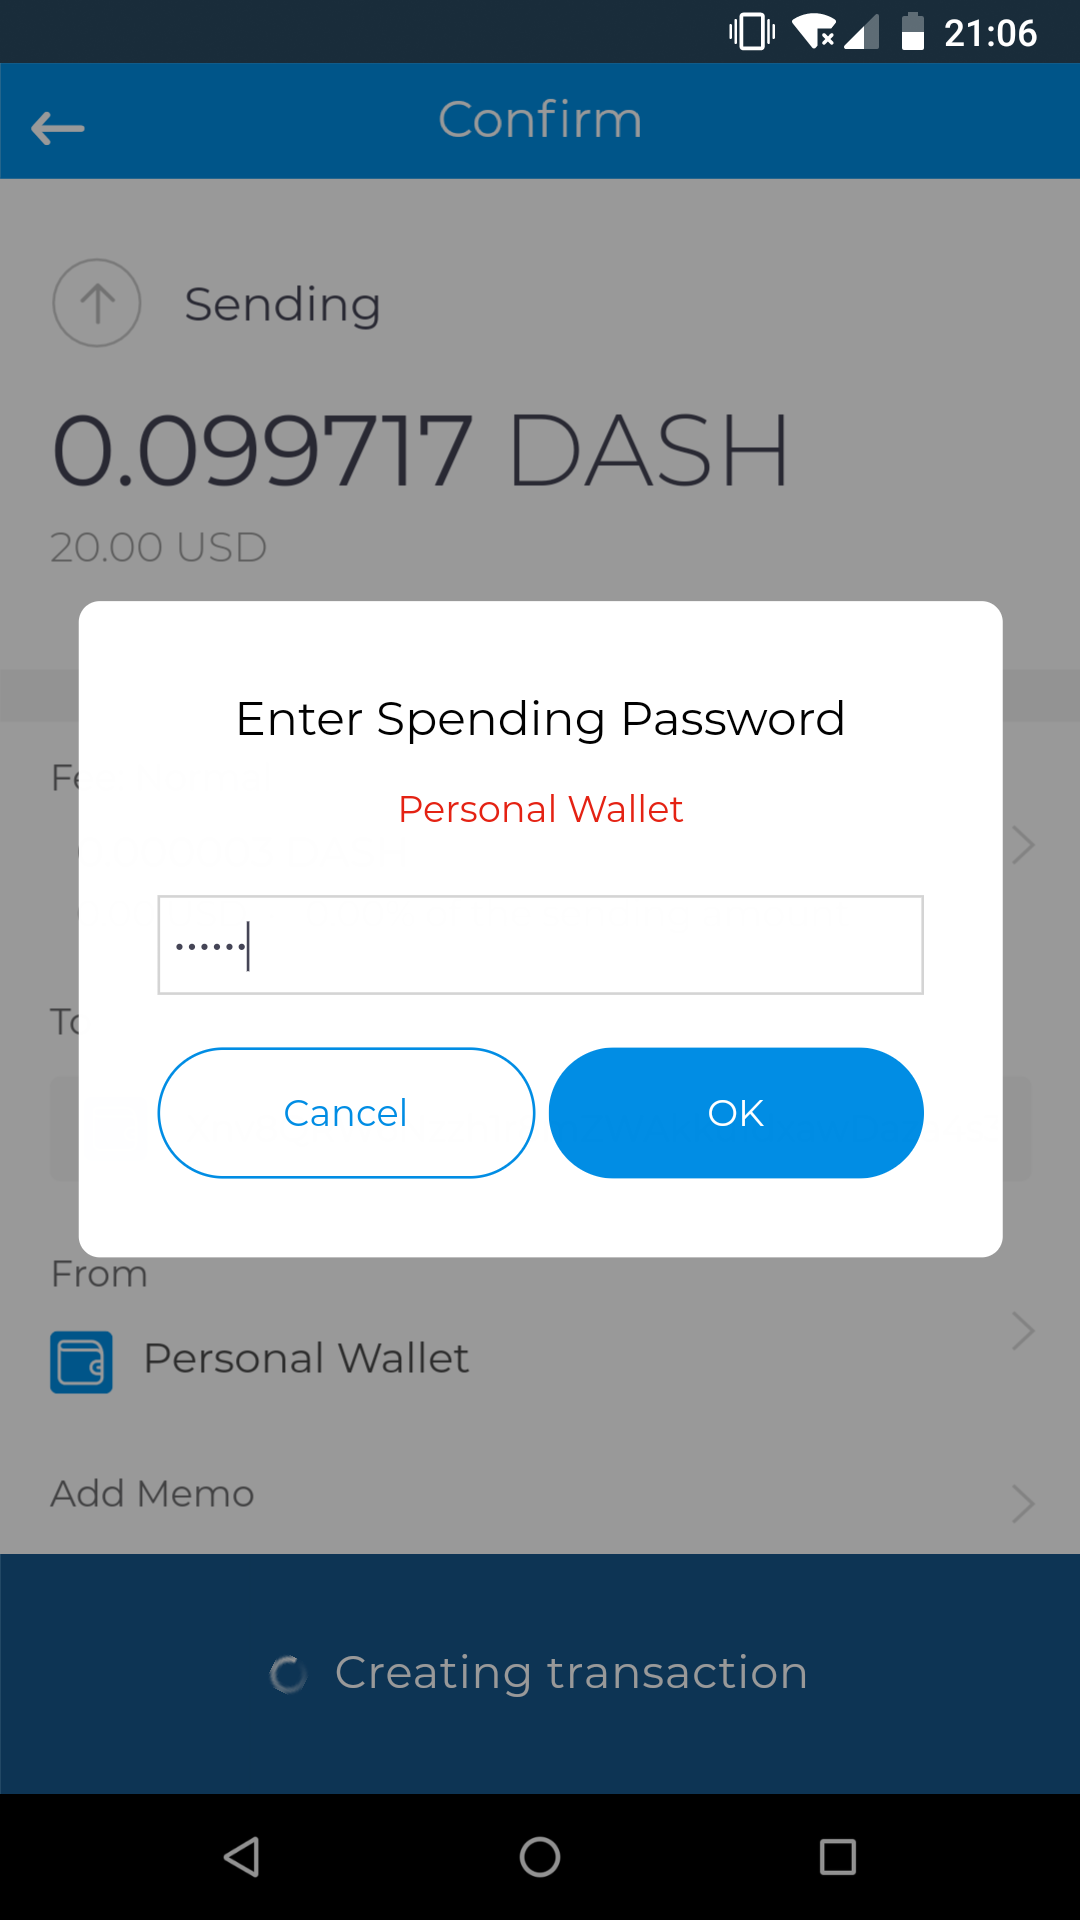
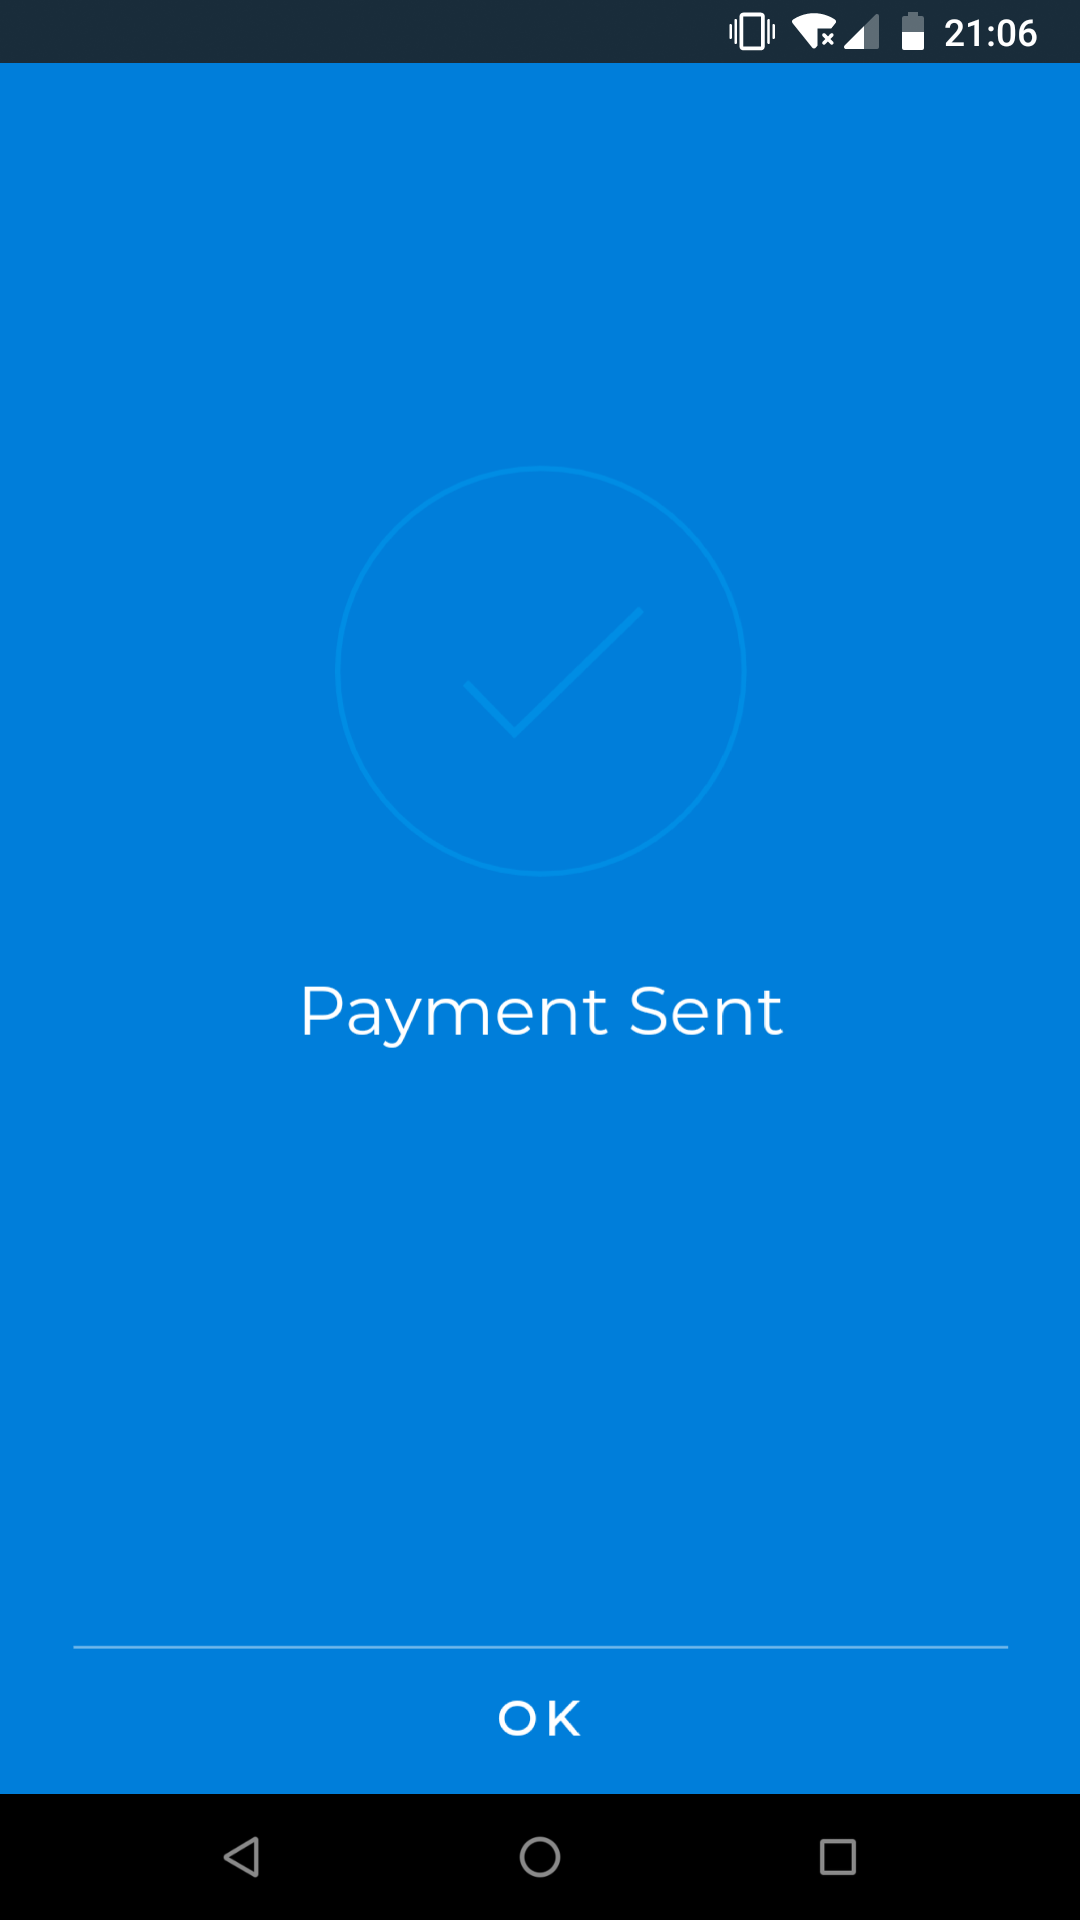
Sending Dash from Dash Copay wallet
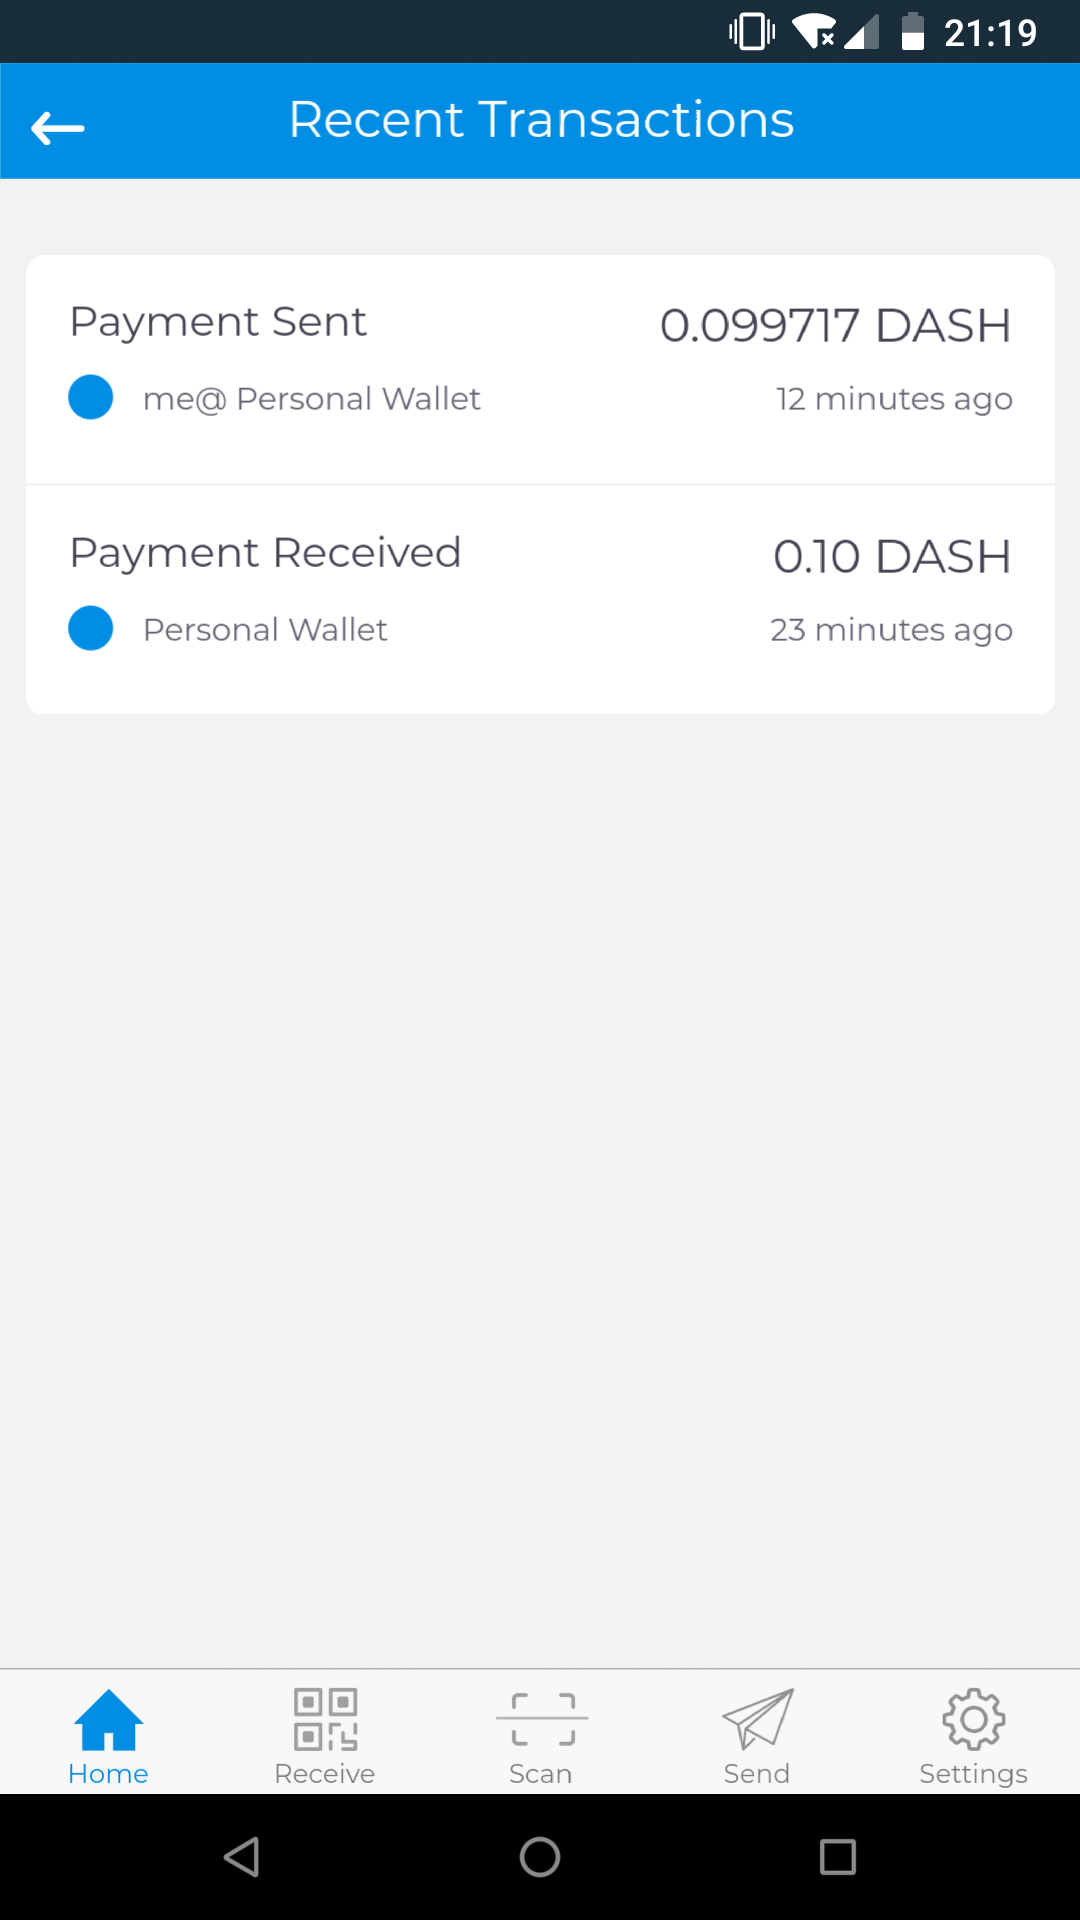
Viewing transactions and balances
Your recent transactions appear on the Home screen. You can tap any transaction to view more details or enter a Memo to help you remember the purpose of the transaction. Tap View on blockchain to open the Insight blockchain explorer to view full transaction details. All the wallets you have created and their respective balances appear below the recent transactions on the Home screen. You can tap any wallet to view the balance and transaction history associated with that wallet only.
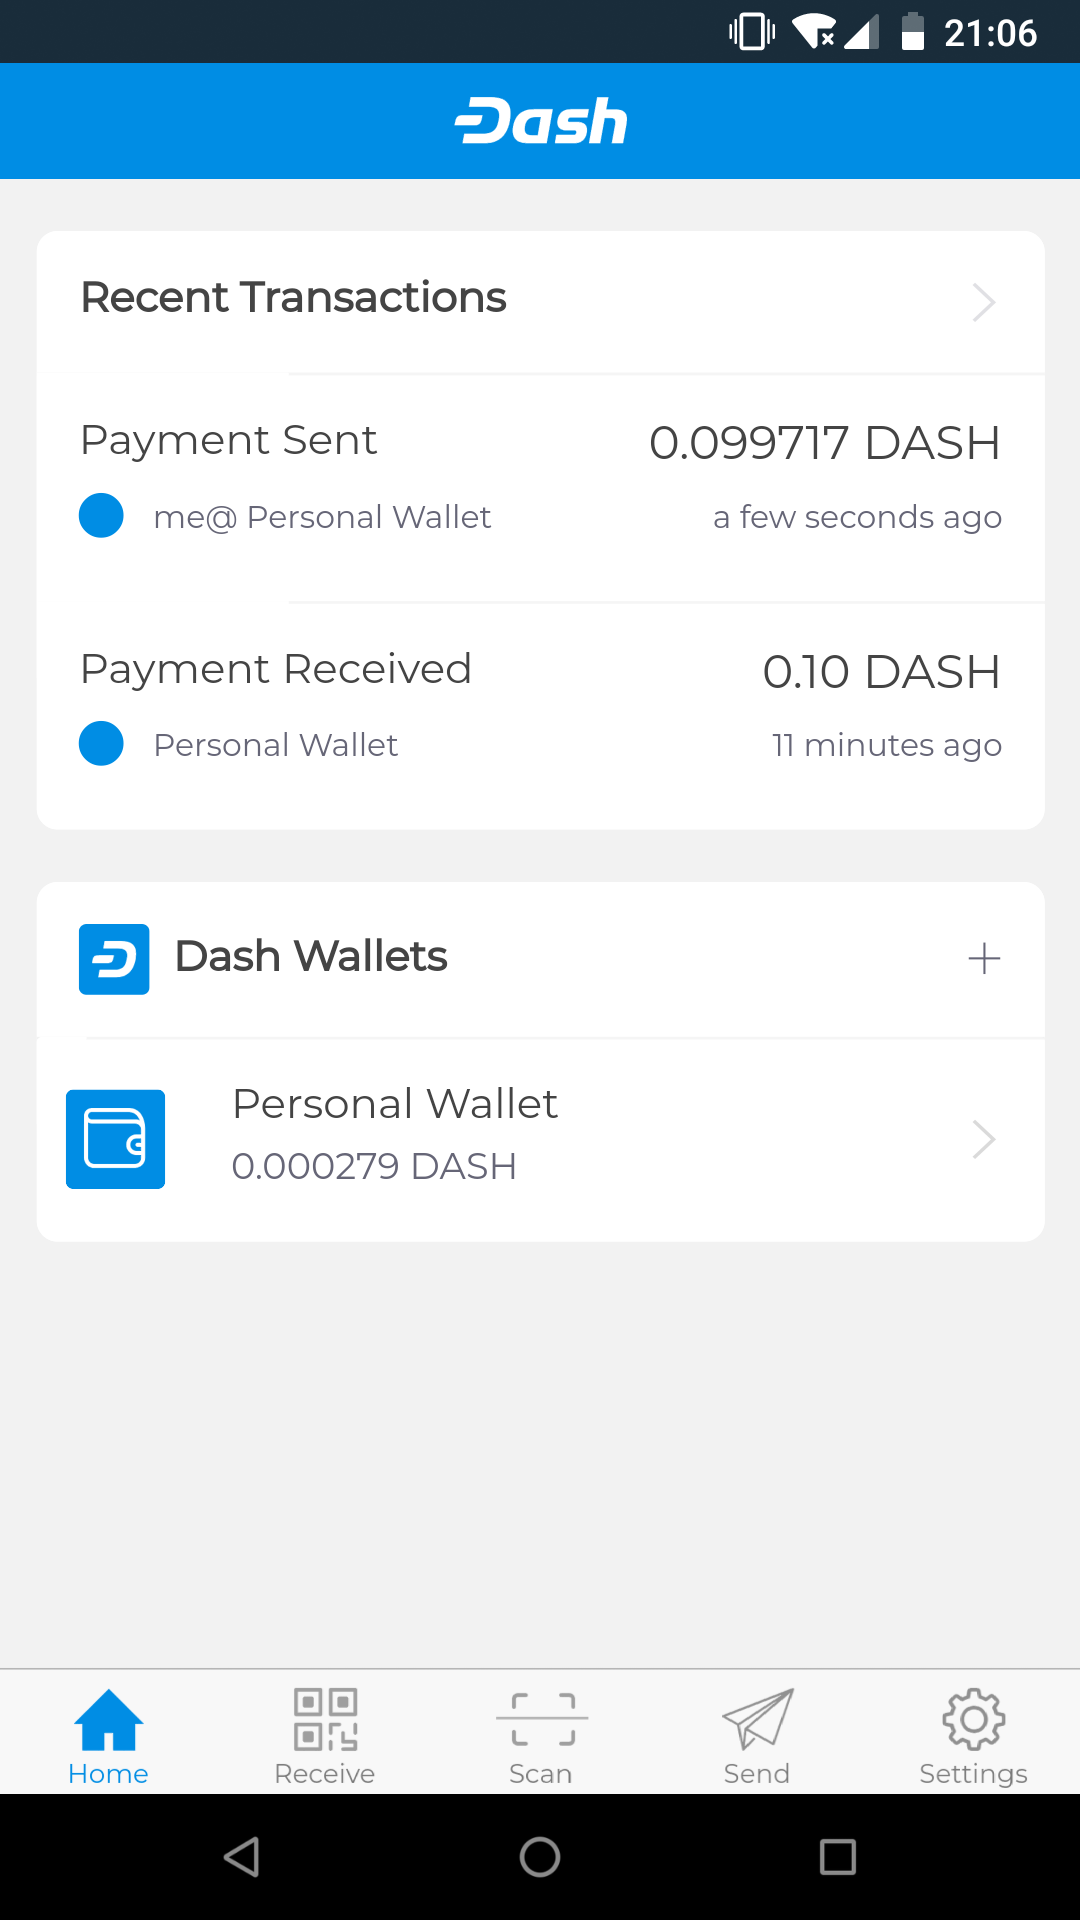
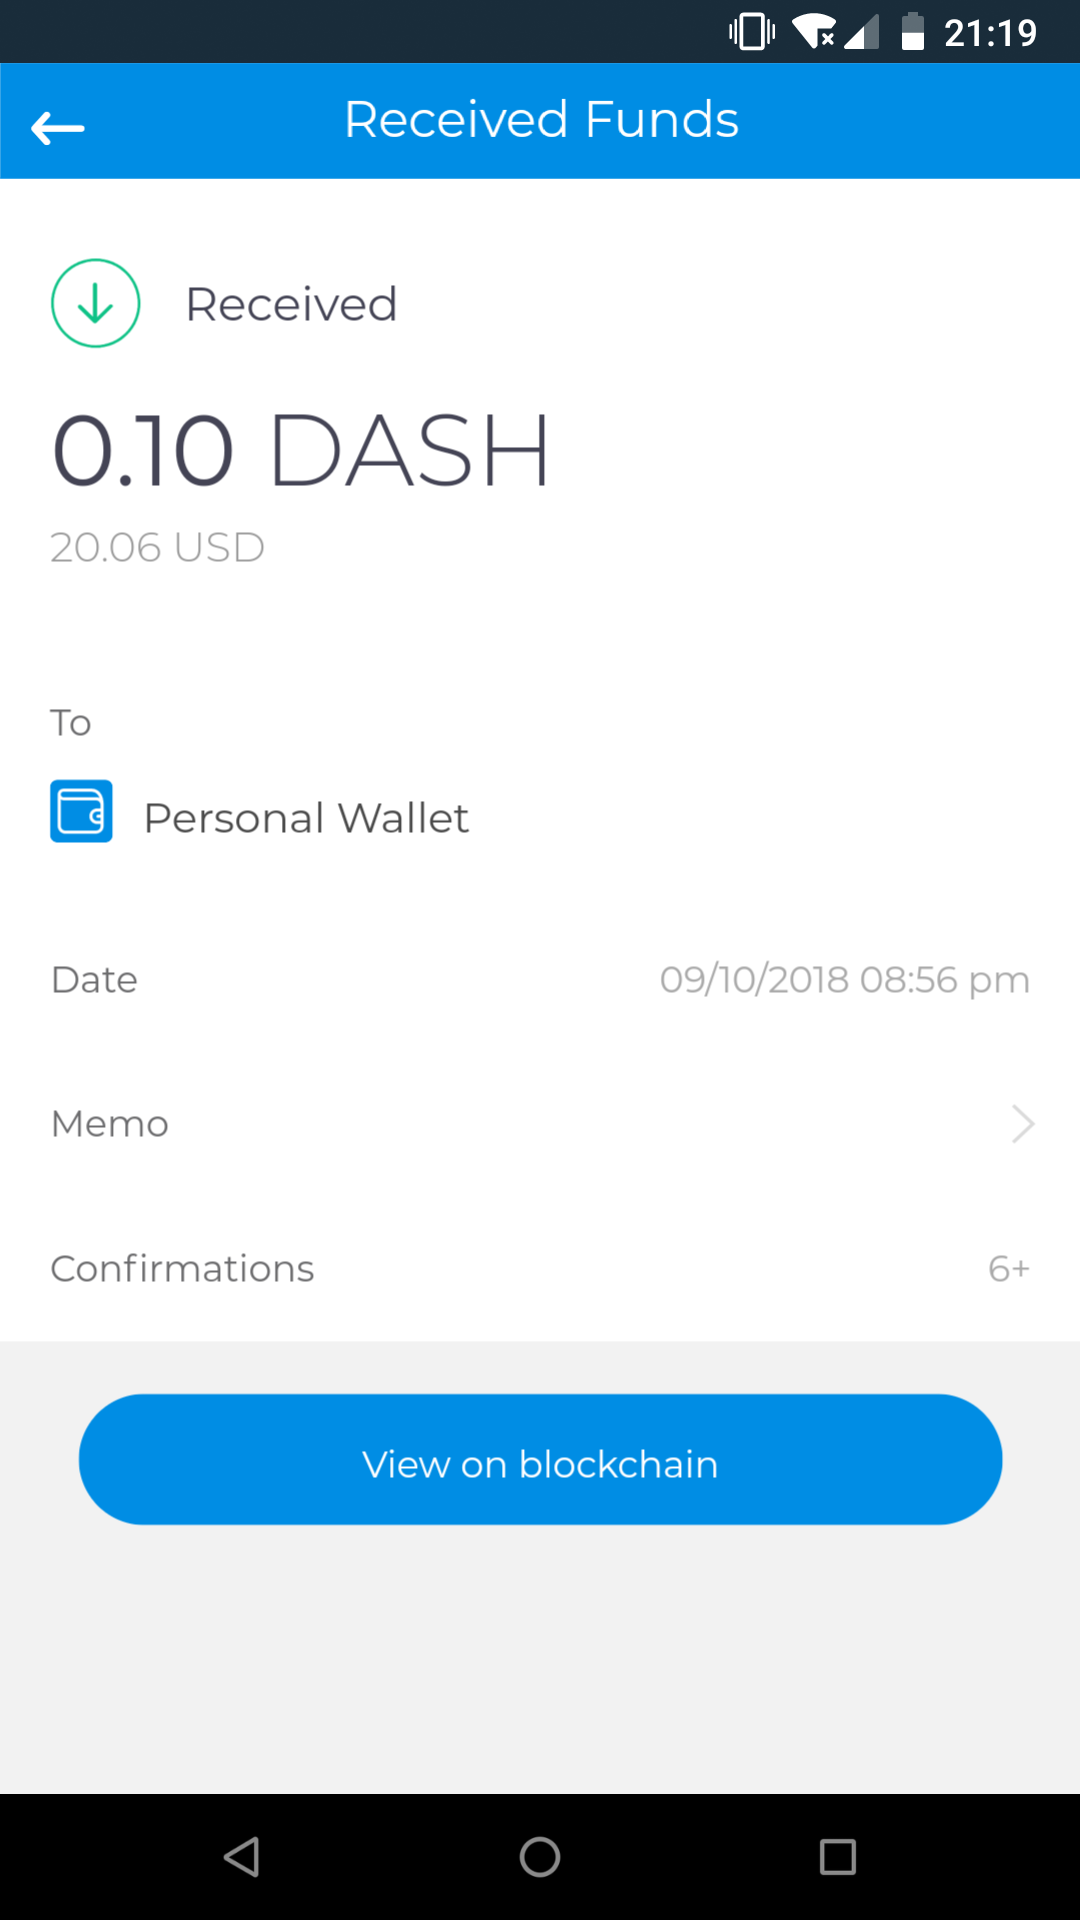
Home screen, transaction details and wallet details in Dash Copay wallet