Linux Installation Guide#
This guide describes how to download, verify, install and encrypt the Dash Core wallet for Linux. The guide is written for Ubuntu 20.04 LTS, but the steps should be similar for other Linux distributions.
Downloading the Dash Core wallet#
Visit https://www.dash.org/downloads/ to download the latest Dash Core wallet. In most cases, the website will properly detect which version you need. Click the Dash Core button to download the package directly.

The website properly detects the wallet appropriate for your system#
If detection does not work, you will need to manually choose your operating system and whether you need an x64 (64 bit x86) or ARM version. If you are unsure about your version of Linux, you can check in Ubuntu using the Terminal:
uname -m
If the response is x86_64, download Dash Core x64. If the response is
aarch64, download Dash Core ARM. Once you know which version you need,
download the Dash Core TGZ file to your computer from
https://www.dash.org/downloads/ and save it to your Downloads folder.
Note
Since Dash Core 18.0, downloads are not available for 32-bit Linux installations.
Verifying Dash Core#
This step is optional, but recommended to verify the authenticity of the file you downloaded. This is done by checking its detached signature against the public key published by the Dash Core development team. To download the detached signature, click the Signature button on the wallet download page and save it to the same folder as the downloaded binary.
All releases of Dash since 0.16.0 are signed using GPG with the following key:
Pasta (pasta) with the key
5252 7BED ABE8 7984, verifiable on Keybase (download)
Open a terminal, import the key and verify the authenticity of your download as follows:
curl https://keybase.io/pasta/pgp_keys.asc | gpg --import
gpg --verify dashcore-20.1.1-x86_64-linux-gnu.tar.gz.asc
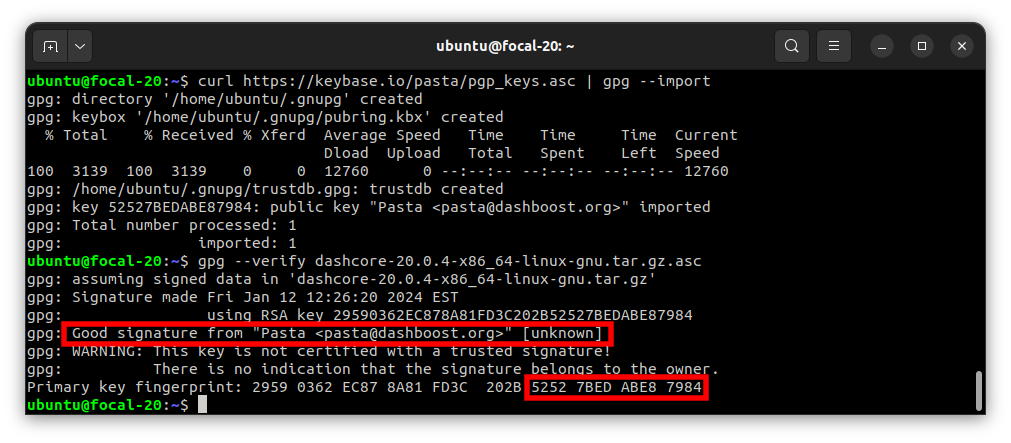
Downloading the PGP key and verifying the signed binary#
If you see the message Good signature from ... then you have an
authentic copy of Dash Core for Linux.
Note
If you have your own key configured, you can eliminate warnings from the verification output by signing the imported key before verifying:
gpg --quick-lsign-key "29590362EC878A81FD3C202B52527BEDABE87984"
gpg --verify dashcore-20.1.1-x86_64-linux-gnu.tar.gz.asc
Extracting Dash Core#
Dash Core for Linux is distributed as a compressed archive and not an installer. This is because this same archive also contains other files built for running a masternode on a server, for example. In this guide, we will extract the executable file with a graphical user interface (GUI) designed for use by end users as a wallet.
Extract Dash Core as follows:
tar xzf dashcore-20.1.1-x86_64-linux-gnu.tar.gz
This will create a folder named dashcore-20.1.1 in the current working
directory. We will now install the executable binaries to
/usr/local/bin using the install command:
sudo install -m 0755 -o root -g root -t /usr/local/bin dashcore-20.1.1/bin/*
Start Dash Core from the terminal with the following command:
dash-qt
The first time the program is launched, you will be offered a choice of where you want to store your blockchain and wallet data. Choose a location with enough free space, as the blockchain can reach 45GB+ in size. It is recommended to use the default data folder if possible.
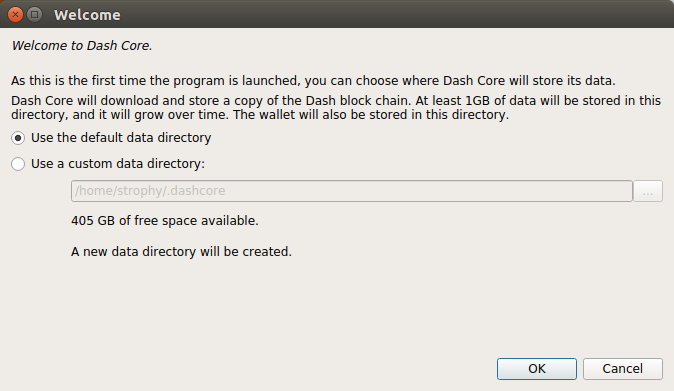
Choosing the Dash Core data folder#
Dash Core will then start up. This will take a little longer than usual the first time you run it, since Dash Core needs to generate cryptographic data to secure your wallet.
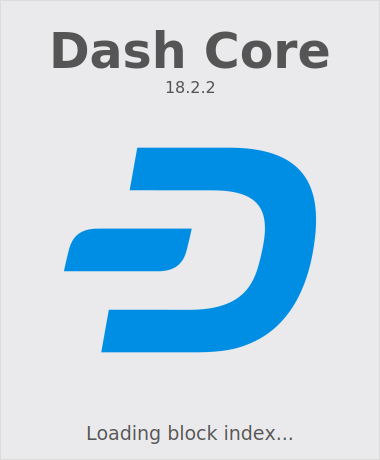
Starting Dash Core#
Synchronizing Dash Core to the Dash network#
Once Dash Core is successfully installed and started, you will see the wallet overview screen. You will notice that the wallet is “out of sync”, and the status bar at the bottom of the window will show the synchronization progress.
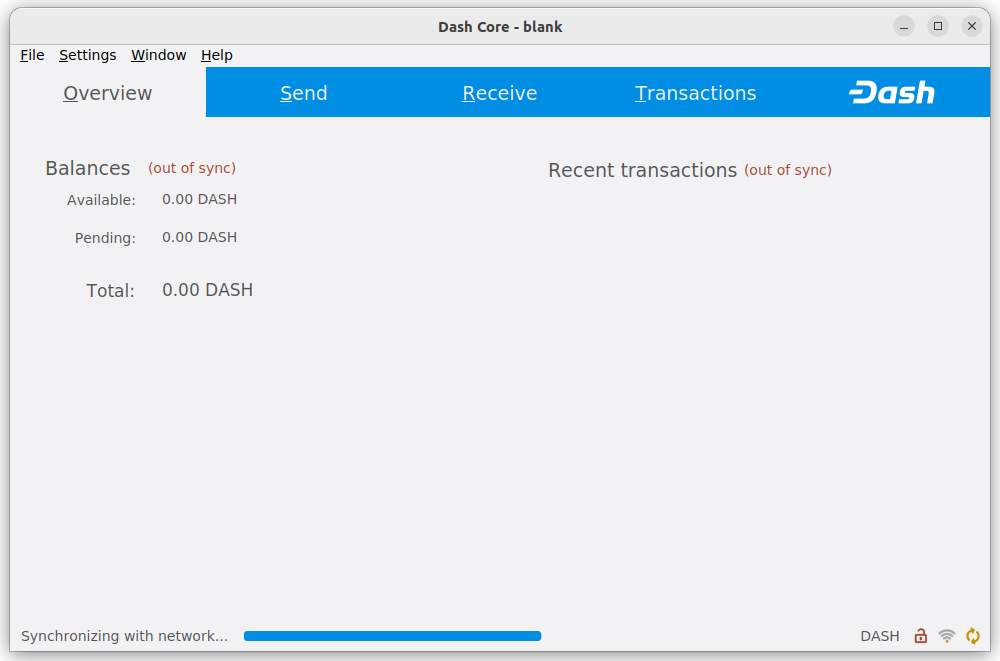
Dash Core begins synchronizing with the Dash network#
During this process, Dash Core will download a full copy of the Dash blockchain from other nodes to your device. Depending on your internet connection, this may take a long time. If you see the message “No block source available”, check your internet connection. When synchronization is complete, you will see a small green tick in the lower right corner.

Dash Core synchronization is complete#
You can now create a wallet to send and receive funds.
Setting up a desktop entry#
You can set up an XDG Desktop Entry
in order to be able to launch Dash Core from your KDE or Gnome desktop
environment. To do so, create a file named
~/.local/share/applications/dash.desktop and add the following
content:
[Desktop Entry]
Version=1.5
Name=Dash Core
Comment=Dash Core is used to interact with the Dash blockchain
Exec=/usr/local/bin/dash-qt
Icon=dash-icon
Terminal=false
Type=Application
Ensure the file is executable:
chmod +x ~/.local/share/applications/dash.desktop
An appropriate icon can optionally be downloaded from the Dash Brand Guidelines page:
wget https://media.dash.org/wp-content/uploads/dash-d-rounded-square-250.png
xdg-icon-resource install --size 256 dash-d-rounded-square-250.png dash-icon
Creating your Dash Wallet#
New in version v20.1.0: HD wallets are now created by default.
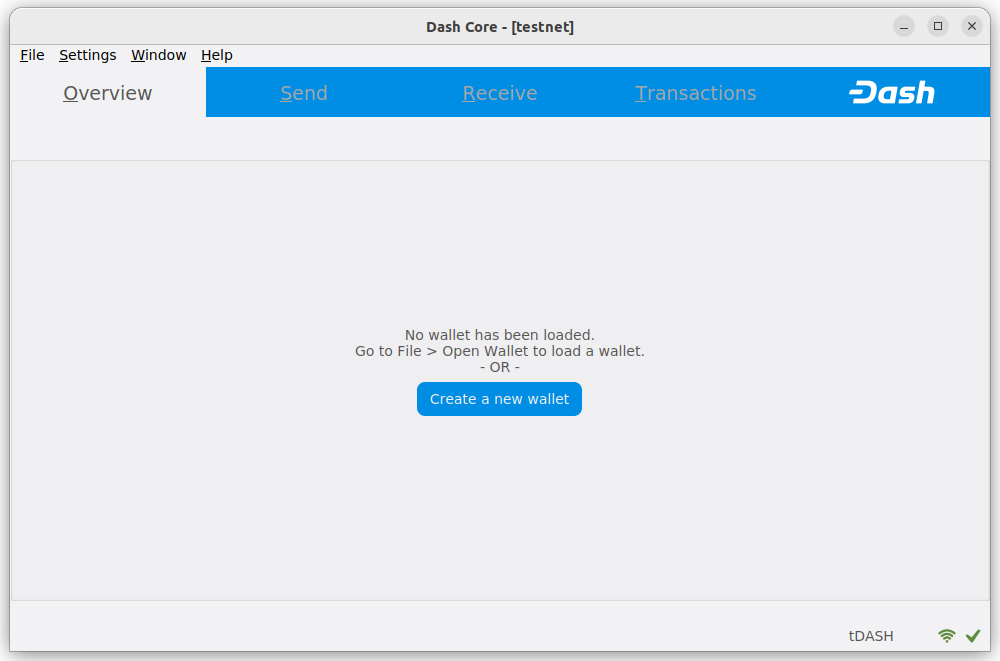
If no wallet files are loaded, you will get this prompt in the Overview tab. To create a wallet, click the Create a new wallet button or click File -> Create Wallet. HD wallets are created by default. See the advanced topics section for information about HD wallets.
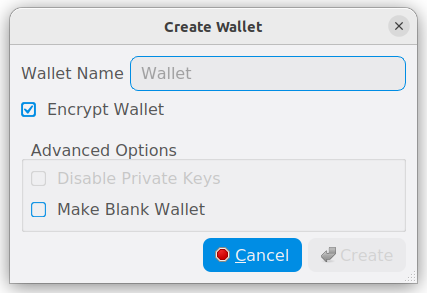
You will be prompted to create a new wallet with a custom wallet name. By default, your wallet will be encrypted. You may choose to uncheck the box and encrypt the wallet later. We have included instructions on how to encrypt your wallet in the following section.
If you do choose to encrypt now, you will be asked to enter and verify a password.
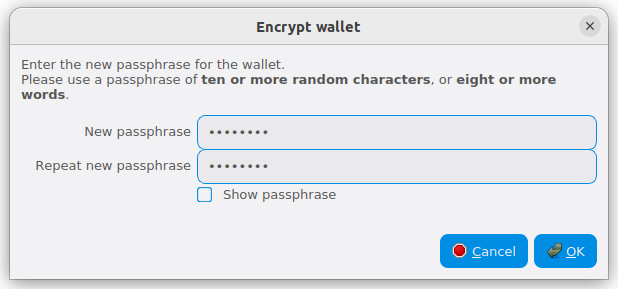
Enter a password#
Following that, you will get a standard warning.
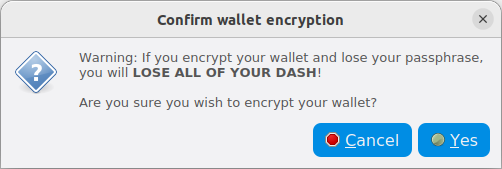
Confirm you want to encrypt your wallet#
The following section will detail the steps you need to follow if you choose to encrypt your Dash wallet later.
Encrypting your Dash wallet#
To encrypt your wallet, click Settings > Encrypt wallet.
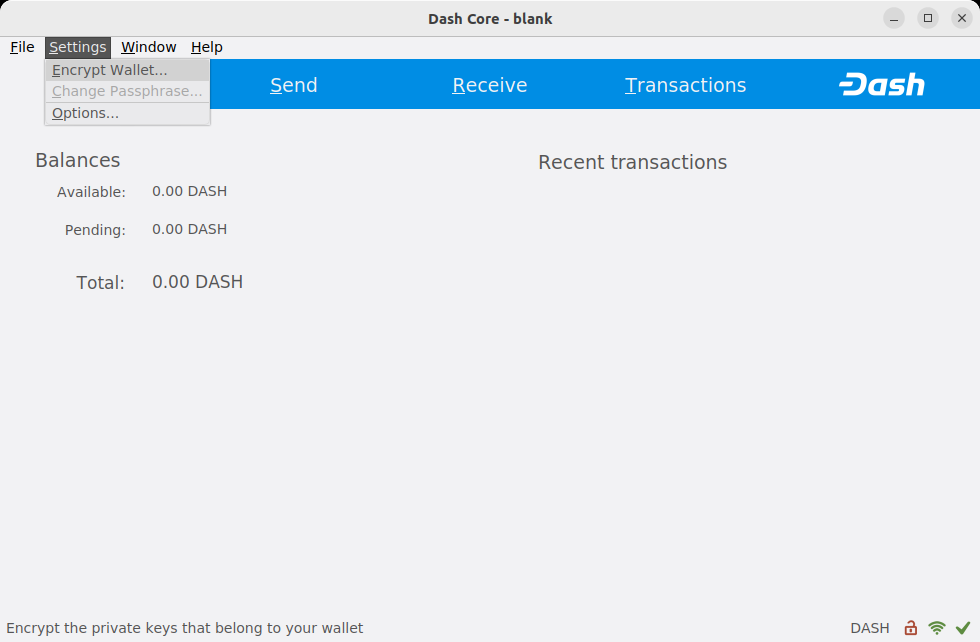
Encrypting the Dash wallet with a password#
You will be asked to enter and verify a password.

Entering a password#

Confirm you want to encrypt your wallet#
When the encryption process is complete, you will see a warning that past backups of your wallet will no longer be usable, and be asked to shut down Dash Core. When you restart Dash Core, you will see a small green lock in the lower right corner.
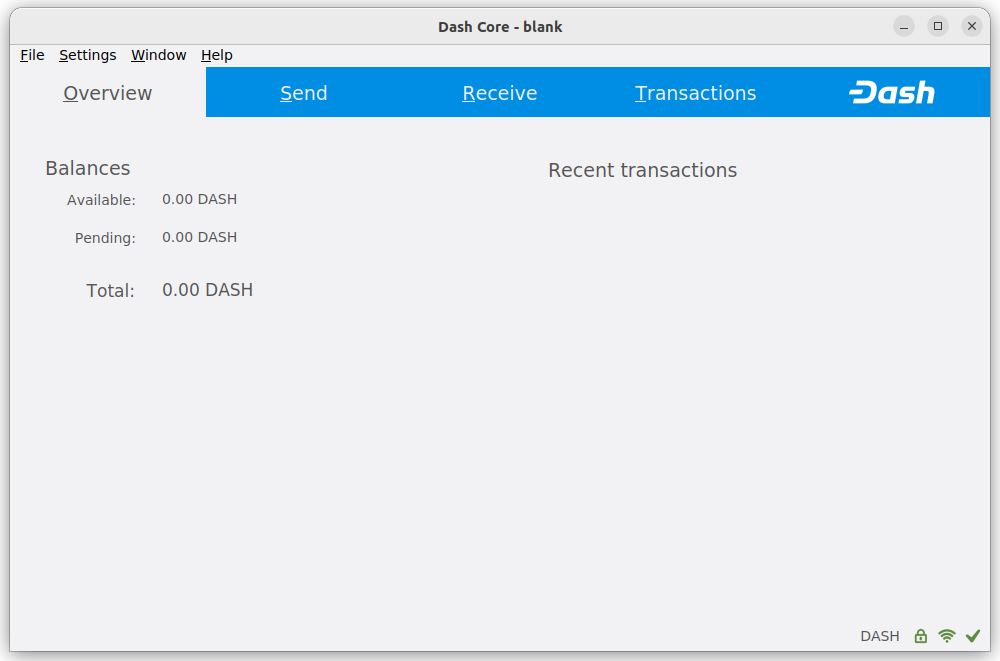
Fully encrypted and synchronized Dash Core wallet#