دليل التتبيث في الويندوز#
This guide describes how to download, install and encrypt the Dash Core wallet for Windows. The guide is written for Windows 10, but the steps should be similar for other versions of Windows.
تحميل محفظة داش كور#
Visit https://www.dash.org/downloads/ to download the latest Dash Core wallet. In most cases, the website will properly detect which version you need. Click Download Installer to download the installer directly.
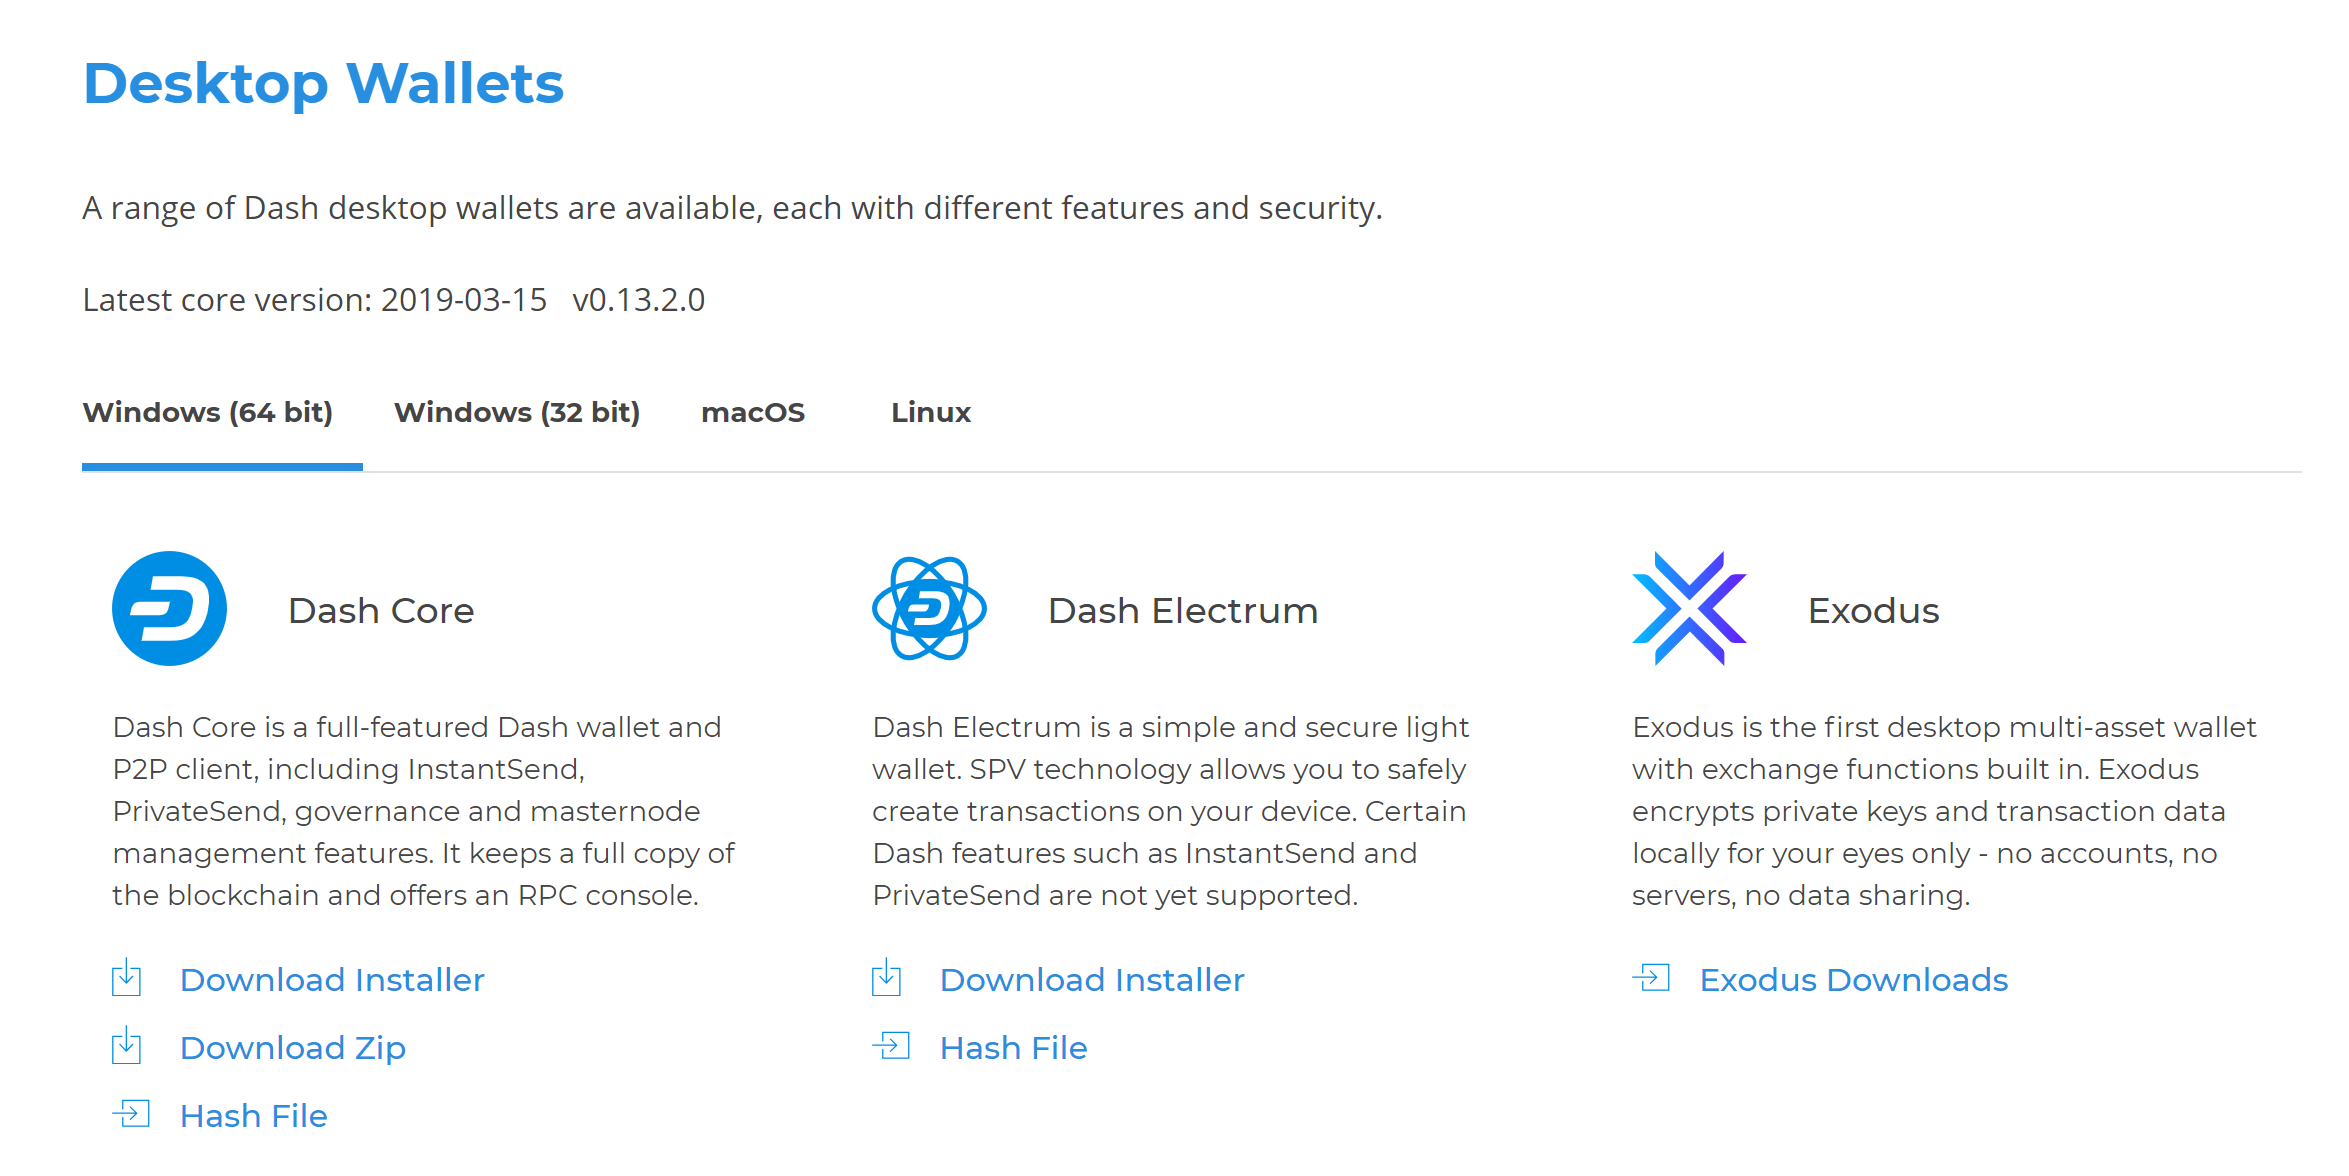
يكتشف الموقع بشكل صحيح المحفظة المناسبة لنظامك#
If detection does not work, you will need to manually choose your operating system. Once you know which version you need, download the Dash Core Installer to your computer from https://www.dash.org/downloads/ and save the file you downloaded to your Downloads folder.
ملاحظة
Dash Core 0.17 was the last release to provide downloads for 32-bit Windows installations. As of Windows 11, Microsoft only provides 64-bit Windows.
If you are unsure whether your version of Windows is 32-bit or 64-bit, you can check by following the instructions here.
تحقق من داش كور#
This step is optional, but recommended to verify the authenticity of the file you downloaded. This is done by checking its detached signature against the public key published by the Dash Core development team. To download the detached signature, click the Installer Signature button on the wallet download page and save it to the same folder as the downloaded binary.
All releases of Dash since 0.16.0 are signed using GPG with the following key:
Pasta (pasta) with the key
5252 7BED ABE8 7984, verifiable on Keybase (download)
Download the key file above. Install Gpg4win if it is not already available on your computer. Once it is installed, open the Kleopatra certificate manager and click File -> Import. Import the key file and verify the Key-ID matches the ID above.
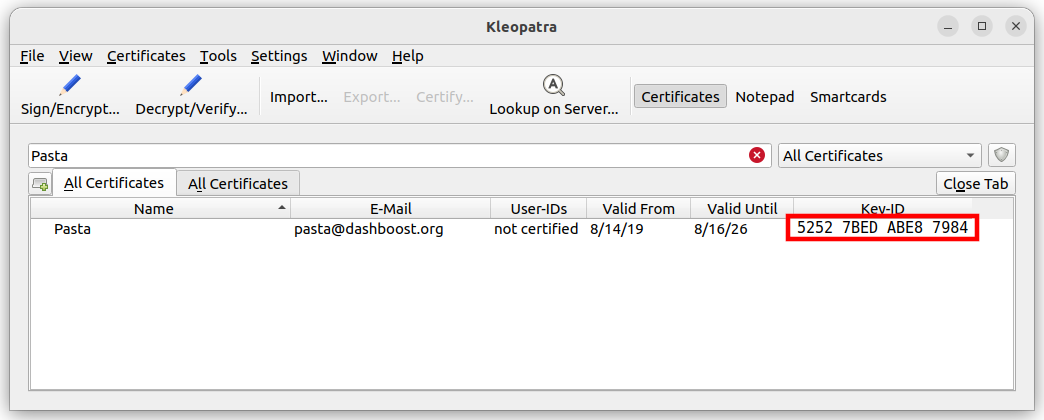
Importing Pasta's GPG public key#
Skip any requests to certify the certificate with your own key. Next,
click Decrypt/Verify... and select the detached signature file named
dashcore-23.1.7-win64-setup.exe.asc in the same folder as the
downloaded installer.
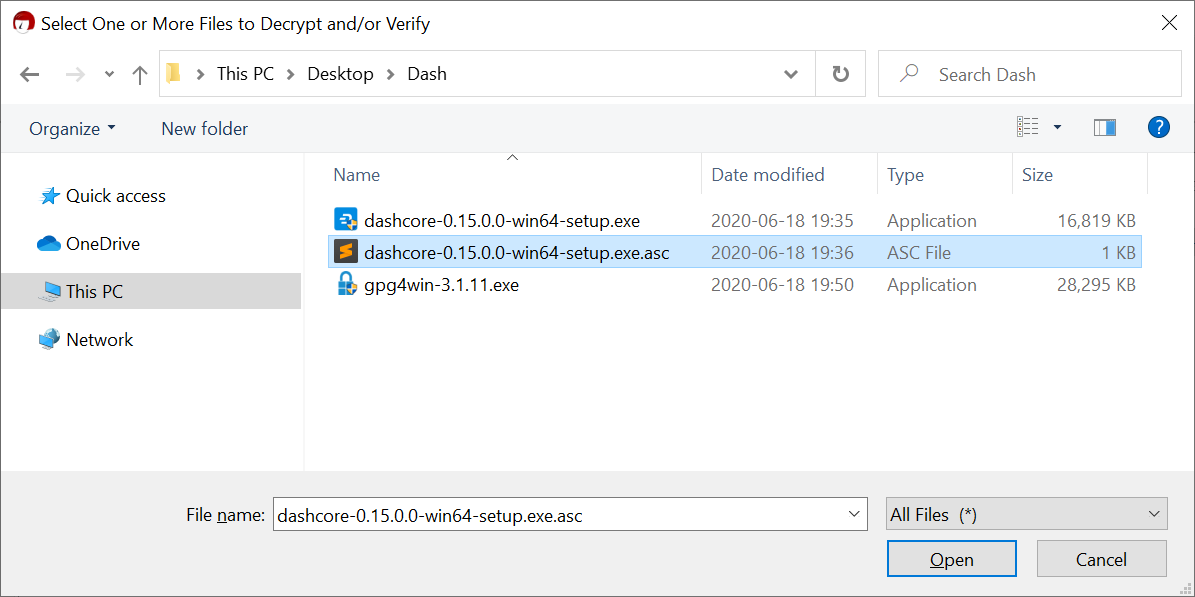
Selecting the signature file for verification#
If you see the first line of the message reads Verified
dashcore-23.1.7-win64-setup.exe with
dashcore-23.1.7-win64-setup.exe.asc, then you have an authentic copy
of Dash Core for Windows.
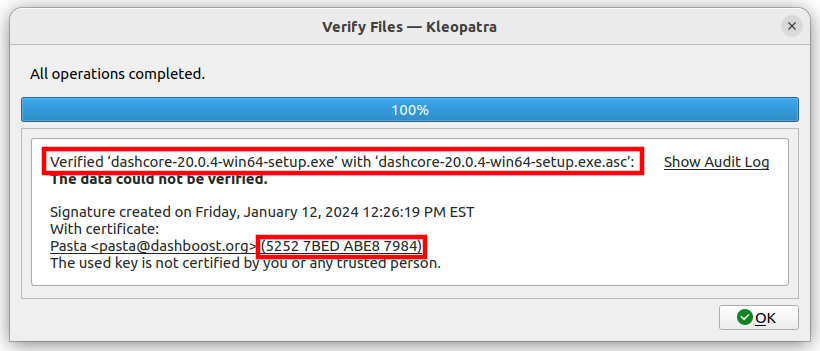
Example of successful binary installer verification#
The following video demonstrates the steps to install Gpg4win and then verify the Dash Core installation file signature.
تشغيل مثبت داش كوري#
انقر نقرًا مزدوجًا فوق الملف لبدء تثبيت داش كور.
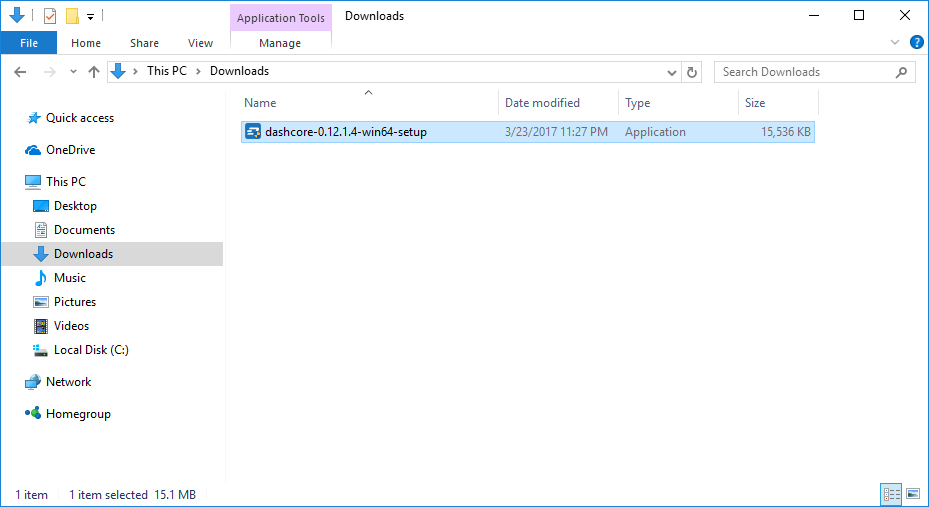
مثبت داش كور في مجلد التنزيلات#
في هذه المرحلة ، قد ترى تحذيرًا من الشاشة الذكية في الويندوز أن التطبيق غير معروف. يمكنك تخطي هذا التحذير بأمان عن طريق النقر مزيد من المعلومات ، ثم تشغيل على أي حال.
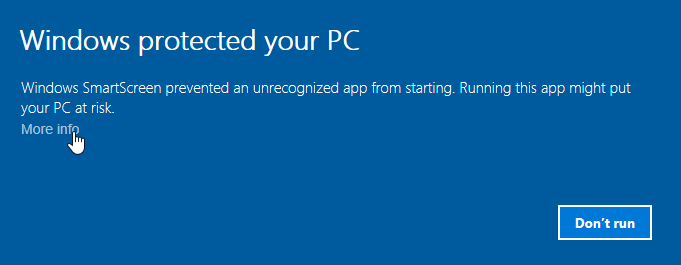
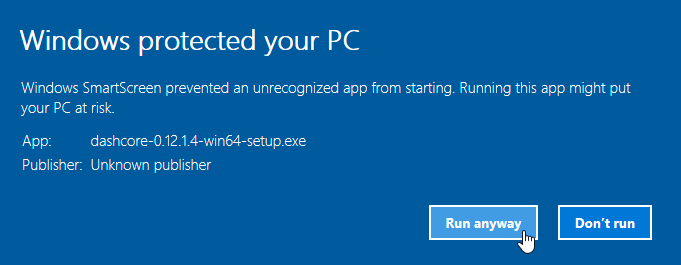
تجاوز الشاشة الذكية في الويندوز لتشغيل التطبيق. يُعرف هذا التحذير بأنه "إيجابي كاذب".#
بعد ذلك سيرشدك المثبِّت خلال عملية التثبيت
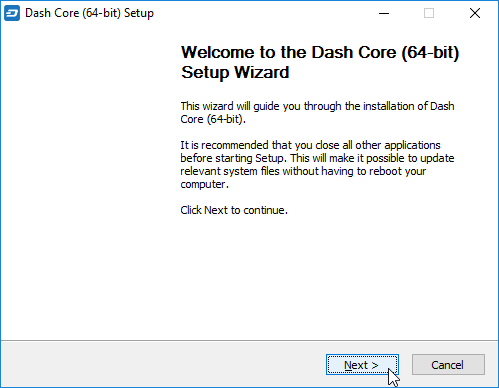
شاشة الترحيب من مثبت برنامج داش كور#
انقر خلال الشاشات التالية. يمكن ترك جميع الإعدادات في قيمها الافتراضية ما لم يكن لديك سبب محدد لتغيير شيء ما.
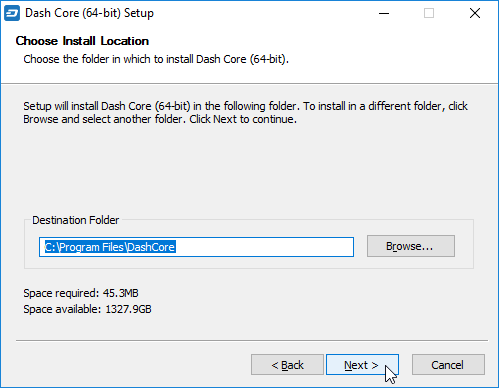
حدد موقع التثبيت#
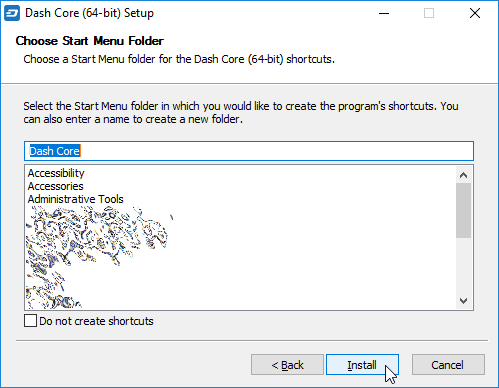
حدد مجلد قائمة ابدأ#
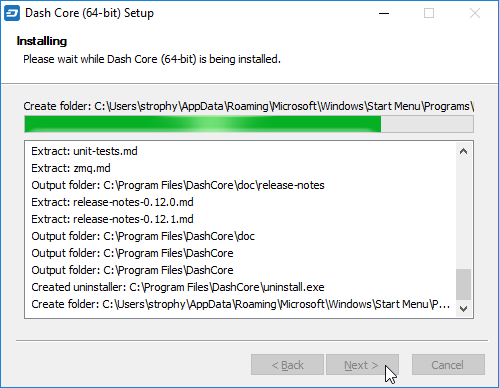
بدأ تنزيل داش كور#
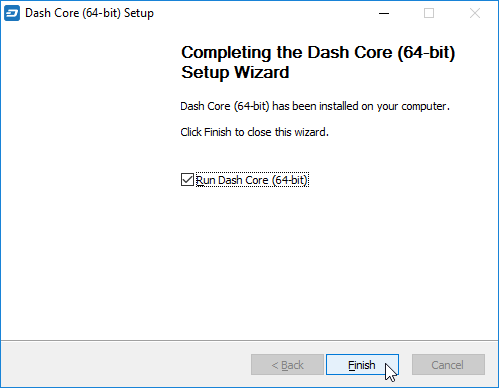
تم التتبث بنجاح#
شغل داش كور لأول مرة#
Once installation is complete, Dash Core will start up immediately. If it does not, click Start > Dash Core > Dash Core to start the application. The first time the program is launched, you will be offered a choice of where you want to store your blockchain and wallet data. Choose a location with enough free space, as the blockchain can reach 45GB+ in size. It is recommended to use the default data folder if possible.
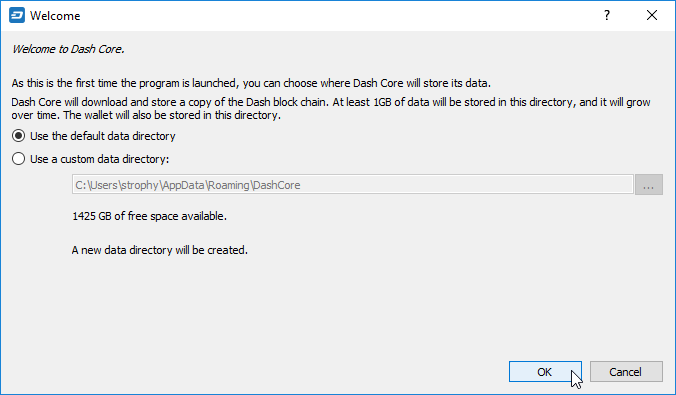
إختار مجلد داش كور#
ثم تبدأ داش كور. سيستغرق ذلك وقتًا أطول قليلاً من المعتاد في المرة الأولى التي تقوم بتشغيلها ، حيث يحتاج داش كور إلى إنشاء بيانات تشفير لتأمين محفظتك.
بدأ داش كور#
تزامن داش كور إلى شبكة داش#
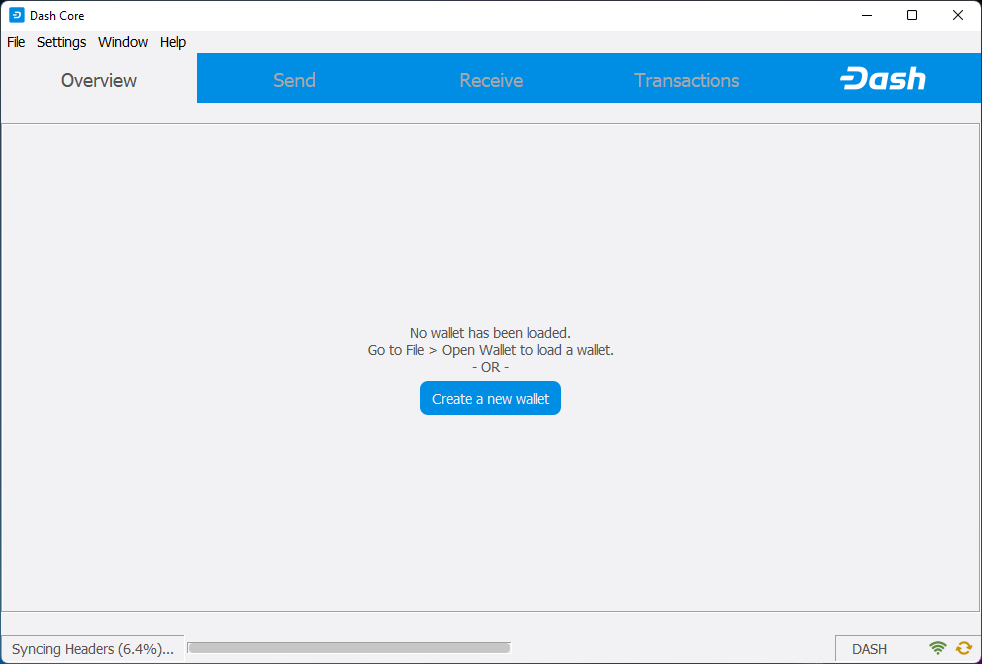
بمجرد تثبيت داش كور وتثبيته بنجاح ، سترى شاشة نظرة عامة على المحفظة. ستلاحظ أن المحفظة "غير متزامنة" ، وسيظهر شريط الحالة في أسفل النافذة تقدم المزامنة.
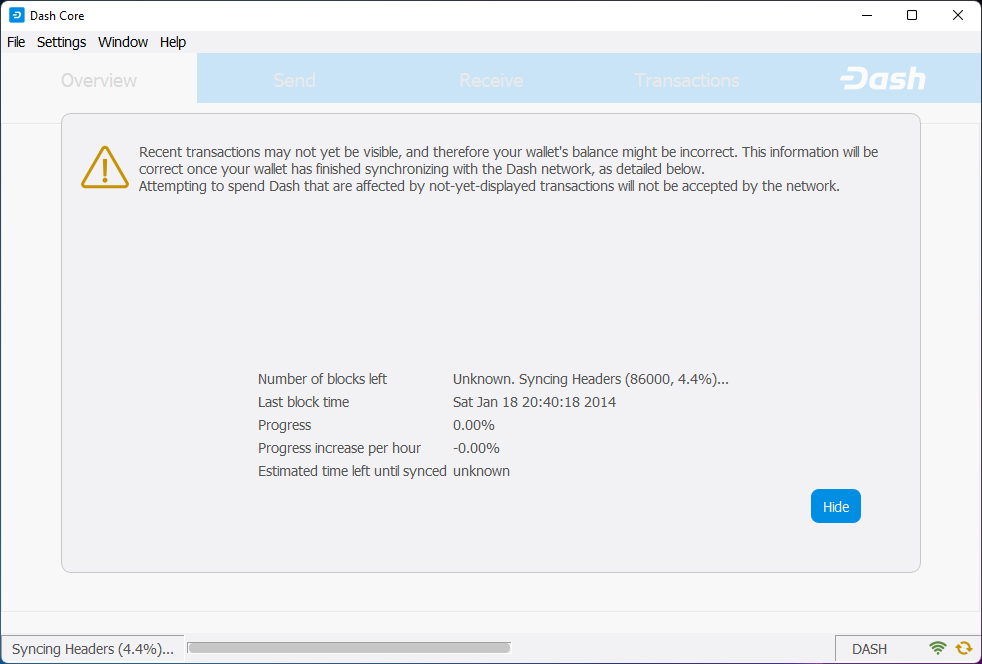
تبدأ داش كور جار المزامنة مع شبكة داش#
During this process, Dash Core will download a full copy of the Dash blockchain from other nodes to your device. Depending on your internet connection, this may take a long time. If you see the message “No block source available”, check your internet connection. When synchronization is complete, you will see a small green tick in the lower right corner.
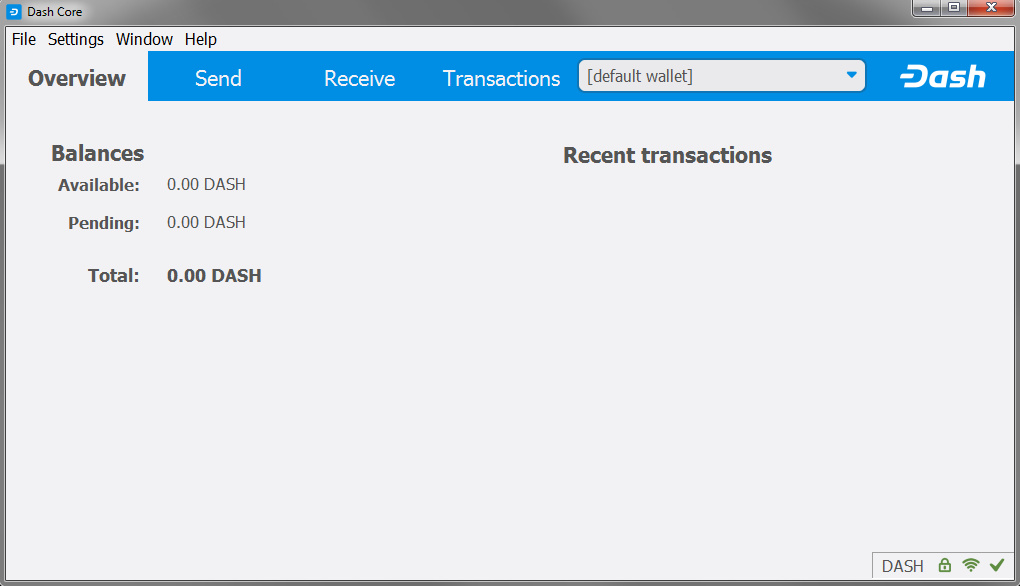
تم انتهاء مزامنة داش كور#
You can now create a wallet to send and receive funds.
Creating your Dash Wallet#
Added in version v20.1.0: HD wallets are now created by default.
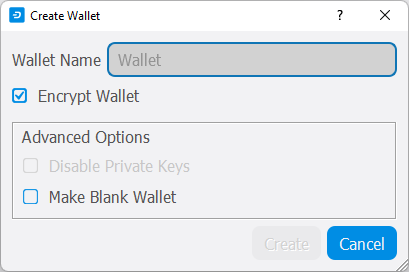
If no wallet files are loaded, you will get this prompt in the Overview tab. To create a wallet, click the Create a new wallet button or click File -> Create Wallet. HD wallets are created by default. See the advanced topics section for information about HD wallets.
You will be prompted to create a new wallet with a custom wallet name. By default, your wallet will be encrypted. You may choose to uncheck the box and encrypt the wallet later. We have included instructions on how to encrypt your wallet in the following section.
Setting your password#
If you do choose to encrypt now, you will be asked to enter and verify a password.
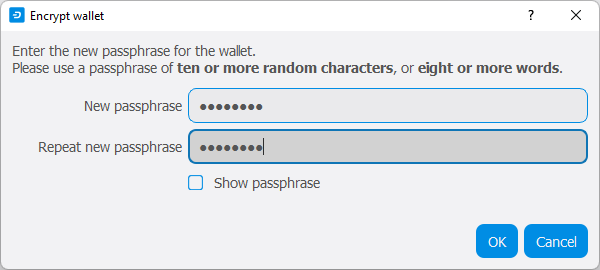
أدخل الرقم السري#
Following that, you will get a standard warning.
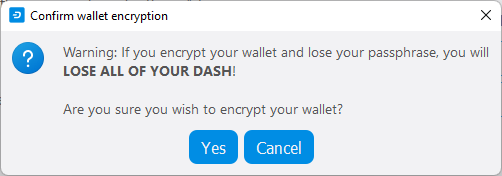
تأكيد لتشفير محفظتك#
Backing up your mnemonic#
Dash Core will display your mnemonic phrase (also called a recovery phrase) for all wallets (encrypted or not). This phrase can be used to restore your wallet if you lose access to your device.
تحذير
CRITICAL: If you lose your mnemonic seed phrase, you will permanently lose access to your wallet and all funds. Write it down on paper (not digitally) and store it in a safe, secure location. Never share your mnemonic with anyone.

Mnemonic phrase backup prompt#
Click the Show button to reveal your mnemonic phrase. Then, write down all the words in order and check the "I have written down my mnemonic" checkbox to continue.

Revealing the mnemonic phrase#
Dash Core will then ask you to verify that you correctly saved the phrase by entering specific words from your mnemonic. Enter the requested words to confirm you have properly saved your mnemonic phrase.
As you enter each word correctly, a green checkmark will appear beside it. Once you have successfully verified your mnemonic, click Continue to complete the wallet creation process.

Mnemonic verification#
ملاحظة
For more information about HD wallets and how to view or restore your mnemonic phrase later, see the advanced topics section.
The following section will detail the steps you need to follow if you choose to encrypt your Dash wallet later.
تشفير محفظتك داش#
لتشفير محفظتك ، انقر على الإعدادات> تشفير المحفظة.
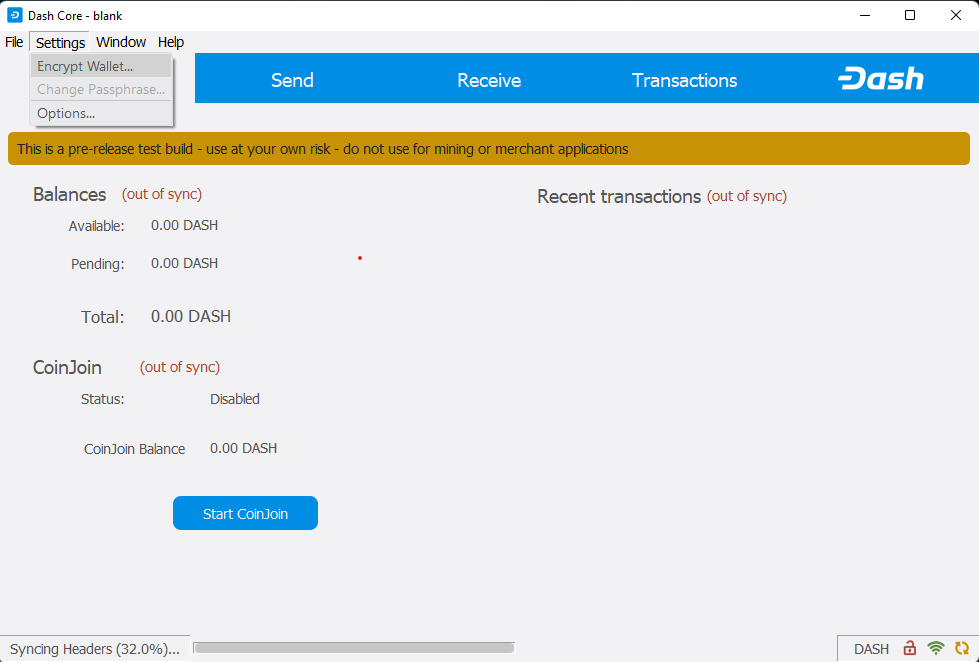
تشفير محفظة داش بالرقم السري#
سيُطلب منك إدخال الرقم السري والتحقق منها
أدخل الرقم السري#
تأكيد لتشفير محفظتك#
When the encryption process is complete, you will see a warning that past backups of your wallet will no longer be usable, and be asked to shut down Dash Core. When you restart Dash Core, you will see a small green lock in the lower right corner.
مشفرة تماما ومتزامنة داش كور المحفظة#
يمكنك الآن البدء في استخدام محفظتك لإرسال الأموال وتلقيها بأمان.