Server configuration#
La configuración de un masternode requiere una comprensión básica de Linux y la tecnología de la cadena de bloques, así como la capacidad de seguir las instrucciones de cerca. También requiere un mantenimiento regular y una seguridad cuidadosa, especialmente si no estás almacenando tus Dash en una billetera de hardware. Hay algunas decisiones que se tomarán en el camino, y pasos adicionales opcionales que tomar para una mayor seguridad.
Commercial masternode hosting services are available if you prefer to delegate day-to-day operation of your masternode to a professional operator. When using these hosting services, you retain full control of the masternode collateral and pay an agreed percentage of your reward to the operator.
Configurar tu VPS#
A VPS, more commonly known as a cloud server, is fully functional installation of an operating system (usually Linux) operating within a virtual machine. The virtual machine allows the VPS provider to run multiple systems on one physical server, making it more efficient and much cheaper than having a single operating system running on the «bare metal» of each server.
A VPS is ideal for hosting a Dash masternode because they typically offer guaranteed uptime, redundancy in the case of hardware failure and a static IP address that is required to ensure you remain in the masternode payment queue. While running a masternode from home on a desktop computer is technically possible, it will most likely not work reliably because most ISPs allocate dynamic IP addresses to home users.
Atención
Disabling IPv6 is highly recommended to prevent communication issues that have been observed when running nodes on some VPS providers. We recommend turning it off through the VPS provider’s setup wizard during initial server creation.
Before beginning, take a few minutes to review the masternode and evonode hardware requirements which may help you decide which VPS provider best suits your needs. We will use Vultr hosting as an example of a VPS, although DigitalOcean, Amazon EC2, Google Cloud, Choopa and OVH are also popular choices. First create an account and add credit. Then go to the Servers menu item on the left and click + to add a new server. Select a location for your new server on the following screen:
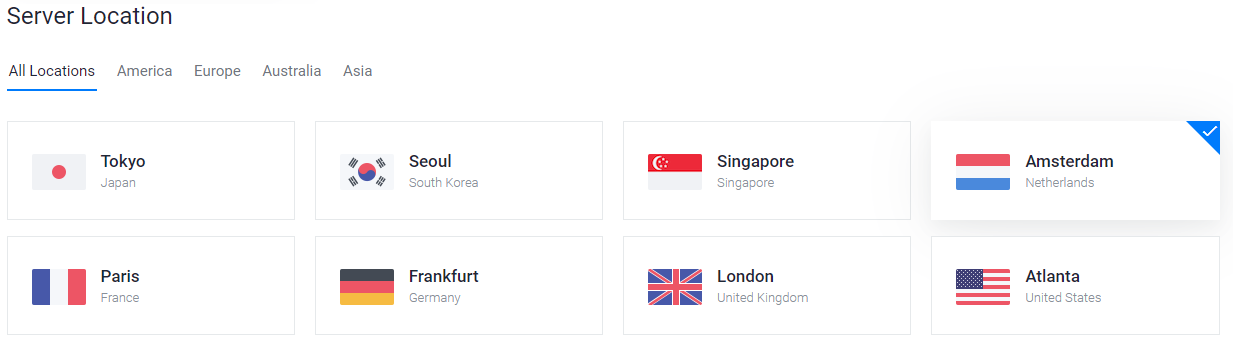
Pantalla de selección de ubicación del servidor Vultr#
Select Ubuntu 24.04 x64 as the server type. We use this LTS release of Ubuntu instead of the latest version because LTS releases are supported with security updates for 5 years, instead of the usual 9 months.
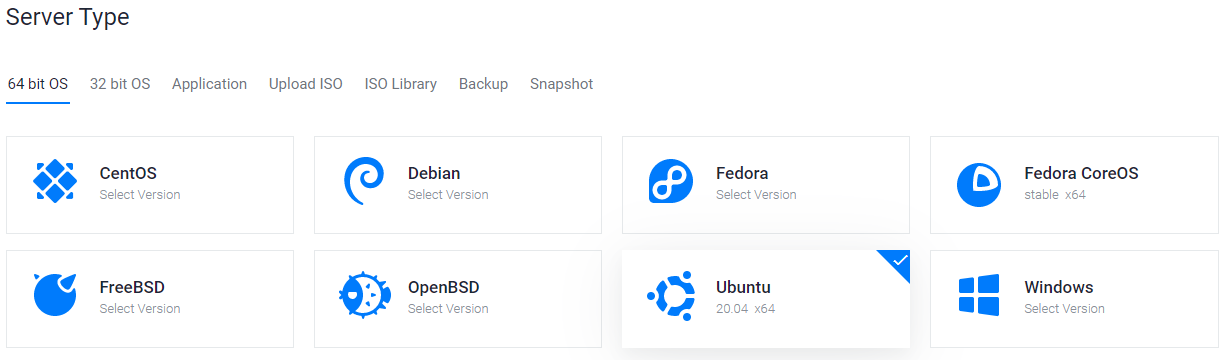
Pantalla de selección del tipo de servidor Vultr#
Select a server size according to the hardware requirements for you masternode or evonode:
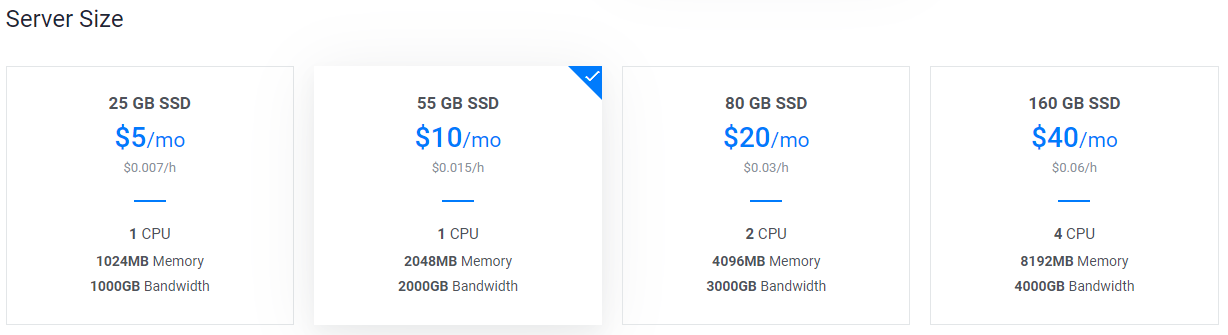
Pantalla de selección del tamaño del servidor Vultr#
Ingresa un nombre de alojamiento y una etiqueta para tu servidor. En este ejemplo usaremos dashmn1 como nombre de alojamiento.

Nombre dealojamiento del servidor de Vultr & pantalla de selección de etiqueta#
Vultr ahora instalará tu servidor. Este proceso puede tardar unos minutos.

Pantalla de instalación del servidor Vultr#
Haz click en Administrar cuando la instalación esté completa y toma nota de la dirección IP, el nombre de usuario y la contraseña.
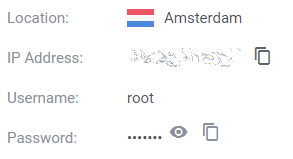
Pantalla de administración del servidor Vultr#
Configurar tu sistema operativo#
Comenzaremos por conectarnos a tu servidor recién provisto. En Windows, primero descargaremos una aplicación llamada PuTTY para conectarnos al servidor. Ve a la Página de descargas de PuTTY y selecciona el instalador MSI apropiado para tu sistema. En Mac o Linux puedes escribir ssh directamente desde el terminal - simplemente escribe ssh root@<server_ip> e ingresa tu contraseña cuando se le solicite.
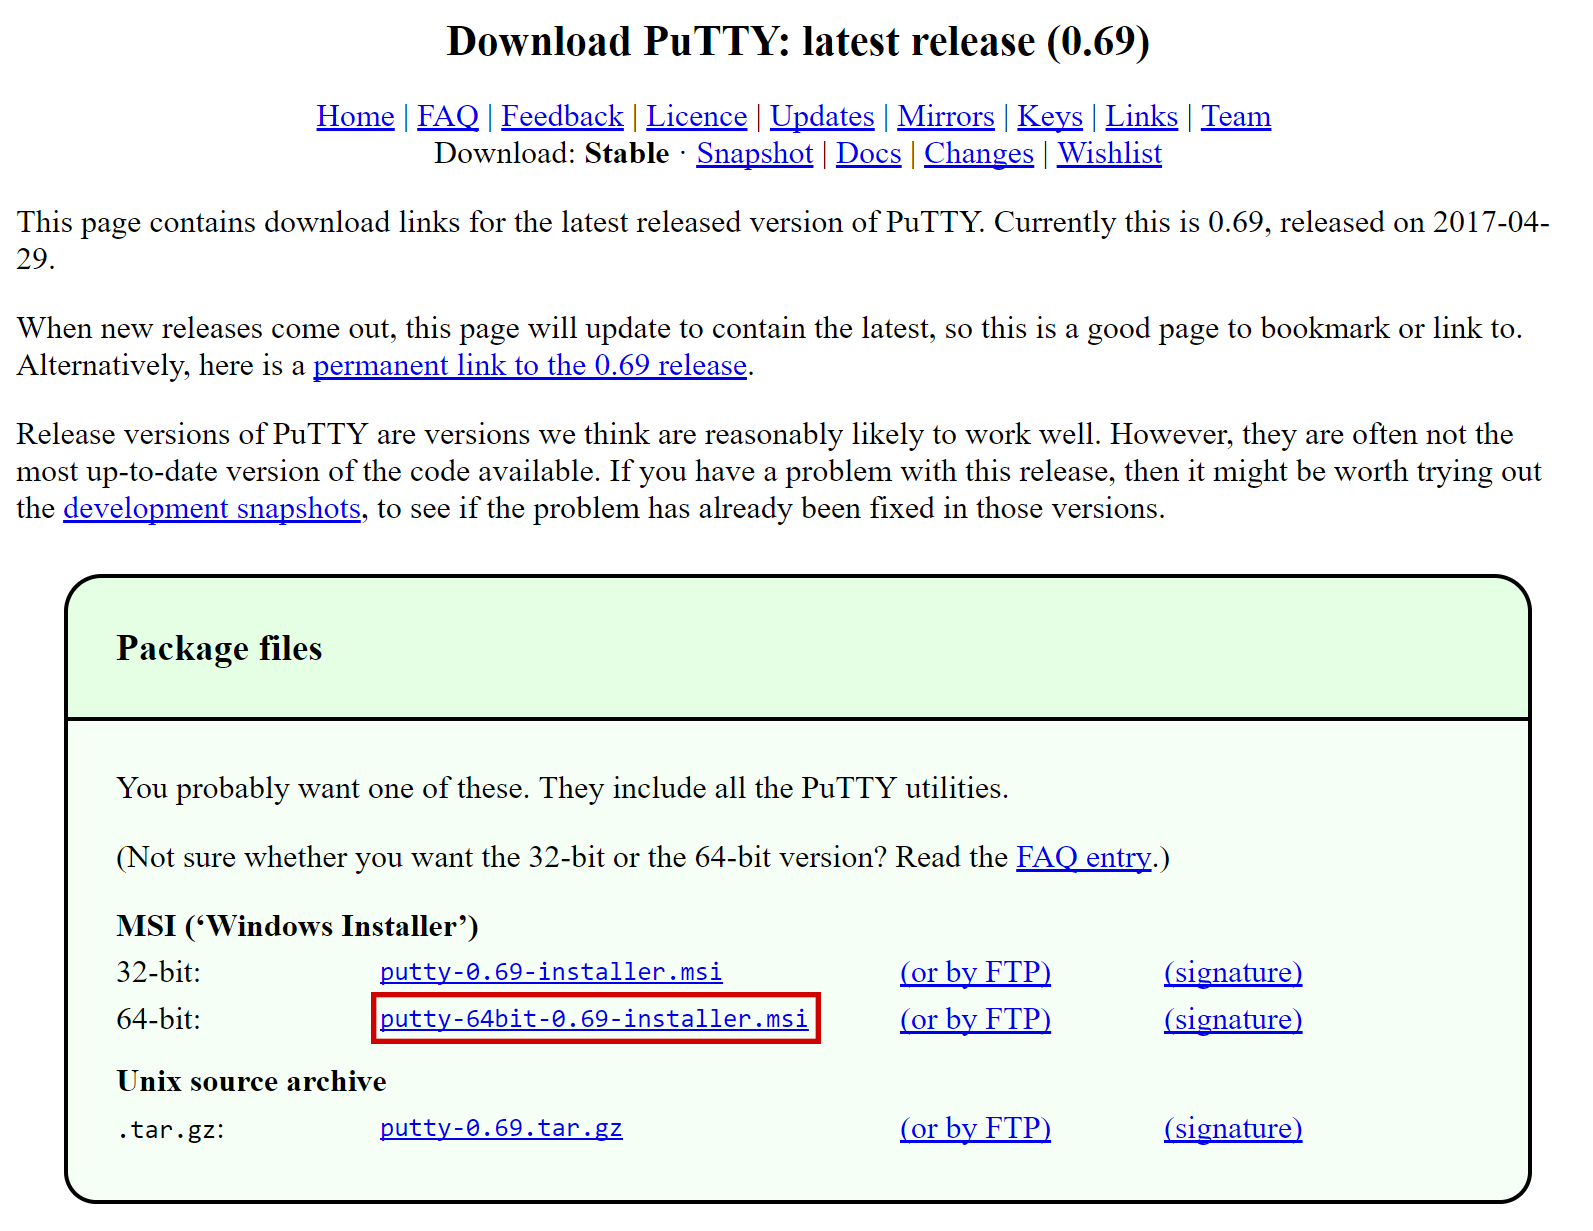
Página de descargas de PuTTY#
Haz doble click en el archivo descargado para instalar PuTTY, luego ejecuta la aplicación desde tu menú de Inicio. Ingresa la dirección IP del servidor en el campo Nombre de alojamiento y haz click en Abrir. Puedes ver una advertencia de certificado, ya que esta es la primera vez que te conectas a este servidor. Puedes hacer click con seguridad en Si para confiar en este servidor en el futuro.
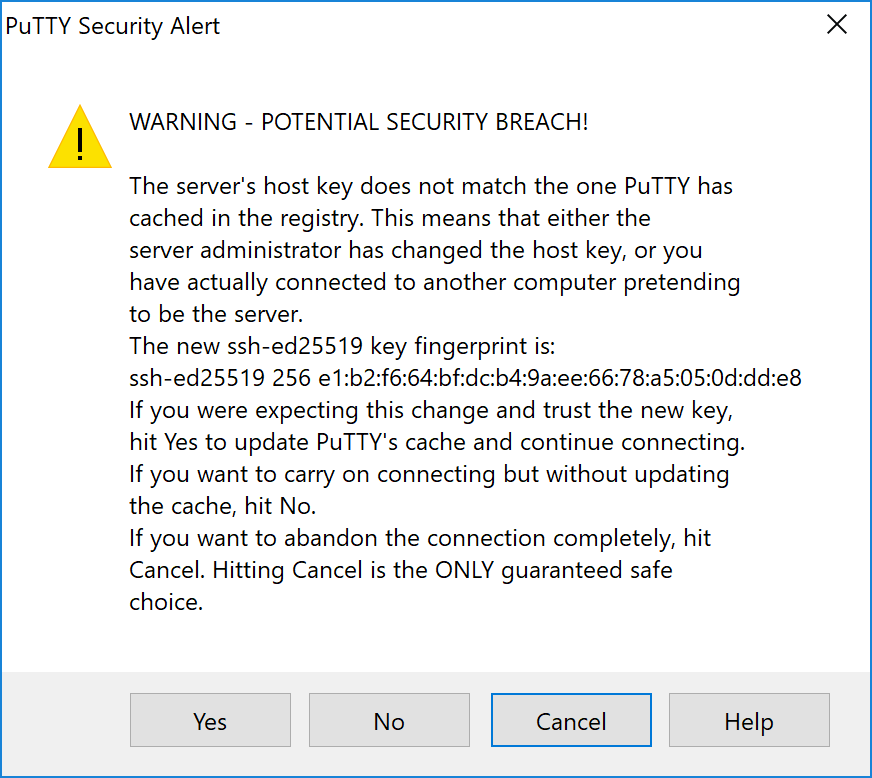
Alerta de seguridad de PuTTY cuando te conectas a un nuevo servidor#
Ahora estás conectado a tu servidor y deberías ver una ventana de terminal. Comienza por iniciar sesión en tu servidor con el usuario root y la contraseña proporcionada por tu proveedor de alojamiento.
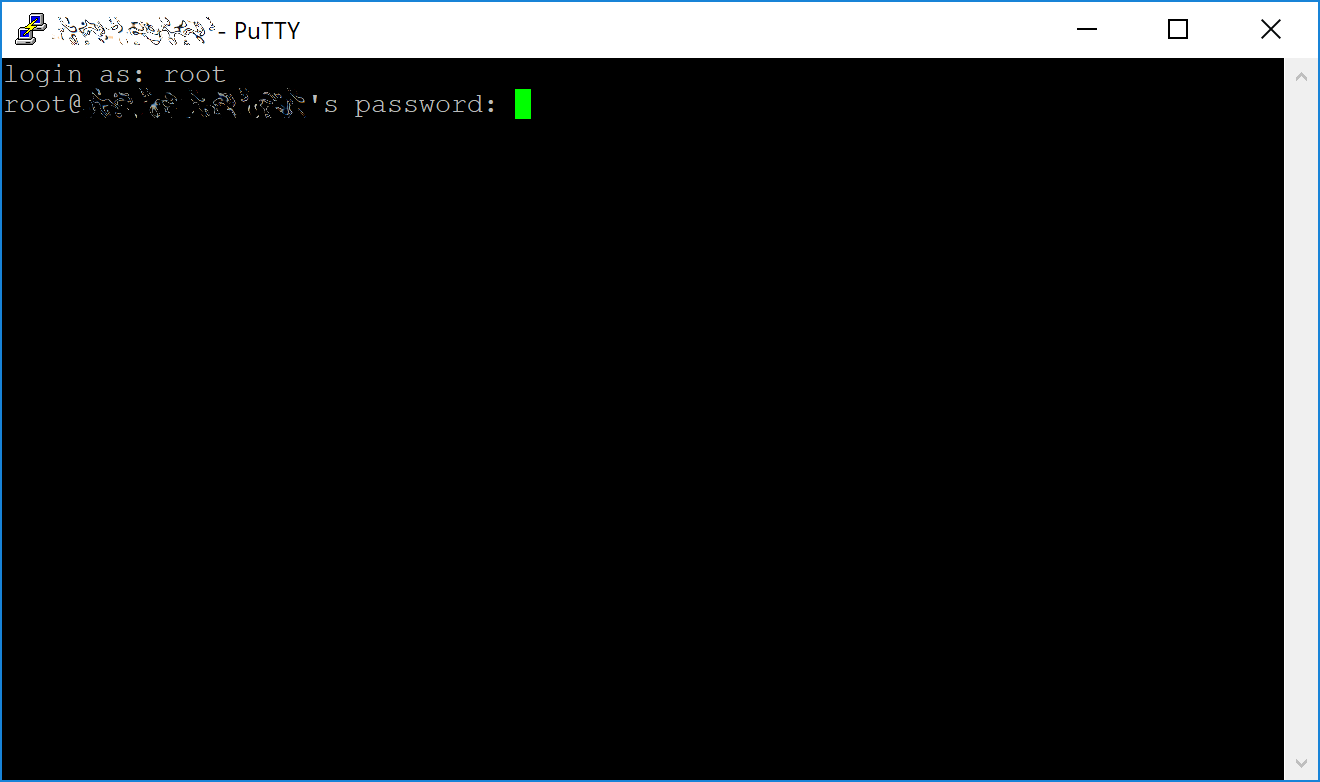
Desafío de contraseña al conectarte a tu VPS por primera vez#
Set up users#
Deberías cambiar inmediatamente la contraseña de raíz y almacenarla en un lugar seguro para mayor seguridad. Puedes copiar y pegar cualquiera de los siguientes comandos seleccionándolos en tu navegador, presionando Ctrl + C, luego cambiando a la ventana PuTTY y haciendo click derecho en la ventana. El texto se pegará en la ubicación actual del cursor:
passwd root
Ingresa y confirma una nueva contraseña (preferiblemente larga y aleatoriamente generada). A continuación crearemos un nuevo usuario con el siguiente comando, reemplazando <username> con un nombre de usario de tu elección:
adduser <username>
Se te solicitará una contraseña. Ingresa y confirma usando una nueva contraseña (diferente a tu contraseña de raíz) y guárdala en un lugar seguro. También verás solicitudes de información del usuario, pero esto se puede dejar en blanco. Una vez que el usuario ha sido creado, lo agregaremos al grupo sudo para que puedan ejecutar comandos como raíz:
usermod -aG sudo <username>
Update the system#
Ahora, aunque todavía como raíz, actualizaremos el sistema desde el repositorio de paquetes de Ubuntu:
apt update
apt upgrade
The system will show a list of upgradable packages. Press Y and Enter to install the packages.
Disable IPv6#
We recommend turning off IPv6 to avoid potential communication issues. If you cannot do this through your VPS provider’s server configuration settings, use the following steps to disable it through the operating system.
Check if IPv6 is enabled:
ip a | grep inet6
If multiple inet6 entries are returned, open sysctrl.conf:
sudo nano /etc/sysctl.conf
Add the following lines at the end of the file, then press Ctrl + X to close the editor, then Y and Enter save the file.:
net.ipv6.conf.all.disable_ipv6 = 1
net.ipv6.conf.default.disable_ipv6 = 1
net.ipv6.conf.lo.disable_ipv6 = 1
Load the changes:
sudo sysctl -p
Finally, check if IPv6 was successfully disabled. No entries should be returned when you run the command this time:
ip a | grep inet6
Configure the firewall#
We will now install a firewall (and some other packages we will use later):
apt install ufw python3 virtualenv git unzip pv
(presiona Y y Entrar para confirmar)
Choose the appropriate firewall configuration below based on which network and masternode type your masternode will support:
ufw limit ssh/tcp
ufw allow 9999/tcp
ufw logging on
ufw enable
ufw limit ssh/tcp
ufw allow 443/tcp
ufw allow 9999/tcp
ufw allow 26656/tcp
# Uncomment the following line if using automatic certificate renewal (Let's Encrypt, ZeroSSL, etc.)
# ufw allow 80/tcp
ufw logging on
ufw enable
ufw limit ssh/tcp
ufw allow 1443/tcp
ufw allow 19999/tcp
ufw allow 36656/tcp
ufw logging on
ufw enable
(presiona Y y Entrar para confirmar)
Enable swap#
Next, we will add swap memory, enable it, and set it to be enabled on subsequent reboots:
fallocate -l 4G /swapfile
chmod 600 /swapfile
mkswap /swapfile
swapon /swapfile
nano /etc/fstab
Agregua la siguiente línea al final del archivo (presiona la pestaña para separar cada palabra/número), luego presiona Ctrl + X para cerrar el editor, luego presiona Y y Entrar para guardar el archivo .
/swapfile none swap sw 0 0
Restrict remote access#
Finally, in order to prevent brute force password hacking attacks, we will install fail2ban and disable root login over ssh. These steps are optional, but highly recommended. Start with fail2ban:
apt install fail2ban
Crea un nuevo archivo de configuración:
nano /etc/fail2ban/jail.local
And paste in the following configuration:
[sshd]
enabled = true
port = 22
filter = sshd
logpath = /var/log/auth.log
maxretry = 3
Then press Ctrl + X to close the editor, then Y and Enter save the file. Restart and enable the fail2ban service:
systemctl restart fail2ban
systemctl enable fail2ban
Siguiente, abre el archivo de configuración SSH para deshabilitar registro de root por SSH:
nano /etc/ssh/sshd_config
Locate the line that reads PermitRootLogin yes and set it to
PermitRootLogin no. Directly below this, add a line which reads AllowUsers
<username>, replacing <username> with the username you selected above.
Then press Ctrl + X to close the editor, then Y and Enter save the
file.
Optionally install or update AppArmor (try this step if you are having problems related to AppArmor):
sudo apt install apparmor
Reboot#
Now, reboot the server to apply any necessary kernel updates:
reboot now
Your SSH client (e.g. PuTTY) will disconnect when the server reboots.
Nota
While this setup includes basic steps to protect your server against attacks, much more can be done. In particular, authenticating with a public key instead of a username/password combination. Enabling automatic security updates is advisable. More tips are available here.