Guía de instalación de Windows#
This guide describes how to download, install and encrypt the Dash Core wallet for Windows. The guide is written for Windows 10, but the steps should be similar for other versions of Windows.
Descarga de la billetera Dash Core#
Visit https://www.dash.org/downloads/ to download the latest Dash Core wallet. In most cases, the website will properly detect which version you need. Click Download Installer to download the installer directly.

El sitio Web detecta de manera eficiente la billetera apropiada para tu sistema#
If detection does not work, you will need to manually choose your operating system. Once you know which version you need, download the Dash Core Installer to your computer from https://www.dash.org/downloads/ and save the file you downloaded to your Downloads folder.
Nota
Dash Core 0.17 was the last release to provide downloads for 32-bit Windows installations. As of Windows 11, Microsoft only provides 64-bit Windows.
If you are unsure whether your version of Windows is 32-bit or 64-bit, you can check by following the instructions here.
Verificación del Dash Core#
This step is optional, but recommended to verify the authenticity of the file you downloaded. This is done by checking its detached signature against the public key published by the Dash Core development team. To download the detached signature, click the Installer Signature button on the wallet download page and save it to the same folder as the downloaded binary.
All releases of Dash since 0.16.0 are signed using GPG with the following key:
Pasta (pasta) with the key
5252 7BED ABE8 7984, verifiable on Keybase (download)
Download the key file above. Install Gpg4win if it is not already available on your computer. Once it is installed, open the Kleopatra certificate manager and click File -> Import. Import the key file and verify the Key-ID matches the ID above.
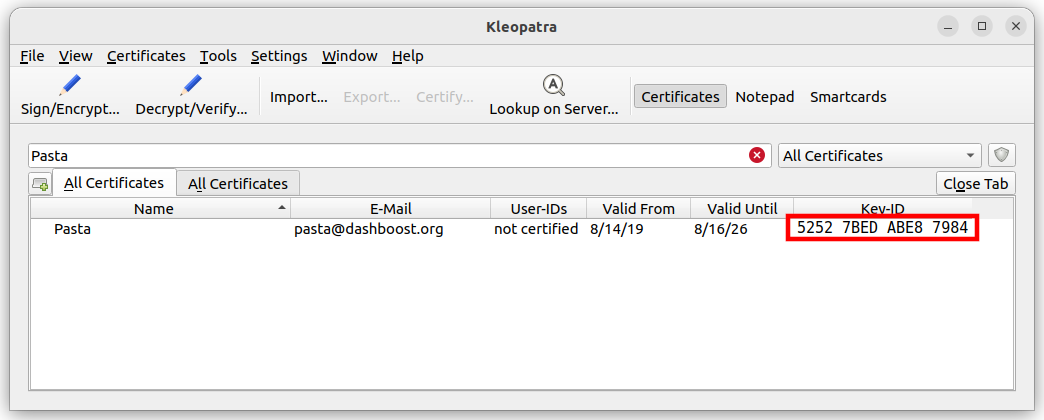
Importing Pasta’s GPG public key#
Skip any requests to certify the certificate with your own key. Next,
click Decrypt/Verify… and select the detached signature file named
dashcore-20.1.0-win64-setup.exe.asc in the same folder as the
downloaded installer.
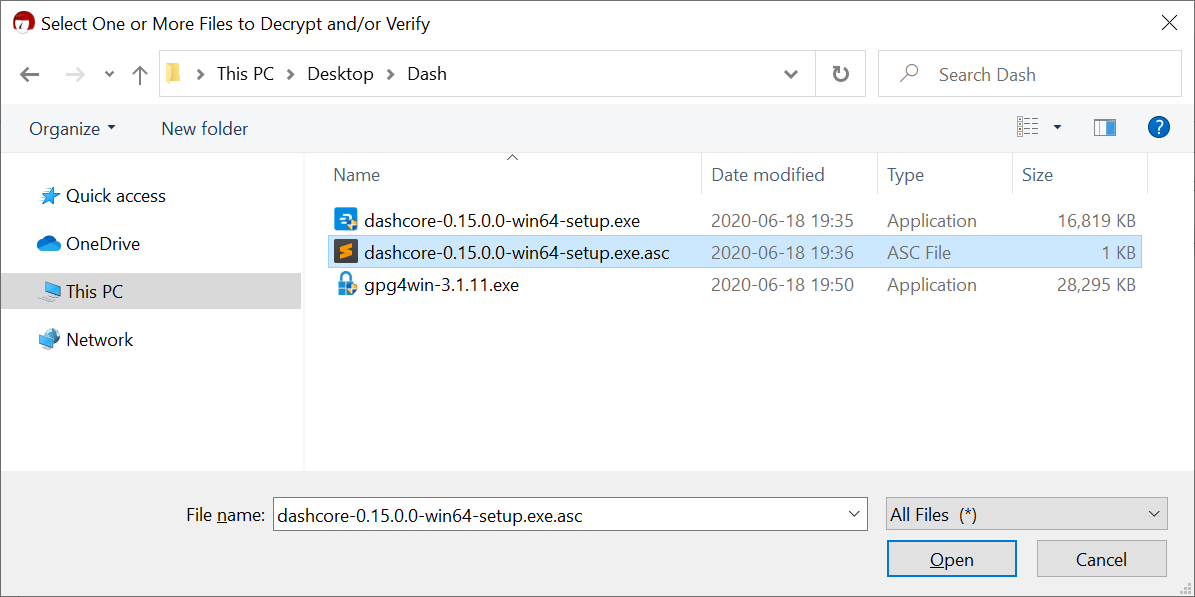
Selecting the signature file for verification#
If you see the first line of the message reads Verified
dashcore-20.1.0-win64-setup.exe with
dashcore-20.1.0-win64-setup.exe.asc then you have an authentic copy
of Dash Core for Windows.
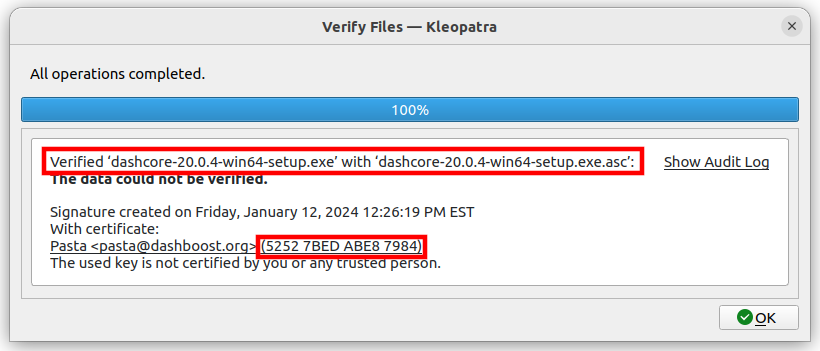
Example of successful binary installer verification#
The following video demonstrates the steps to install Gpg4win and then verify the Dash Core installation file signature.
Correr el instalador de Dash Core#
Haz doble clic en el archivo para comenzar a instalar Dash Core.

El instalador de Dash Core en la carpeta Descargas#
En este punto, es posible que veas una advertencia de Windows SmartScreen de que la aplicación no se reconoce. Puede omitir esta advertencia haciendo clic en Más información, luego Ejecutar de todas formas.
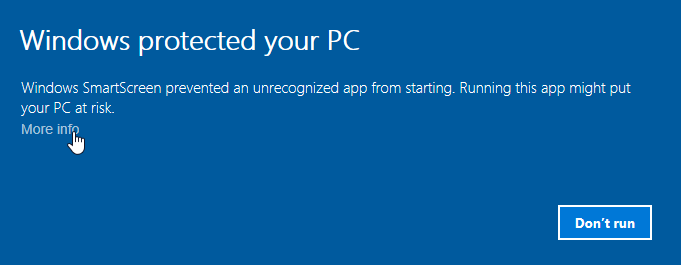
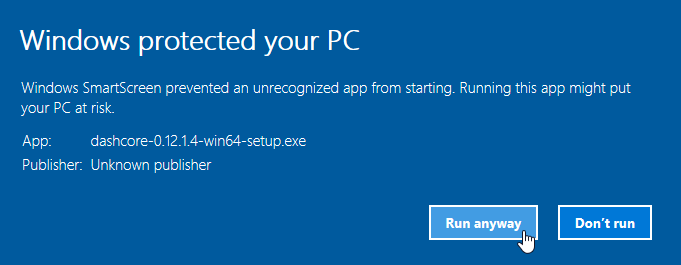
Pasando por alto Windows SmartScreen para ejecutar la aplicación. Esta advertencia se conoce como un «falso positivo».#
El instalador te guiará a través del proceso de instalación.
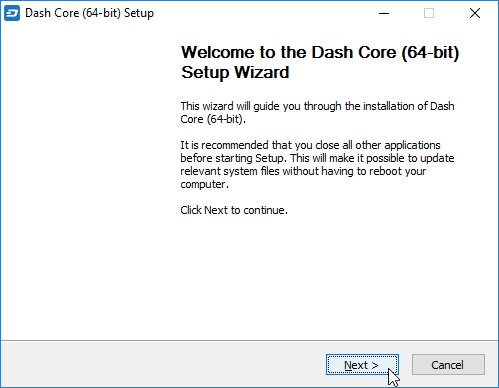
La pantalla de bienvenida del instalador de Dash Core#
Haz clic en las siguientes pantallas. Todas las configuraciones se pueden dejar en sus valores predeterminados a menos que tengas un motivo específico para cambiar algo.
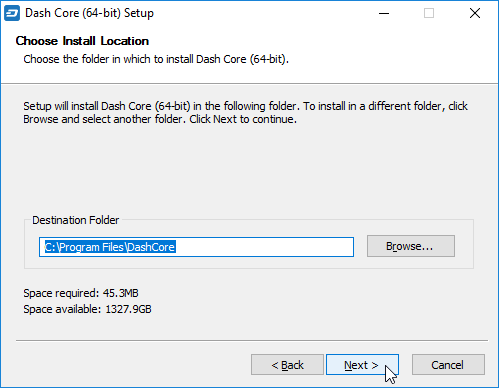
Selecciona la ubicación de instalación#
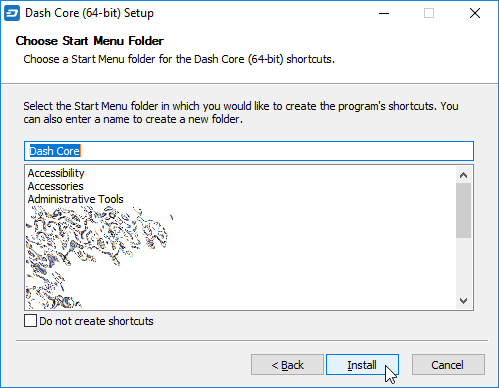
Selecciona la carpeta de Star menu#
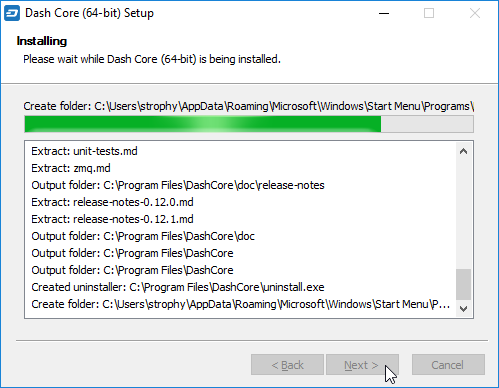
Dash Core está siendo instalado#
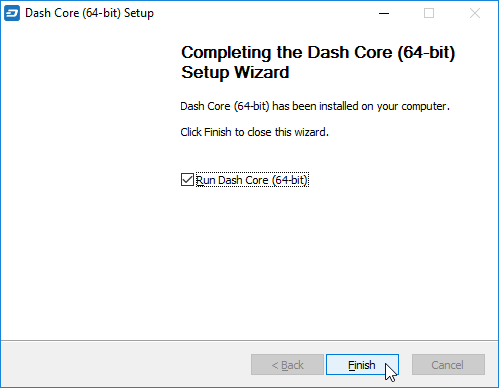
Instalación completa#
Correr el Dash Core por primera vez#
Once installation is complete, Dash Core will start up immediately. If it does not, click Start > Dash Core > Dash Core to start the application. The first time the program is launched, you will be offered a choice of where you want to store your blockchain and wallet data. Choose a location with enough free space, as the blockchain can reach 45GB+ in size. It is recommended to use the default data folder if possible.
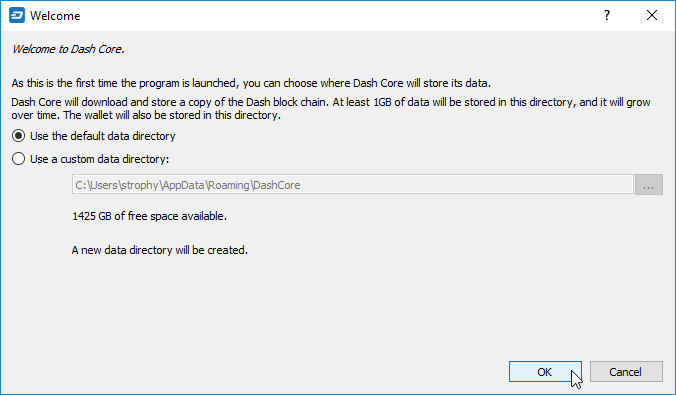
Escoger el archivo de data para Dash Core#
Después de esto, Dash Core se iniciará. Esto tomará un poco más de tiempo que lo usual, ya que Dash Core necesita generar datos criptográficos para asegurar la billetera.
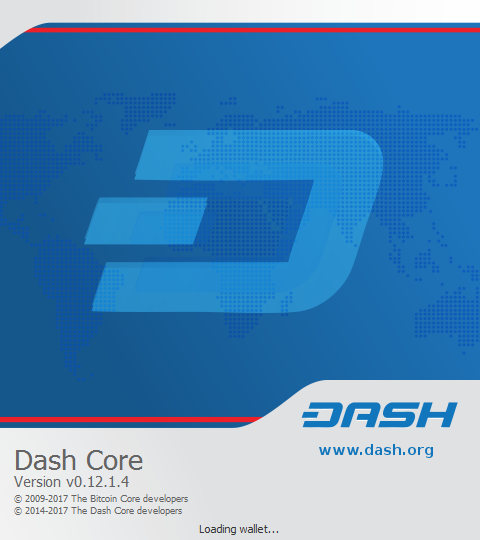
Inicio de Dash Core#
Sincronzación de Dash Core a la red de Dash#
Una vez que Dash Core se haya instalado he iniciado correctamente, usted podrá ver la pantalla resumen de la billetera. Podrá notar que la billetera esta “fuera de sincronía”, y la barra de estado al fondo de la ventada mostrará el progreso de la sincronización.
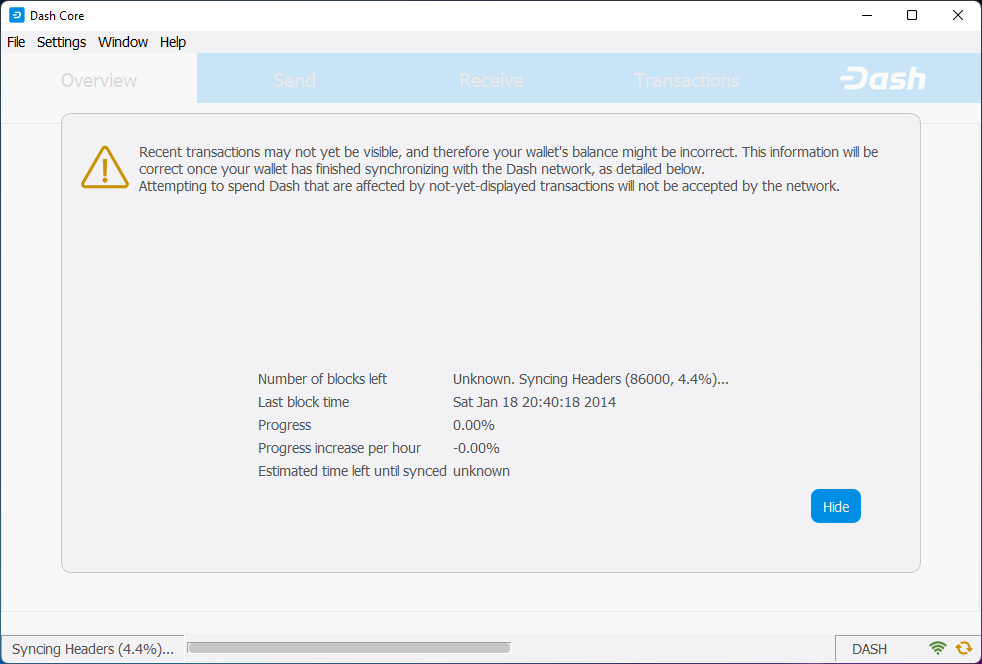
Dash Core comienza a sincronizarse con la red de Dash#
During this process, Dash Core will download a full copy of the Dash blockchain from other nodes to your device. Depending on your internet connection, this may take a long time. If you see the message “No block source available”, check your internet connection. When synchronization is complete, you will see a small green tick in the lower right corner.
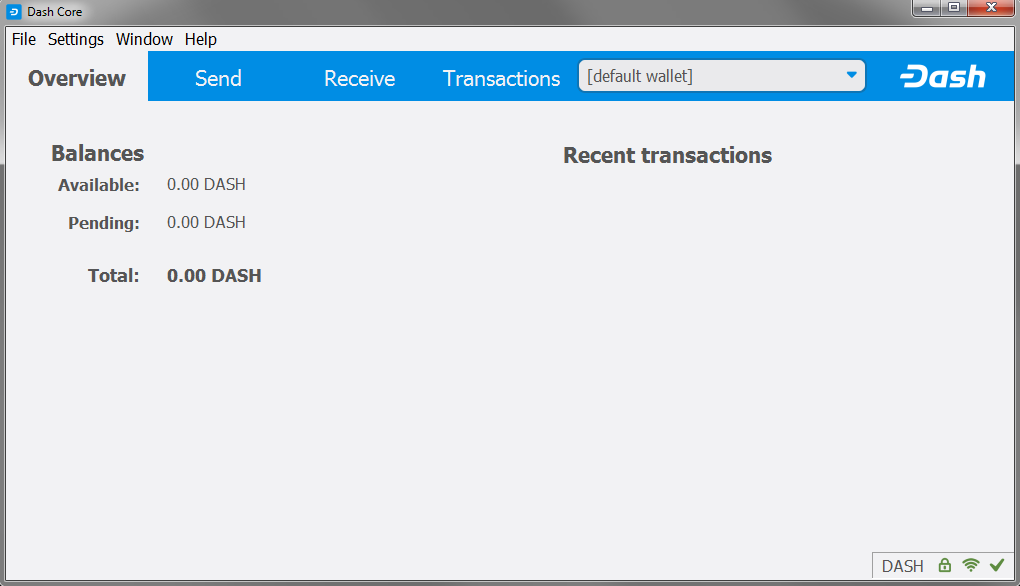
La sincronización del Dash Core esta completa#
You can now create a wallet to send and receive funds.
Creating your Dash Wallet#
Nuevo en la versión v20.1.0: HD wallets are now created by default.
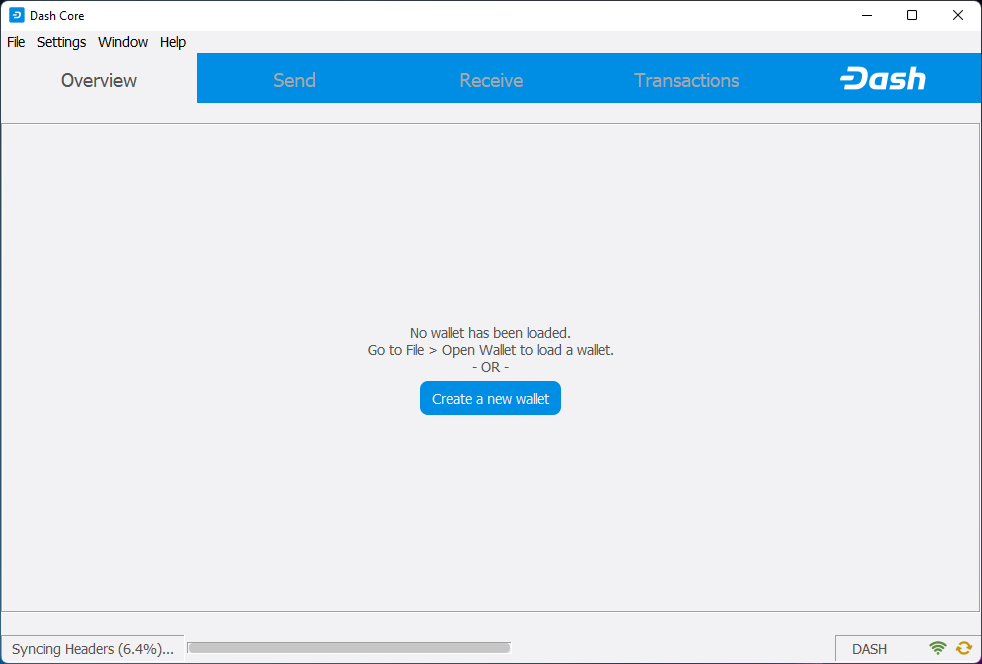
If no wallet files are loaded, you will get this prompt in the Overview tab. To create a wallet, click the Create a new wallet button or click File -> Create Wallet. HD wallets are created by default. See the advanced topics section for information about HD wallets.
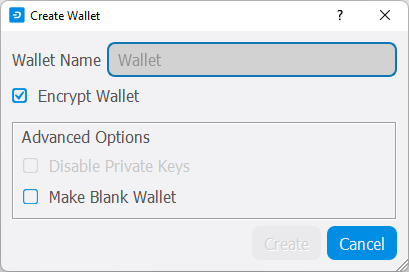
You will be prompted to create a new wallet with a custom wallet name. By default, your wallet will be encrypted. You may choose to uncheck the box and encrypt the wallet later. We have included instructions on how to encrypt your wallet in the following section.
If you do choose to encrypt now, you will be asked to enter and verify a password.
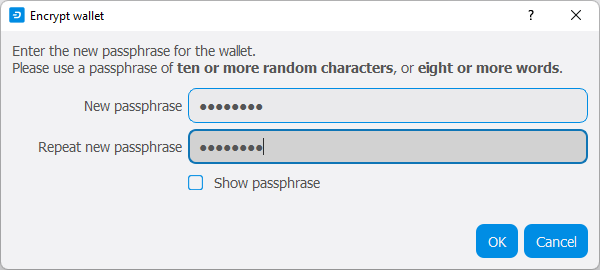
Establecer una contraseña#
Following that, you will get a standard warning.
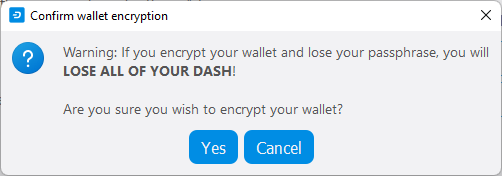
Confirme que quiere encriptar su billetera#
The following section will detail the steps you need to follow if you choose to encrypt your Dash wallet later.
Encriptando su billetera Dash#
Para encriptar su billetera, clic en Configuraciones > Encriptar Billetera.
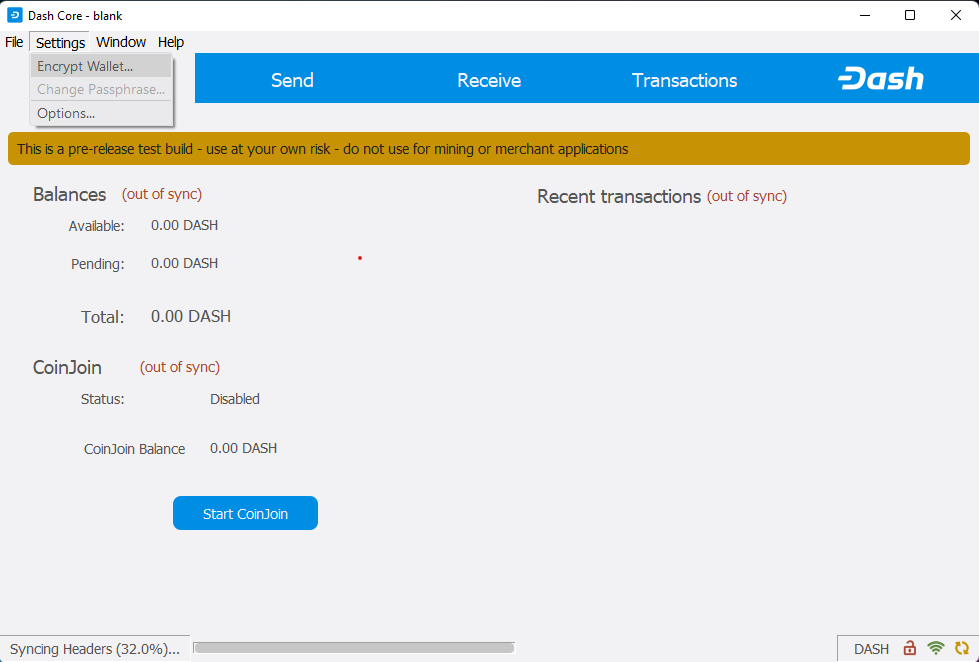
Encriptando la billetera de Dash con una contraseña#
Se requiere establecer y verificar una contraseña.

Establecer una contraseña#

Confirme que quiere encriptar su billetera#
When the encryption process is complete, you will see a warning that past backups of your wallet will no longer be usable, and be asked to shut down Dash Core. When you restart Dash Core, you will see a small green lock in the lower right corner.

Billetera de Dash Core completamente encriptada y sincronizada#
Usted ya puede empezar a usar su billetera para recibir y enviar fondos.