Server configuration#
Mettre en place un masternode demande une compréhension de base de Linux et de la technologie blockchain, ainsi qu’une capacité à suivre des instructions de près. Cela demande également une régularité de gestion et une sécurité pointilleuse, en particulier si vous ne stockez pas vos dashs sur un portefeuille matériel. Il y aura quelques choix à faire lors de la procédure, et quelques étapes supplémentaires facultatives à suivre pour une meilleure sécurité.
Commercial masternode hosting services are available if you prefer to delegate day-to-day operation of your masternode to a professional operator. When using these hosting services, you retain full control of the masternode collateral and pay an agreed percentage of your reward to the operator.
Configuration de votre VPS#
A VPS, more commonly known as a cloud server, is fully functional installation of an operating system (usually Linux) operating within a virtual machine. The virtual machine allows the VPS provider to run multiple systems on one physical server, making it more efficient and much cheaper than having a single operating system running on the « bare metal » of each server.
A VPS is ideal for hosting a Dash masternode because they typically offer guaranteed uptime, redundancy in the case of hardware failure and a static IP address that is required to ensure you remain in the masternode payment queue. While running a masternode from home on a desktop computer is technically possible, it will most likely not work reliably because most ISPs allocate dynamic IP addresses to home users.
Before beginning, take a few minutes to review the masternode hardware requirements which may help you decide which VPS provider best suits your needs. We will use Vultr hosting as an example of a VPS, although DigitalOcean, Amazon EC2, Google Cloud, Choopa and OVH are also popular choices. First create an account and add credit. Then go to the Servers menu item on the left and click + to add a new server. Select a location for your new server on the following screen:

Page Vultr de choix d’emplacement de serveur#
Choisissez Ubuntu 20.04 x64 comme type de serveur. Nous utilisons cette version LTS d’Ubuntu plutôt que la version la plus récente, car les versions LTS d’Ubuntu se voient fournir des mises à jour de sécurité pendant 5 ans, plutôt que pendant les 9 mois habituels.

Page Vultr de choix du type de serveur#
Choisissez une taille de serveur avec au moins 2 Go de mémoire vive.

Page Vultr de choix de taille de serveur#
Tapez un nom d’hôte et une étiquette pour votre serveur. Dans cet exemple, nous utiliserons « dashmn1 » comme nom d’hôte.

Page Vultr de choix du nom d’hôte et de l’étiquette du serveur#
Vultr installe à présent votre serveur. Cette étape peut prendre quelques minutes.

Page Vultr d’installation du serveur#
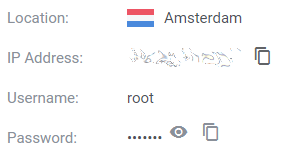
Cliquez sur Gérer quand l’installation est terminée et prenez note de l’adresse IP, du nom d’utilisateur et du mot de passe.

Page Vultr de gestion du serveur#
Configuration de votre système d’exploitation#
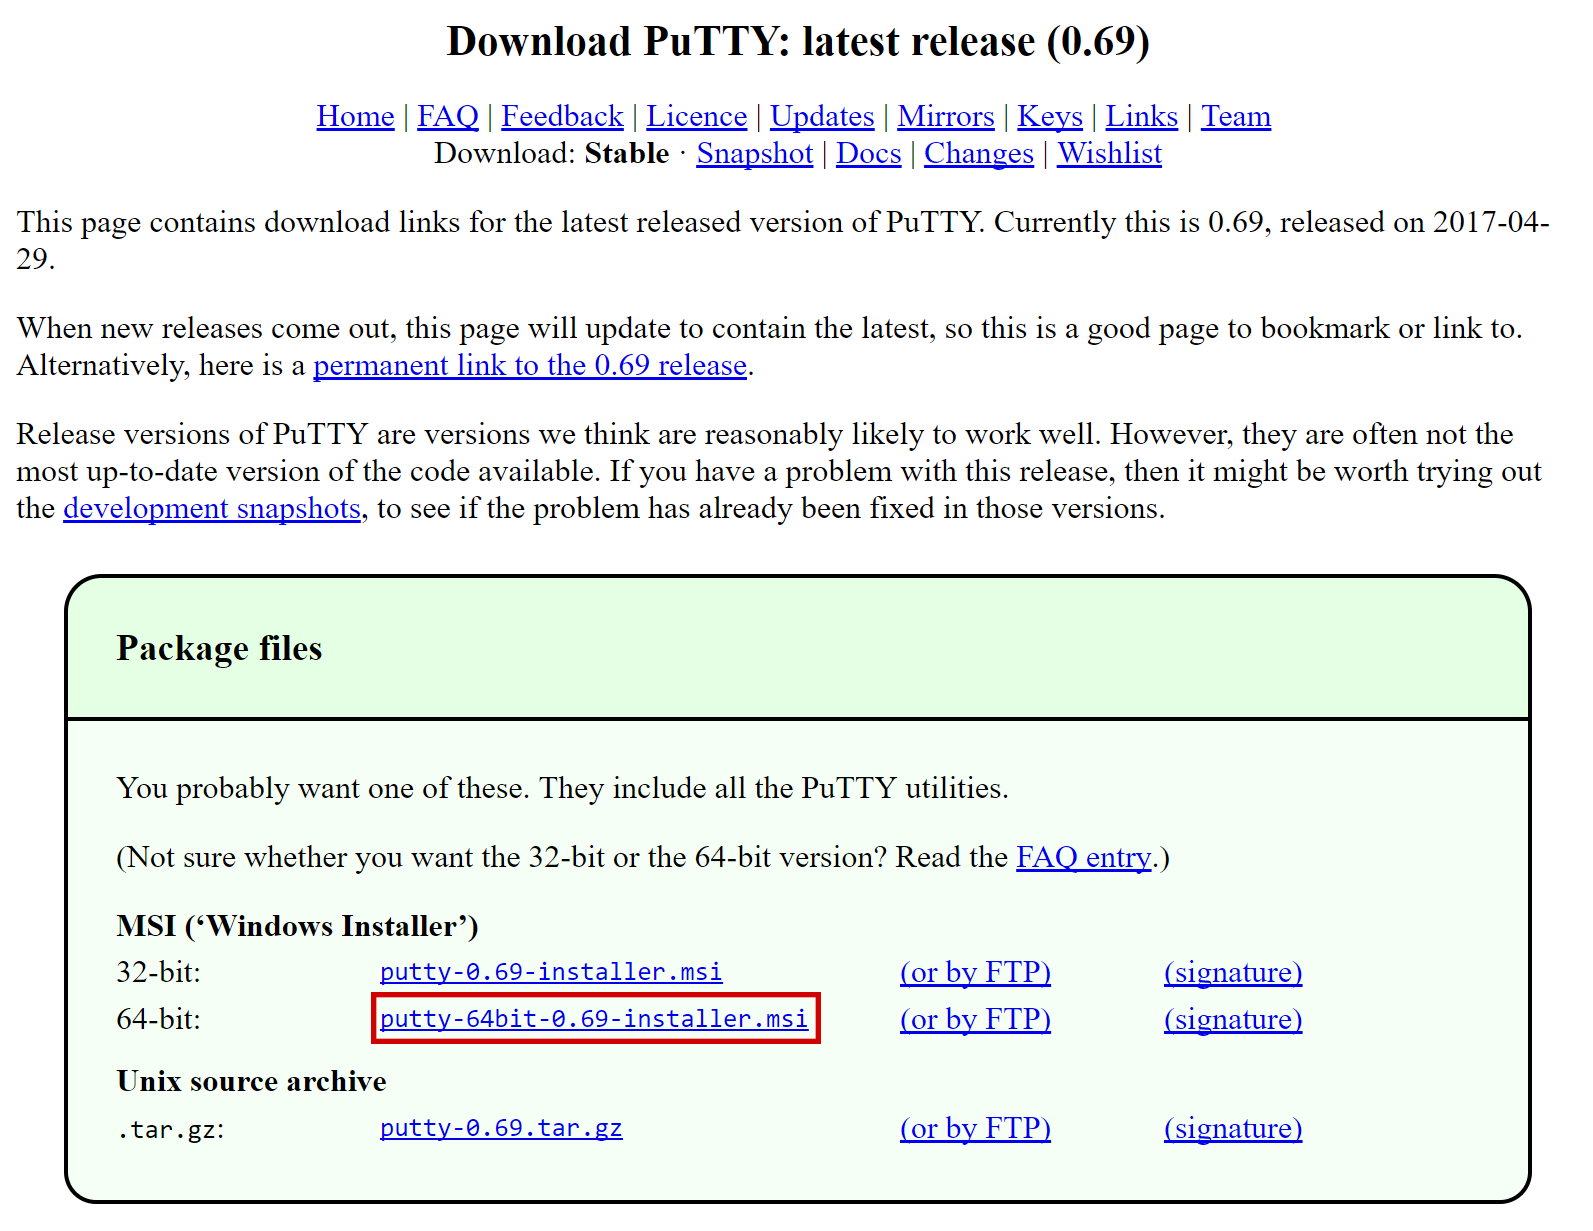
Nous commencerons par nous connecter à votre serveur fraîchement créé. Sous Windows, vous devrez d’abord télécharger une application appelée PuTTY pour vous connecter au serveur. Allez sur la page de téléchargement de PuTTY et choisissez l’installeur MSI approprié à votre ordinateur. Sur Mac ou Linux, vous pouvez vous connecter directement par ssh depuis le Terminal — tapez simplement ssh root@<server_ip> puis votre mot de passe quand il vous est demandé.

Page de téléchargement de PuTTY#
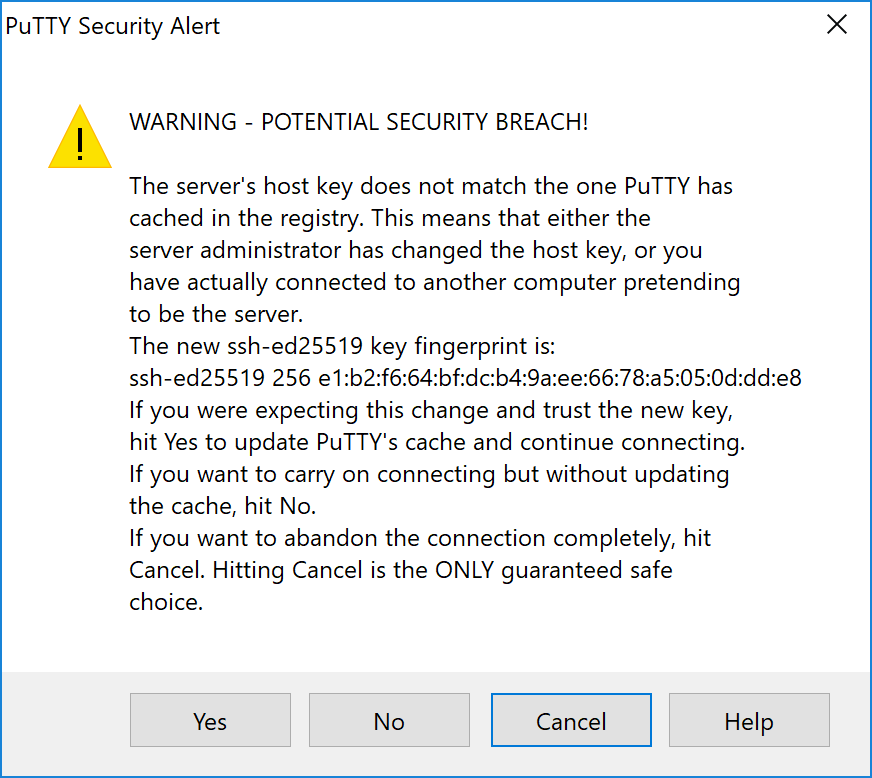
Double-cliquez sur le fichier téléchargé pour installer PuTTY, puis lancez l’application depuis votre menu Démarrer. Tapez l’adresse IP du serveur dans le champ Nom d’hôte puis cliquez sur Ouvrir. Il est possible qu’un avertissement sur le certificat vous soit affiché, puisque c’est votre première connexion à ce serveur. Vous pouvez sans risque cliquer sur Oui pour faire confiance à ce serveur à l’avenir.

Alerte de sécurité de PuTTY à la connexion à un nouveau serveur#
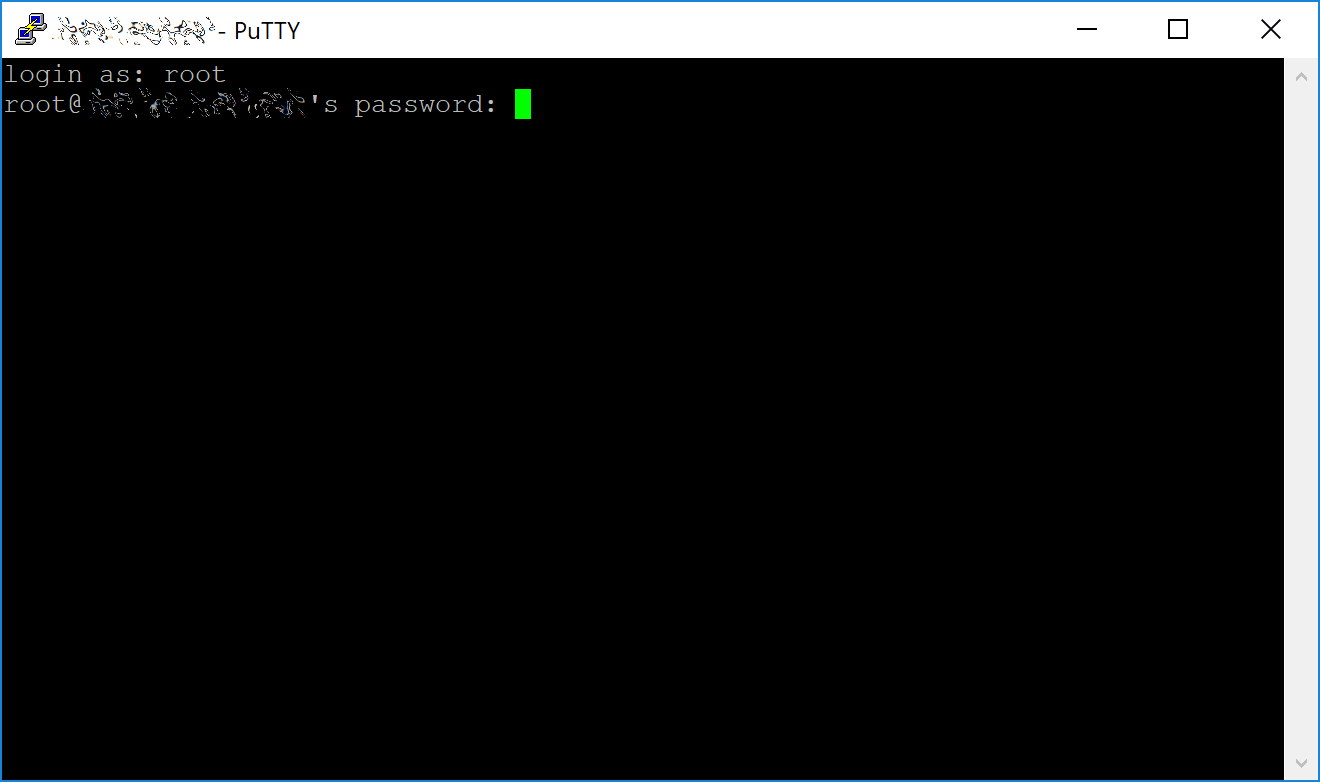
Vous êtes maintenant connecté à votre serveur et vous devriez voir une fenêtre de terminal. Commencez par vous identifier sur votre serveur avec l’utilisateur « root » et le mot de passe fourni par votre hébergeur.

Demande de mot de passe à la première connexion à votre VPS#
Set up users#
Il vous est fortement conseillé de modifier sans attendre le mot de passe de « root » et de le garder dans un endroit sûr. Vous pouvez copier et coller chacune des commandes suivantes en les sélectionnant dans votre navigateur, en faisant la combinaison de touches Ctrl-C puis en revenant sur le fenêtre PuTTY pour y faire un clic-droit. Le texte se collera à la position actuelle du curseur
passwd root
Tapez et confirmez un nouveau mot de passe (de préférence long et généré aléatoirement). Ensuite, nous allons créer un nouvel utilisateur avec la commande suivante, en remplaçant <username> par le nom d’utilisateur de votre choix
adduser <username>
Un mot de passe vous sera demandé. Tapez un nouveau mot de passe (différent de votre mot de passe « root ») puis confirmez-le. Conservez-le ensuite dans un endroit sûr. Il vous sera aussi demandé différentes informations sur l’utilisateur, mais vous pouvez les laisser vides. Une fois l’utilisateur créé, nous allons l’ajouter au groupe « sudo » de manière à ce qu’il puisse passer des commandes en tant que « root »
usermod -aG sudo <username>
Update the system#
Maintenant, toujours en tant que « root », nous allons mettre à jour le système directement depuis le dépôt logiciel Ubuntu
apt update
apt upgrade
The system will show a list of upgradable packages. Press Y and Enter to install the packages.
Configure the firewall#
We will now install a firewall (and some other packages we will use later):
apt install ufw python virtualenv git unzip pv
(appuyez sur O et Entrée pour confirmer)
Choose the appropriate firewall configuration below based on which network your masternode will support:
ufw allow ssh/tcp
ufw limit ssh/tcp
ufw allow 9999/tcp
ufw logging on
ufw enable
ufw allow ssh/tcp
ufw limit ssh/tcp
ufw allow 19999/tcp
ufw allow 26656/tcp
ufw allow 3000/tcp
ufw logging on
ufw enable
(appuyez sur O et Entrée pour confirmer)
Enable swap#
Next, we add will add swap memory, enable it, and set it to be enabled on subsequent reboots:
fallocate -l 4G /swapfile
chmod 600 /swapfile
mkswap /swapfile
swapon /swapfile
nano /etc/fstab
Ajoutez la ligne suivante à la fin du fichier (appuyez sur Tabulation pour séparer chaque mot ou nombre), puis faites la combinaison de touches Ctrl-X pour fermer l’éditeur de texte, puis appuyez sur O et Entrée pour enregistrer le fichier.
/swapfile none swap sw 0 0
Restrict remote access#
Enfin, pour empêcher les attaques par force brute sur les mots de passe, nous allons installer fail2ban et désactiver le login root par SSH. Ces étapes sont facultatives, mais hautement recommandées. Commencez par fail2ban :
apt install fail2ban
Créez un nouveau fichier de configuration :
nano /etc/fail2ban/jail.local
And paste in the following configuration:
[sshd]
enabled = true
port = 22
filter = sshd
logpath = /var/log/auth.log
maxretry = 3
Then press Ctrl + X to close the editor, then Y and Enter save the file. Restart and enable the fail2ban service:
systemctl restart fail2ban
systemctl enable fail2ban
Ensuite, ouvrez le fichier de configuration SSH pour désactiver le login root par SSH
nano /etc/ssh/sshd_config
Repérez la ligne PermitRootLogin yes et changez-la en PermitRootLogin no. Juste en-dessous, ajoutez une ligne AllowUsers <username>, en remplaçant <username> avec le nom d’utilisateur que vous avez choisi plus haut. Puis faites la combinaison de touches Ctrl-X pour fermer l’éditeur de texte, puis Y et Entrée pour enregistrer le fichier.
Optionally install or update AppArmor (try this step if you are having problems related to AppArmor):
sudo apt install apparmor
Reboot#
Now, reboot the server to apply any necessary kernel updates:
reboot now
Your SSH client (e.g. PuTTY) will disconnect when the server reboots.
Note
While this setup includes basic steps to protect your server against attacks, much more can be done. In particular, authenticating with a public key instead of a username/password combination. Enabling automatic security updates is advisable. More tips are available here.