Guide d’installation pour Windows#
This guide describes how to download, install and encrypt the Dash Core wallet for Windows. The guide is written for Windows 10, but the steps should be similar for other versions of Windows.
Téléchargement du portefeuille Dash Core#
Visitez https://www.dash.org/fr/telechargements pour télécharger le portefeuille logiciel Dash Core le plus récent. Dans la plupart des cas, le site détectera correctement la version dont vous avez besoin. Cliquez sur Télécharger l’installeur pour télécharger directement l’installeur.

Le site détecte correctement le portefeuille approprié à votre système d’exploitation#
If detection does not work, you will need to manually choose your operating system. Once you know which version you need, download the Dash Core Installer to your computer from https://www.dash.org/downloads/ and save the file you downloaded to your Downloads folder.
Note
Dash Core 0.17 was the last release to provide downloads for 32-bit Windows installations. As of Windows 11, Microsoft only provides 64-bit Windows.
If you are unsure whether your version of Windows is 32-bit or 64-bit, you can check by following the instructions here.
Vérification de Dash Core#
Cette étape est facultative, mais recommandée. Elle consiste à vérifier l’authenticité du fichier que vous avez téléchargé. Cela se fait en comparant sa signature de hachage avec celle publiée par l’équipe de développement Dash Core. Pour télécharger la signature publiée, cliquez sur le bouton Fichier de hachage sur la page de téléchargement du portefeuille et enregistrez-la dans le même répertoire que le logiciel téléchargé.
All releases of Dash since 0.16.0 are signed using GPG with the following key:
Pasta (pasta) with the key
5252 7BED ABE8 7984, verifiable on Keybase (download)
Download the key file above. Install Gpg4win if it is not already available on your computer. Once it is installed, open the Kleopatra certificate manager and click File -> Import. Import the key file and verify the Key-ID matches the ID above.
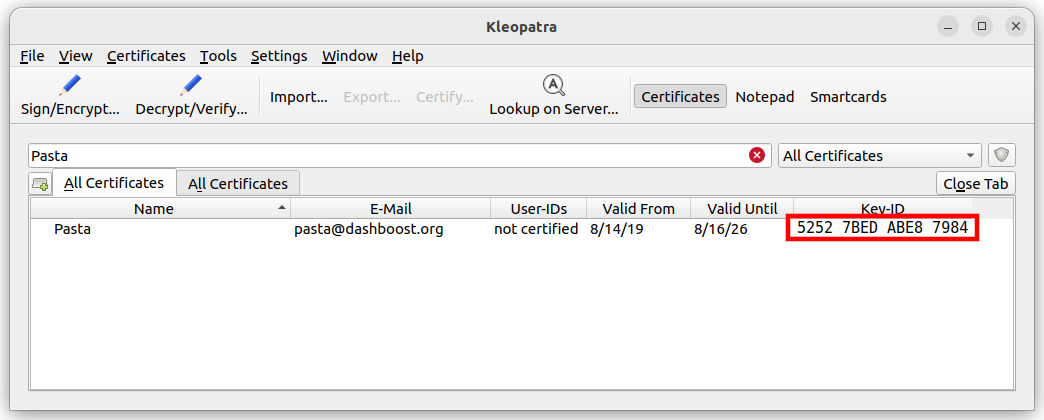
Importing Pasta’s GPG public key#
Skip any requests to certify the certificate with your own key. Next,
click Decrypt/Verify… and select the detached signature file named
dashcore-20.1.0-win64-setup.exe.asc in the same folder as the
downloaded installer.
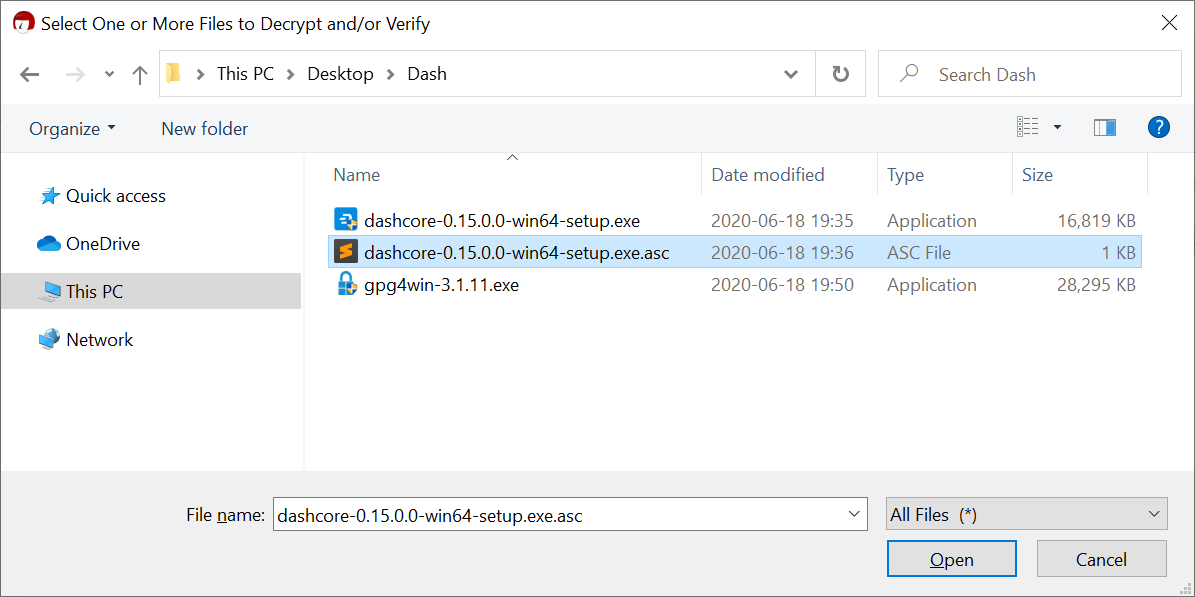
Sélection du fichier de signature pour vérification#
If you see the first line of the message reads Verified
dashcore-20.1.0-win64-setup.exe with
dashcore-20.1.0-win64-setup.exe.asc then you have an authentic copy
of Dash Core for Windows.
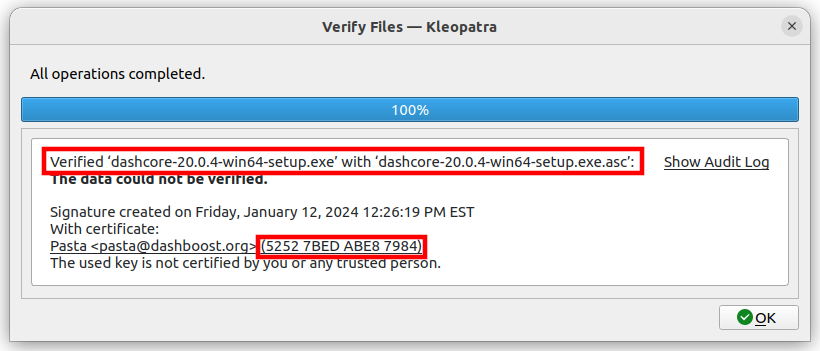
Example of successful binary installer verification#
The following video demonstrates the steps to install Gpg4win and then verify the Dash Core installation file signature.
Lancement de l’installeur de Dash Core#
Double-cliquez sur le fichier pour commencer l’installation de Dash Core.
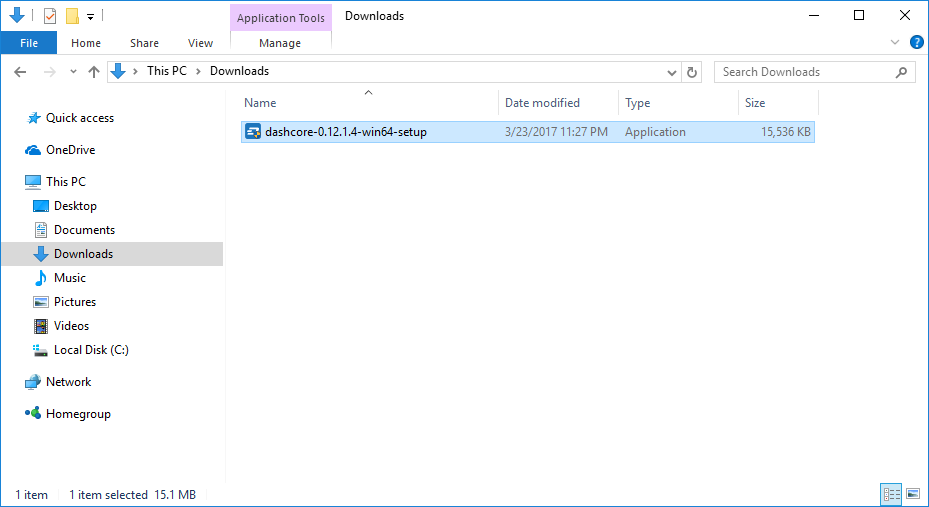
L’installeur Dash Core dans le dossier Téléchargements#
À cette étape, vous verrez peut-être un avertissement de Windows SmartScreen, selon lequel l’application n’est pas reconnue. Vous pouvez sauter cette étape en toute sécurité en cliquant sur Plus d’informations, puis sur Lancer quand même.
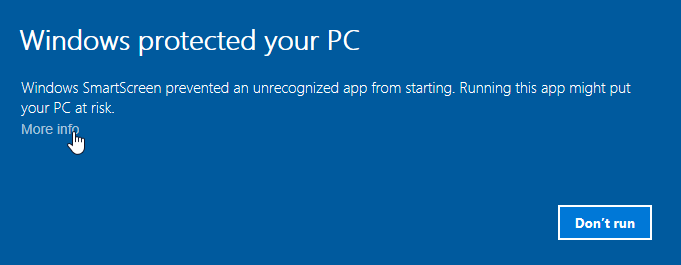
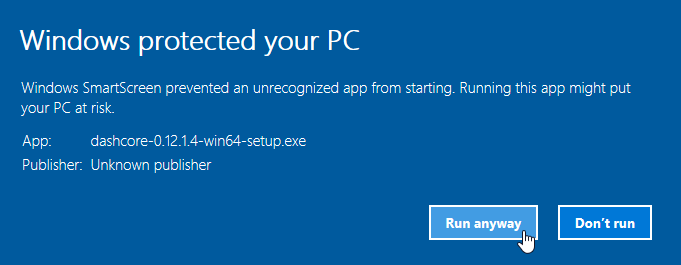
Contournement de Windows SmartScreen pour lancer l’application. Cet avertissement est appelé un « faux positif ».#
L’installeur vous guidera ensuite le long des étapes de la procédure d’installation.
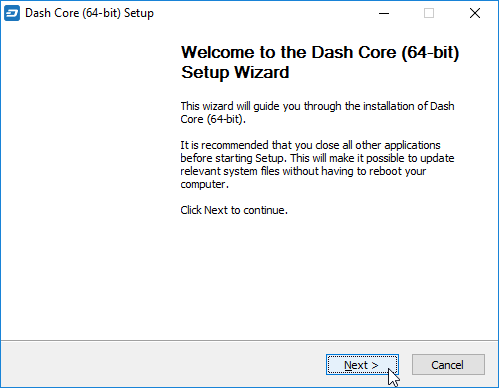
L’écran de bienvenue de l’installeur Dash Core#
Cliquez sur chacun des écrans suivants. Tous les réglages peuvent être laissés à leur valeur par défaut, à moins que vous n’ayez une raison particulièrement de modifier quelque chose.
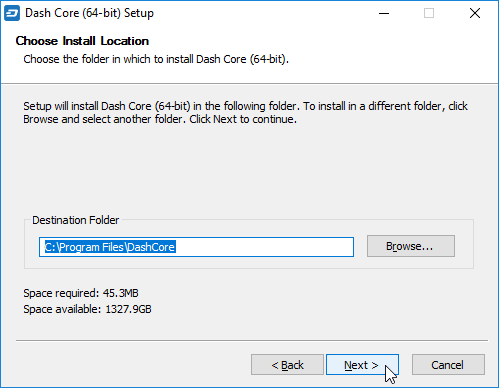
Sélection de l’emplacement d’installation#
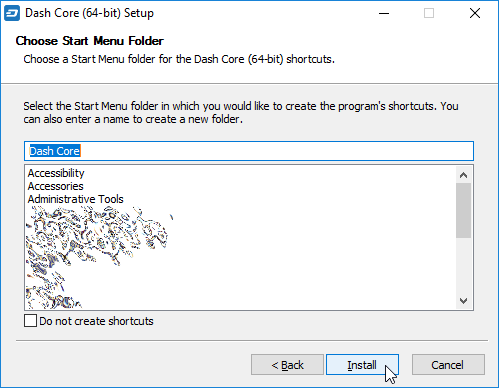
Sélection du dossier du menu Démarrer#
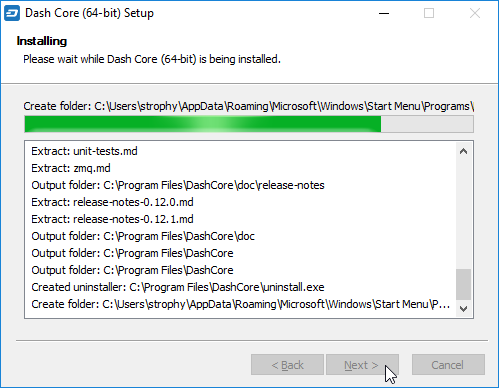
Installation de Dash Core en cours#
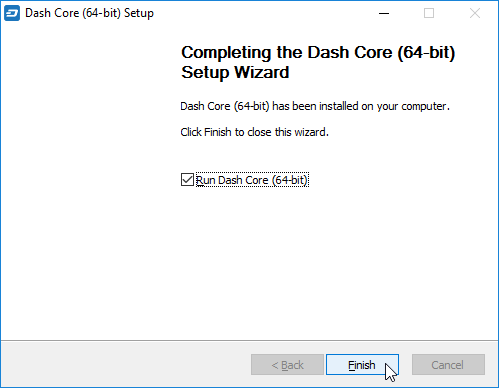
Installation terminée#
Premier lancement de Dash Core#
Once installation is complete, Dash Core will start up immediately. If it does not, click Start > Dash Core > Dash Core to start the application. The first time the program is launched, you will be offered a choice of where you want to store your blockchain and wallet data. Choose a location with enough free space, as the blockchain can reach 45GB+ in size. It is recommended to use the default data folder if possible.
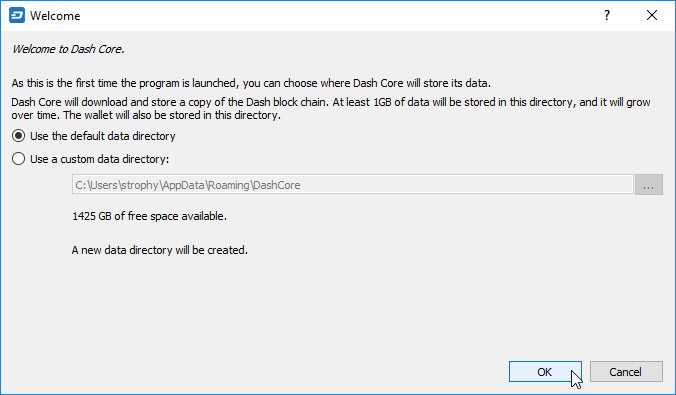
Sélection du dossier de données Dash Core#
Dash Core démarrera alors. Le lancement prendra un peu plus de temps la première fois, car Dash Core doit générer des données cryptographiques pour sécuriser votre portefeuille.
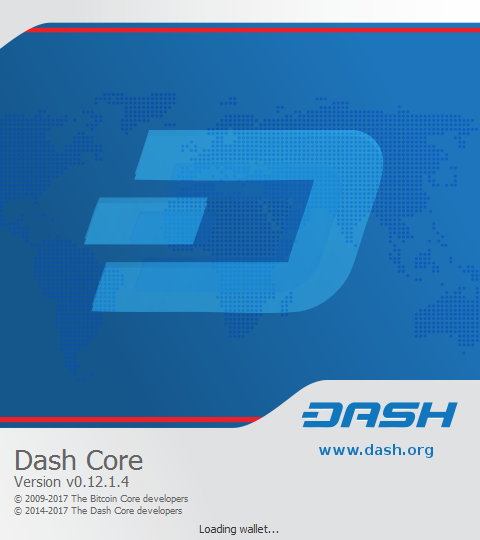
Démarrage de Dash Core#
Synchronisation de Dash Core avec le réseau Dash#
Une fois Dash Core installé et démarré avec succès, vous verrez apparaître le tableau de bord du portefeuille. Veuillez noter que le portefeuille n’est « pas encore synchronisé », et que la barre de progression en bas de la fenêtre montre la progression de la synchronisation.
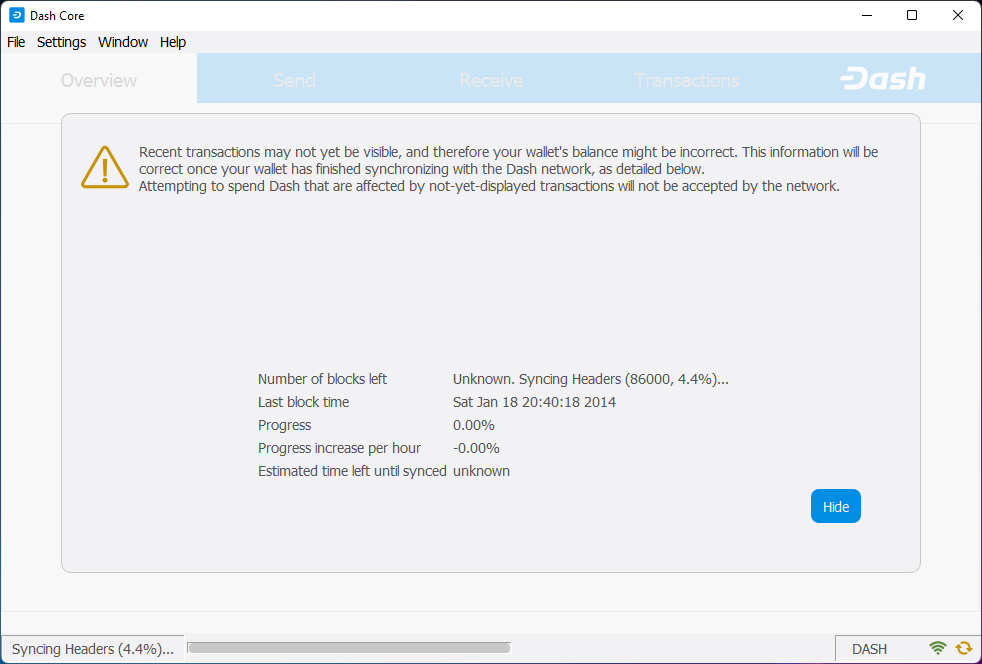
Dash Core démarre la synchronisation avec le réseau Dash#
During this process, Dash Core will download a full copy of the Dash blockchain from other nodes to your device. Depending on your internet connection, this may take a long time. If you see the message “No block source available”, check your internet connection. When synchronization is complete, you will see a small green tick in the lower right corner.
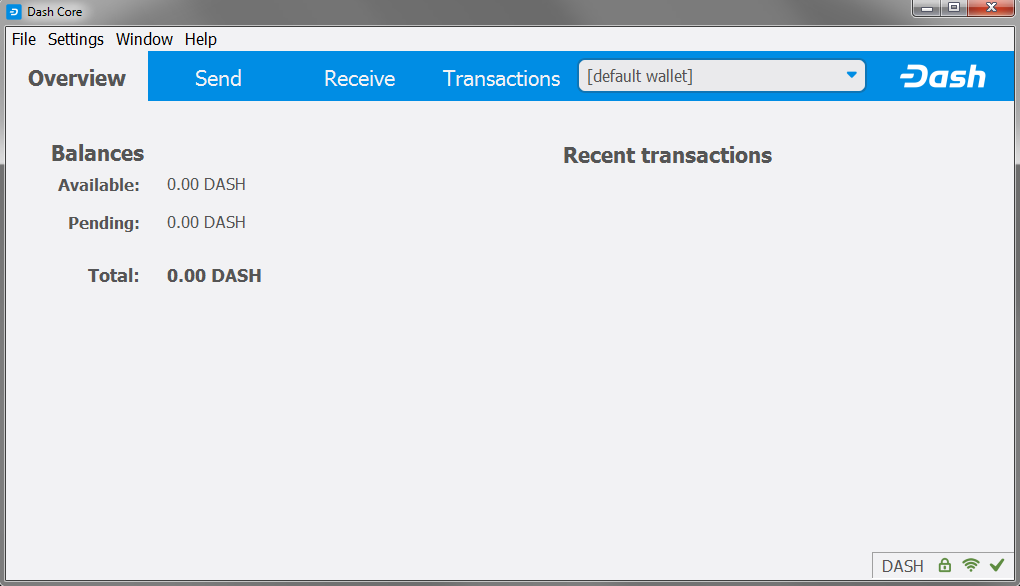
La synchronisation de Dash Core est achevée#
You can now create a wallet to send and receive funds.
Creating your Dash Wallet#
Nouveau dans la version v20.1.0: HD wallets are now created by default.
If no wallet files are loaded, you will get this prompt in the Overview tab. To create a wallet, click the Create a new wallet button or click File -> Create Wallet. HD wallets are created by default. See the advanced topics section for information about HD wallets.
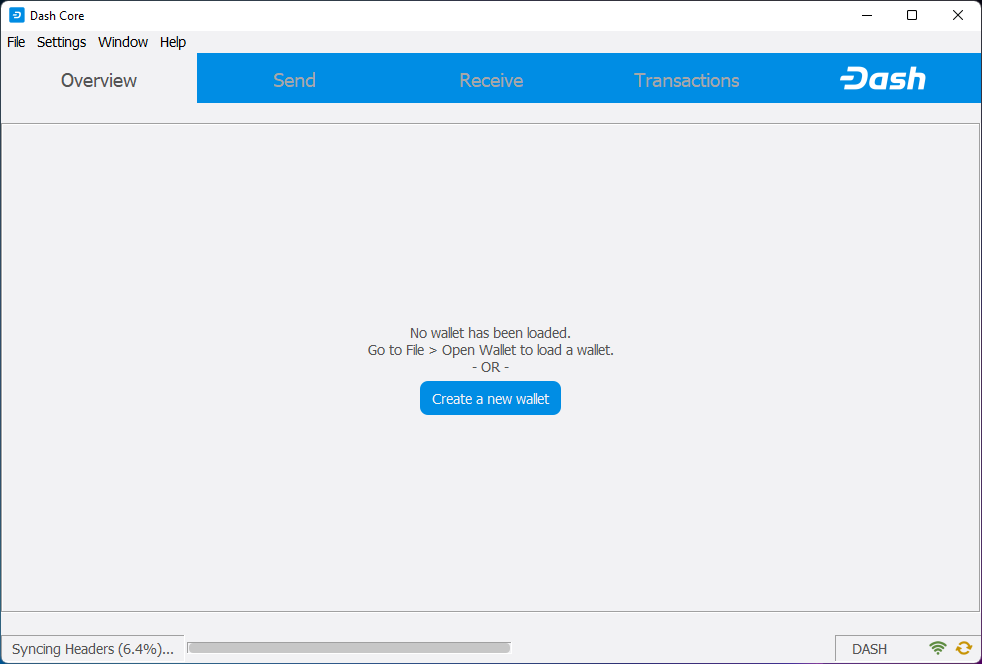
You will be prompted to create a new wallet with a custom wallet name. By default, your wallet will be encrypted. You may choose to uncheck the box and encrypt the wallet later. We have included instructions on how to encrypt your wallet in the following section.
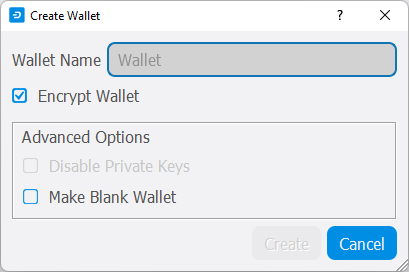
If you do choose to encrypt now, you will be asked to enter and verify a password.
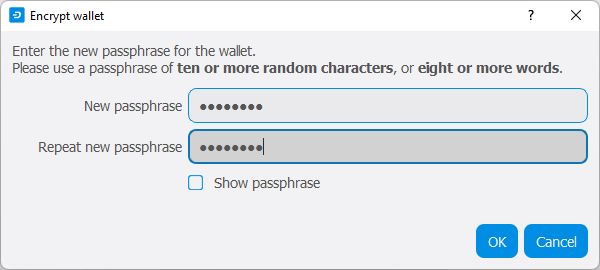
Saisissez un mot de passe#
Following that, you will get a standard warning.
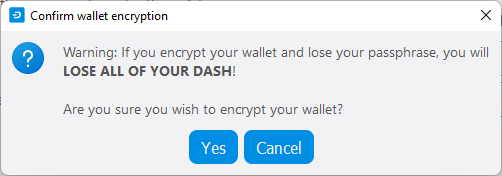
Confirmez que vous souhaitez chiffrer votre portefeuille#
The following section will detail the steps you need to follow if you choose to encrypt your Dash wallet later.
Chiffrage de votre portefeuille Dash#
Pour chiffrer votre portefeuille, cliquez sur Réglages > Chiffrer le portefeuille.
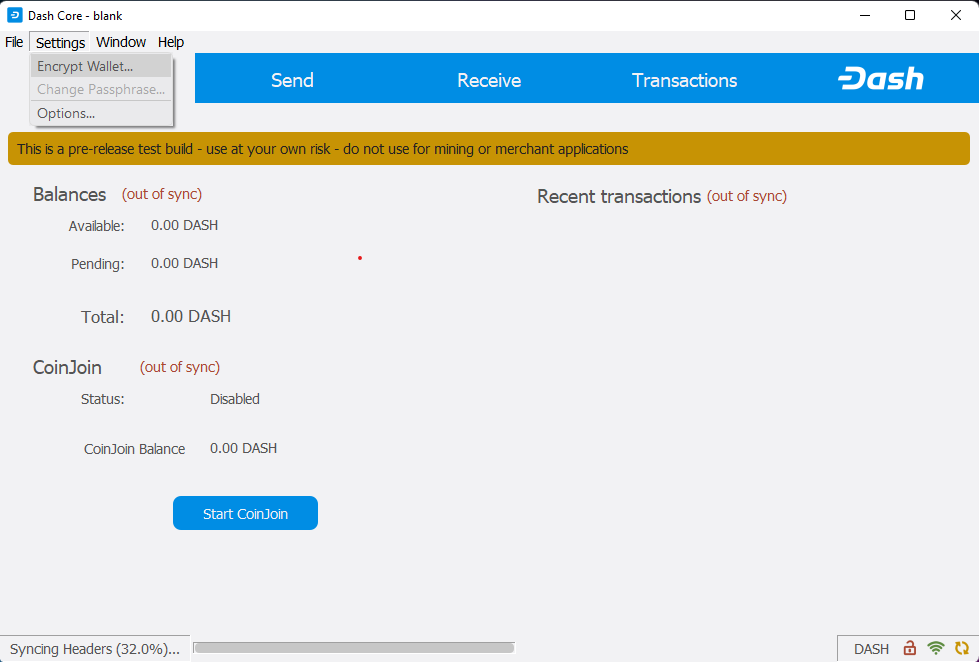
Chiffrage du portefeuille Dash avec un mot de passe#
Il vous sera demandé de saisir et de vérifier votre mot de passe.

Saisissez un mot de passe#

Confirmez que vous souhaitez chiffrer votre portefeuille#
When the encryption process is complete, you will see a warning that past backups of your wallet will no longer be usable, and be asked to shut down Dash Core. When you restart Dash Core, you will see a small green lock in the lower right corner.

Portefeuille Dash Core entièrement chiffré et synchronisé#
Vous pouvez maintenant commencer à utiliser votre portefeuille en toute sécurité, et à envoyer et recevoir des fonds.